Showing posts with label sushi. Show all posts

Thursday, 18 February 2016

Disney Tsum Tsum Sushi

I've made many sushi creations to date, but I think this set of Tsum Tsum sushi that I'm sharing today is my favourite by far. I had this idea for awhile and I'm happy they turned out the way I visualized. I will be sharing some photos on how I made these sushi, I hope that they will be useful if you intend to make some of your own. :)
IMG_9983
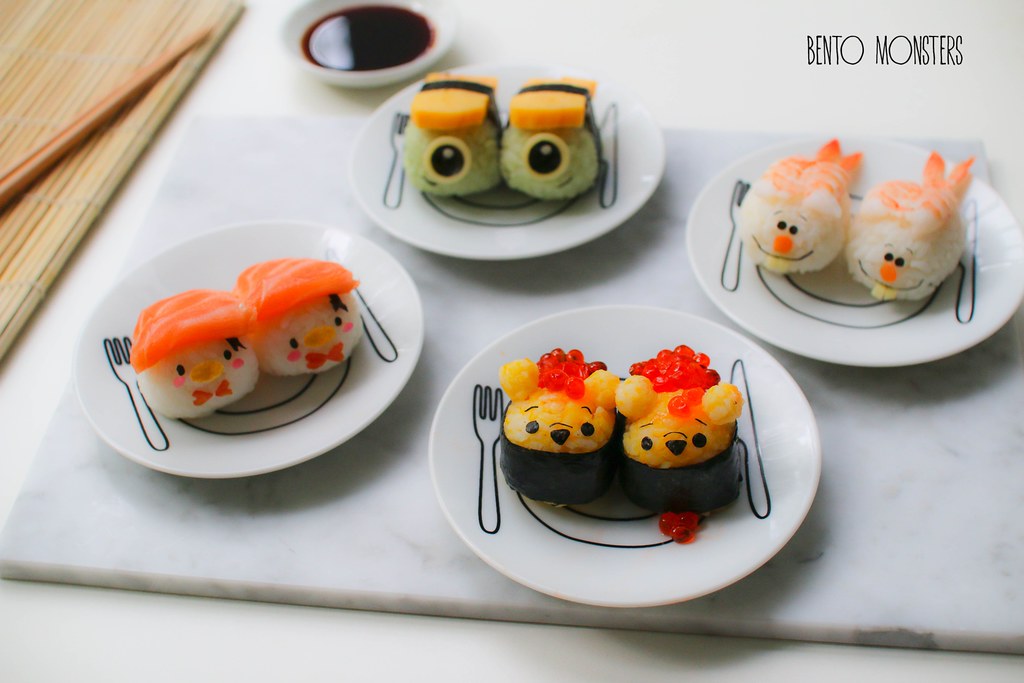
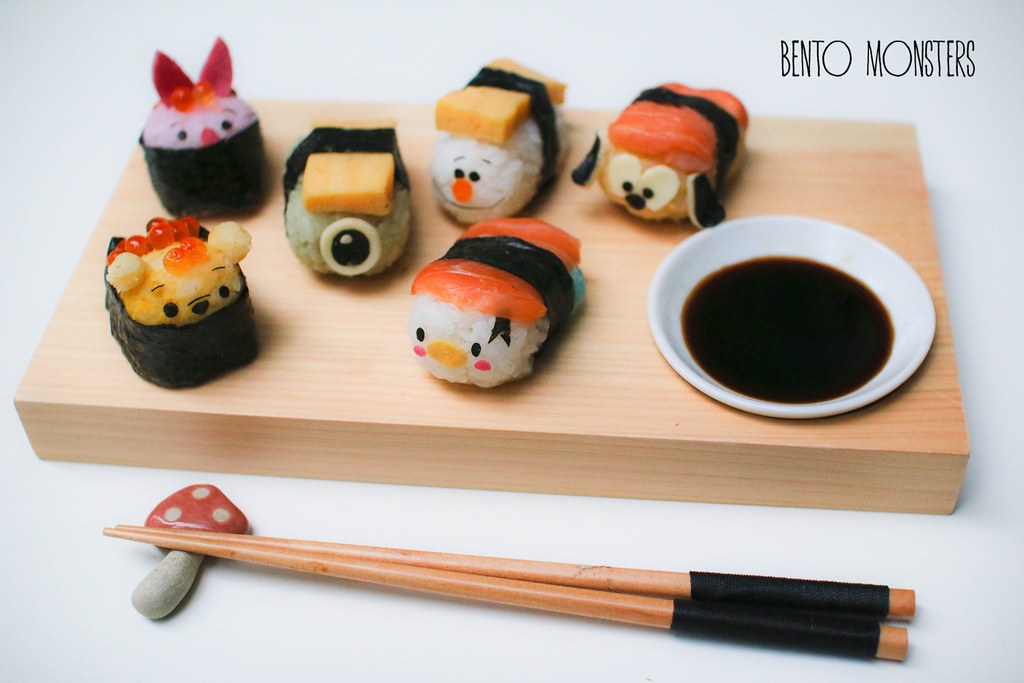
The shapes of the Tsum Tsum characters are just perfect for making into sushi. For this set, I chose Donald, Pooh, Mike Wazowski and Olaf.
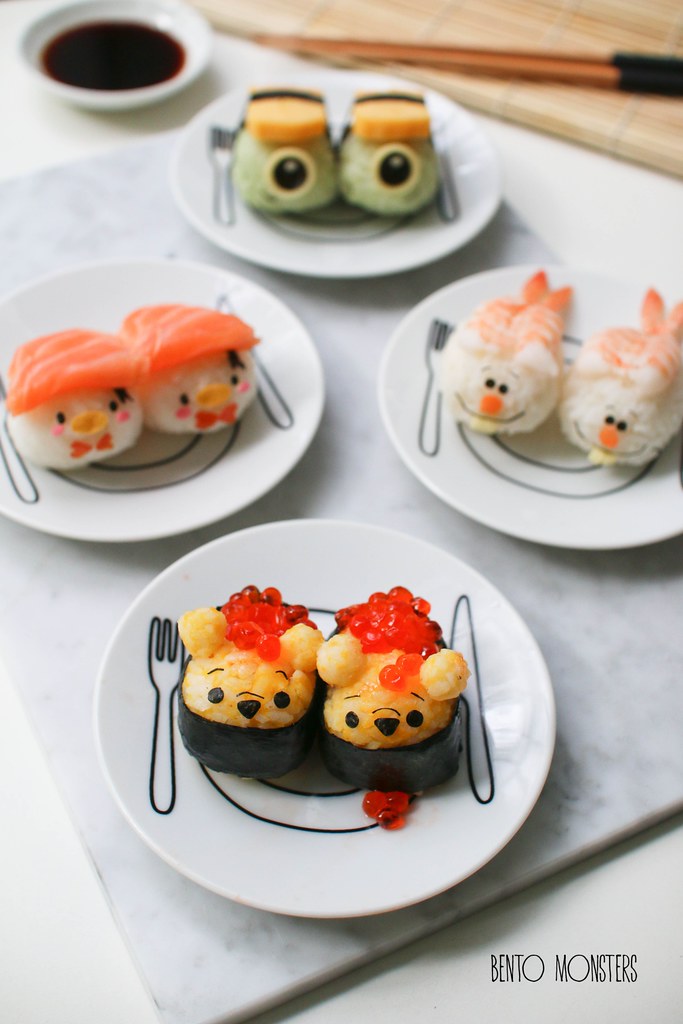
IMG_9976 Mike is a tamago sushi, Olaf is shrimp sushi, Donald is salmon sushi, and lastly, Pooh is Ikura sushi.
IMG_9986
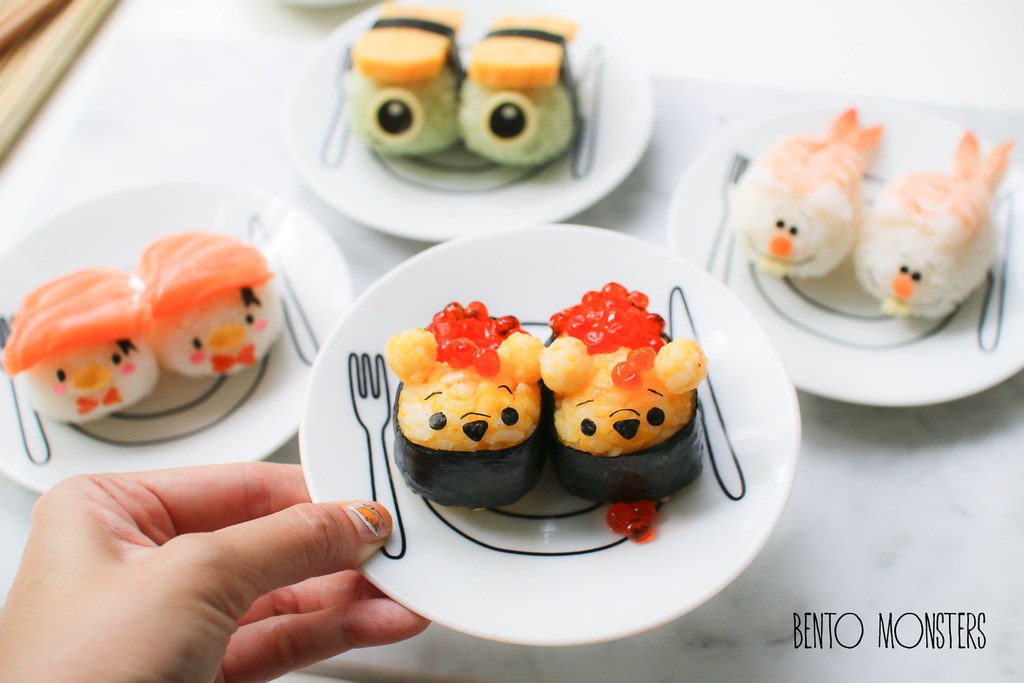
I love them all but Pooh is my favourite out of the lot.
IMG_9378
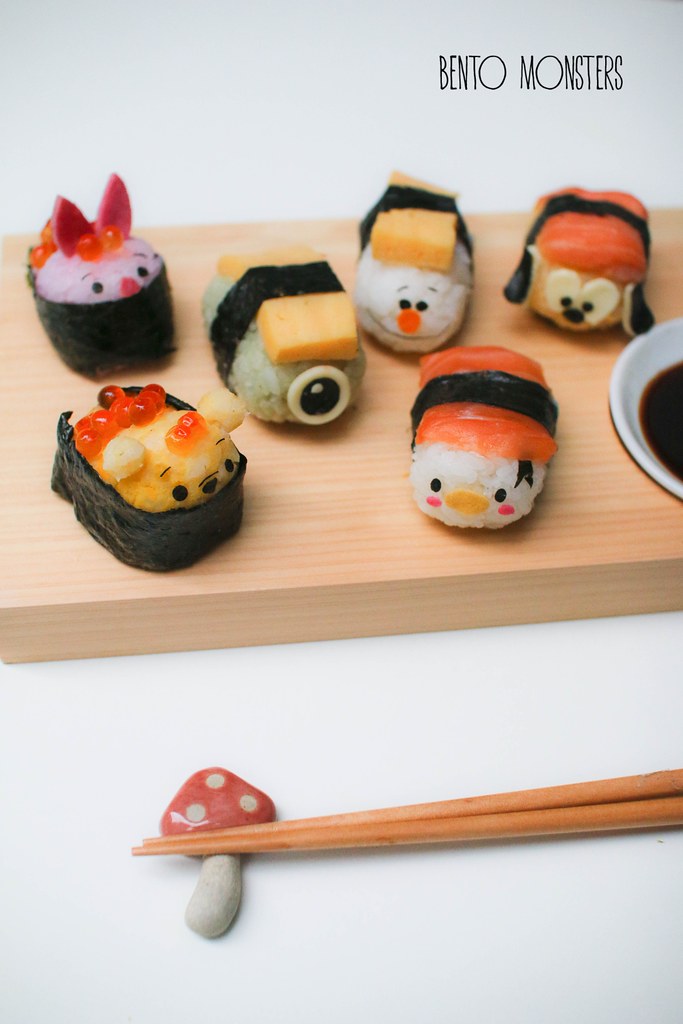
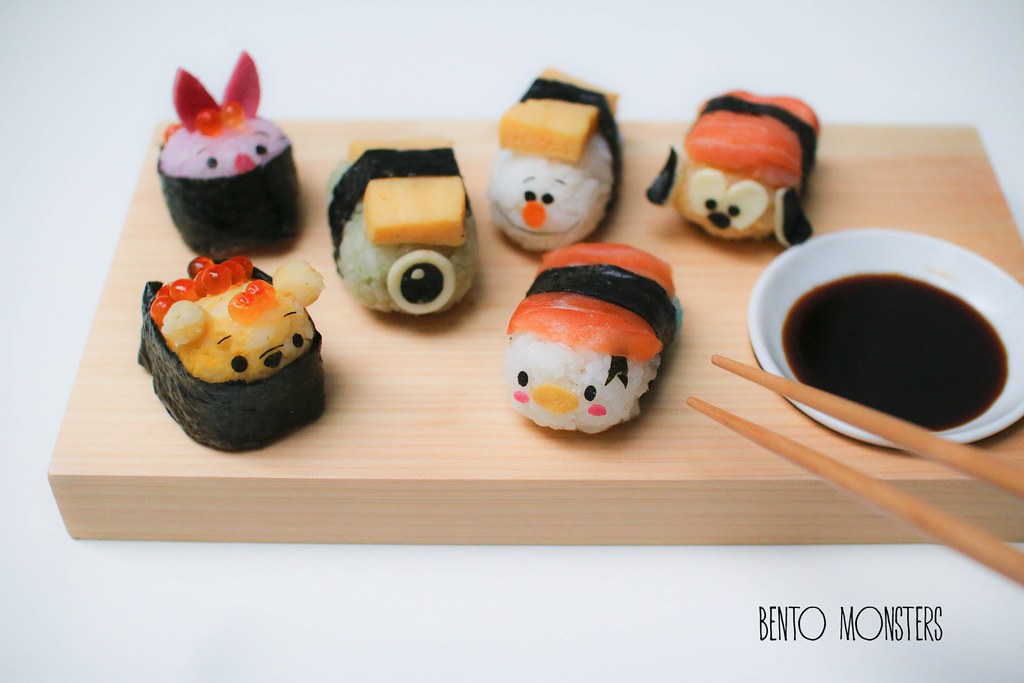
This was actually the first set that I made, there's two more characters here, Piglet and Pluto.
IMG_9384
My boys love sushi and sashimi, but I think what they really like is that they get to dip them in soy sauce, lol.
IMG_9387
If you are using raw ingredients for your sushi, it's safer to shape your characters in advance and place the ingredients on just before serving.

tsumtsumsushi
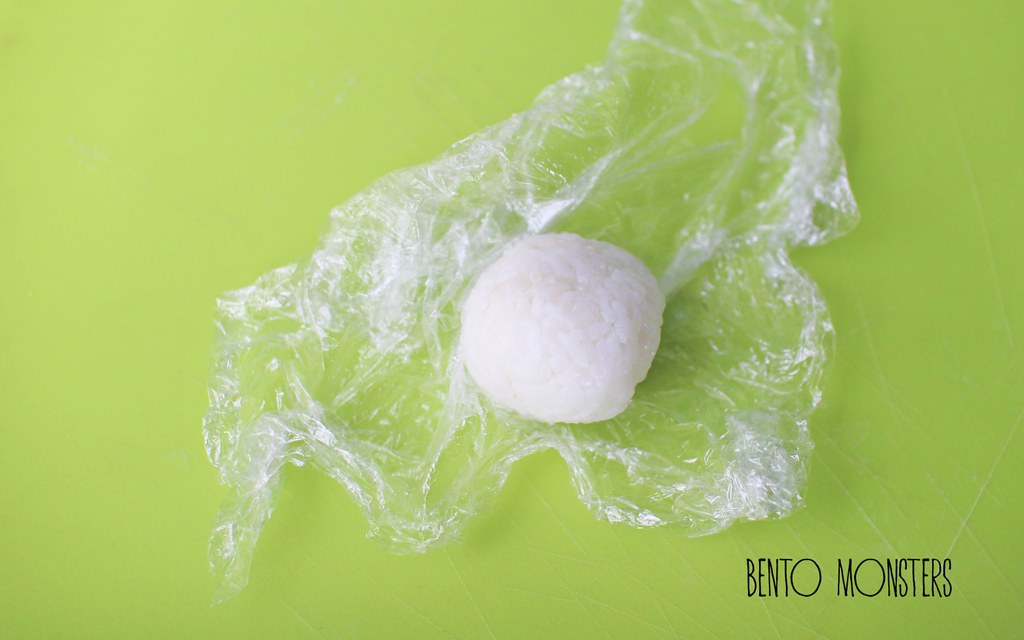
Want to try your hands at making these sushi? I'm will be sharing how I made Pooh and Donald sushi.
IMG_9937
I'll start off with Donald. Since this is for sushi, I mixed some sushi vinegar to the rice before shaping it with cling wrap.
IMG_9939
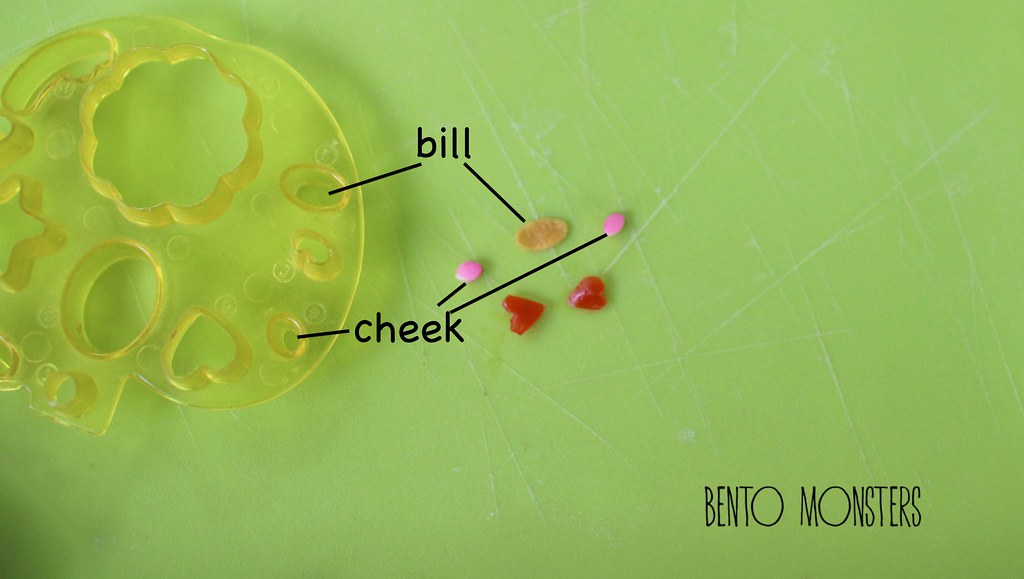
I used two different size oval cutters to cut out the bill and cheeks. I used egg for the bill and the pink part of kamboko(Japanese fishcake) for the cheeks. You can also use different size straws and pinch it to an oval to cut. For the bow, I cut out two heart shapes from tomatoes, using a pair of scissors.
IMG_9942
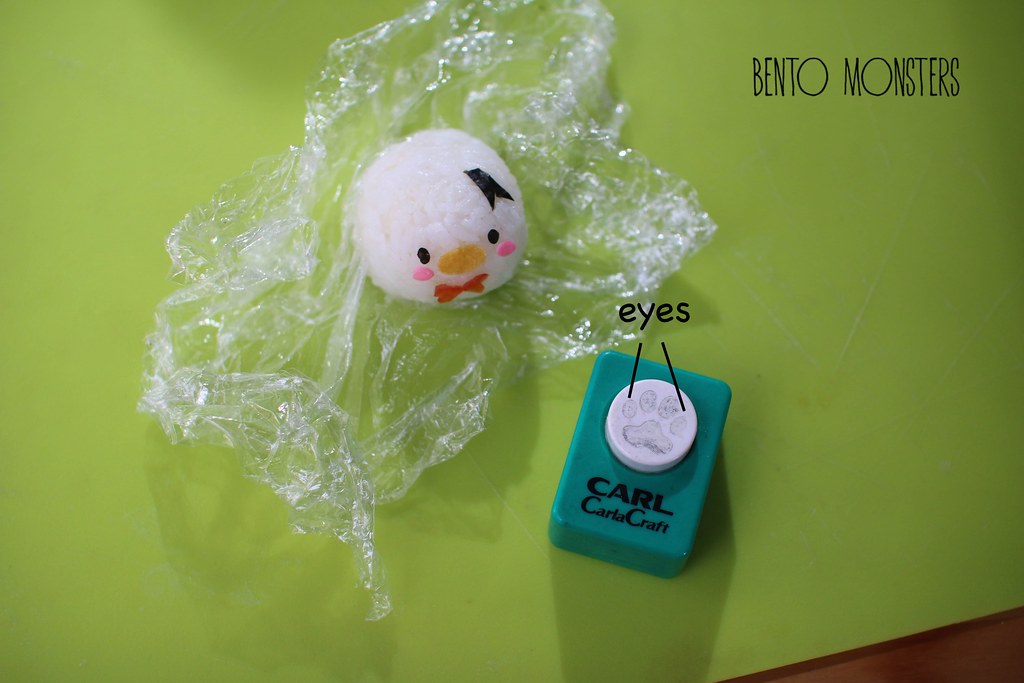
I used a paw craft punch to cut out oval for the eyes from seaweed. I used a pair of scissors to cut out the bow for the hat from seaweed.
IMG_9979
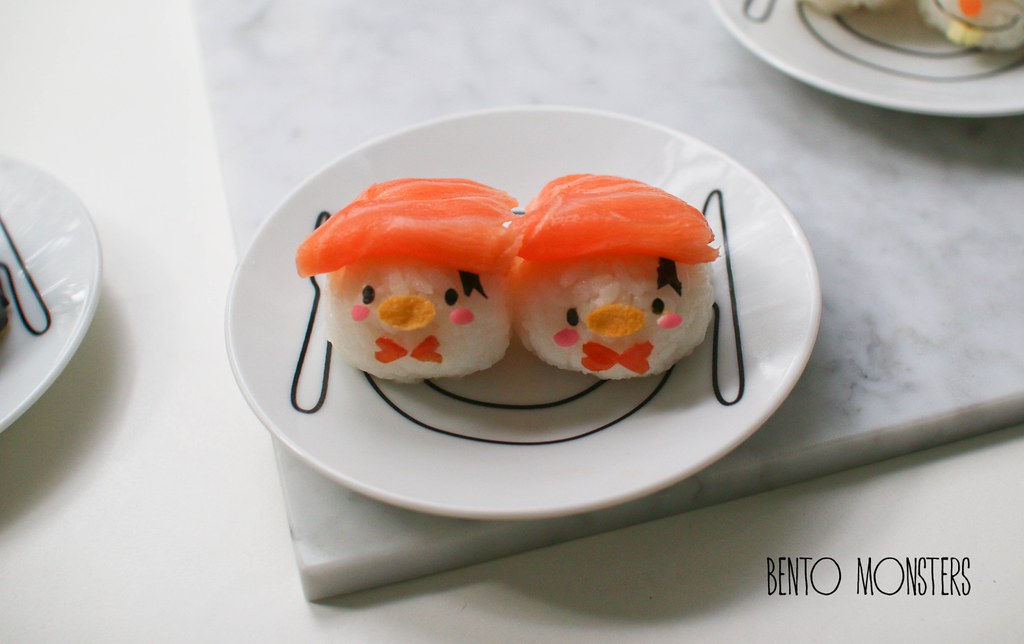
Place a slice of salmon on top of Donald.
IMG_9943
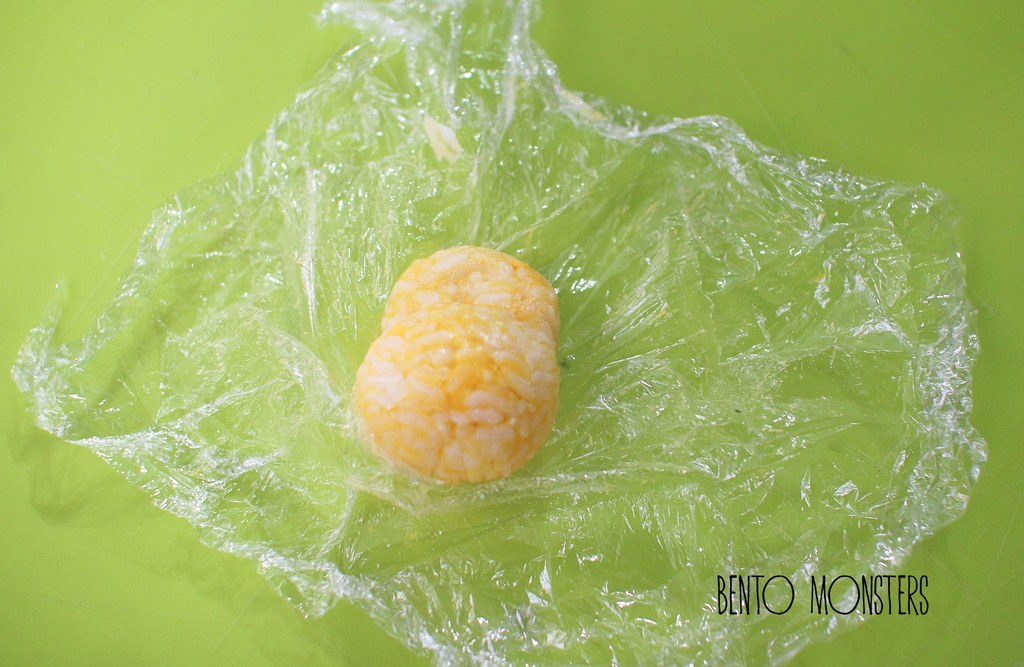
For Pooh, add some mashed egg yolk to sushi vinegar rice to colour it yellow. Using cling wrap, mould out the rice, I moulded the back half of the sushi lower so that I can place the ikura on that part.
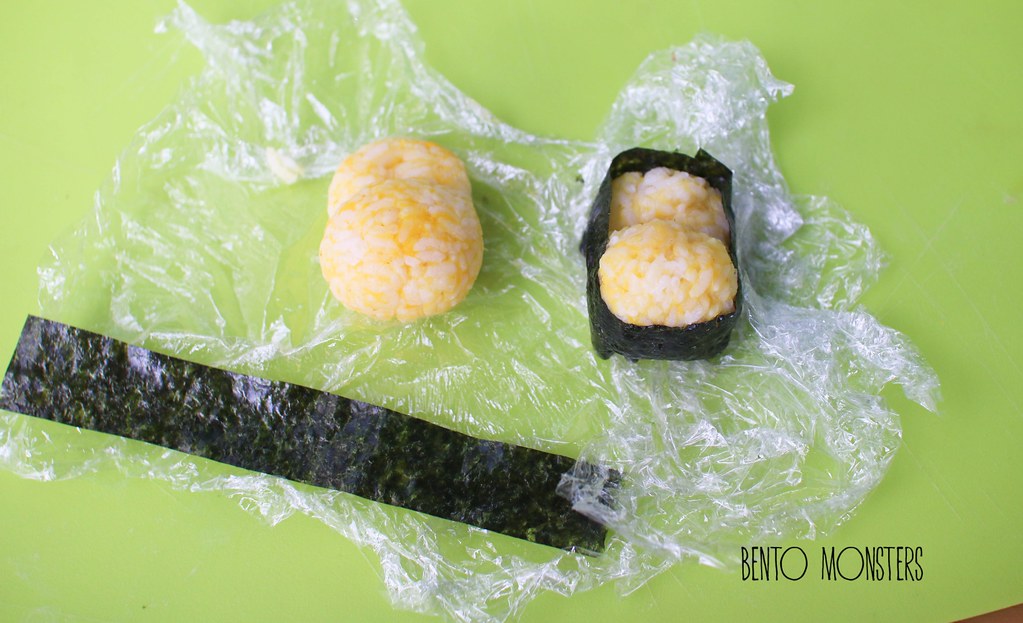
IMG_9946
Cut out a strip of nori and wrap it around the rice.
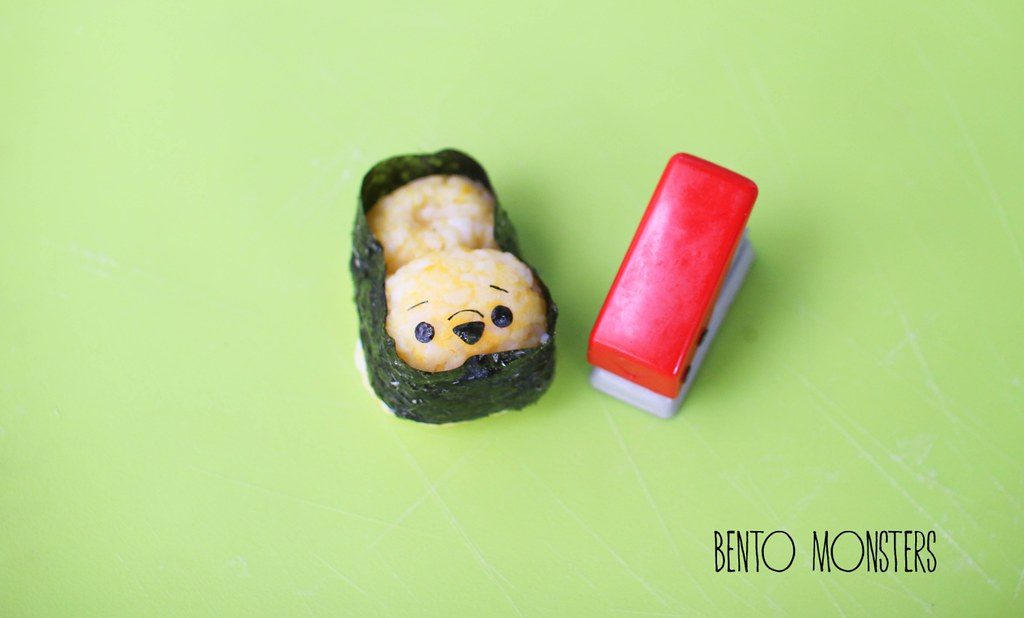
IMG_9947
I used a hole punch to cut out nori for Pooh's eyes. The other details were cut out using a pair of scissors.

IMG_9948
Usng cling wrap, mould out Pooh's ears from rice and attached them on using pasta sticks.
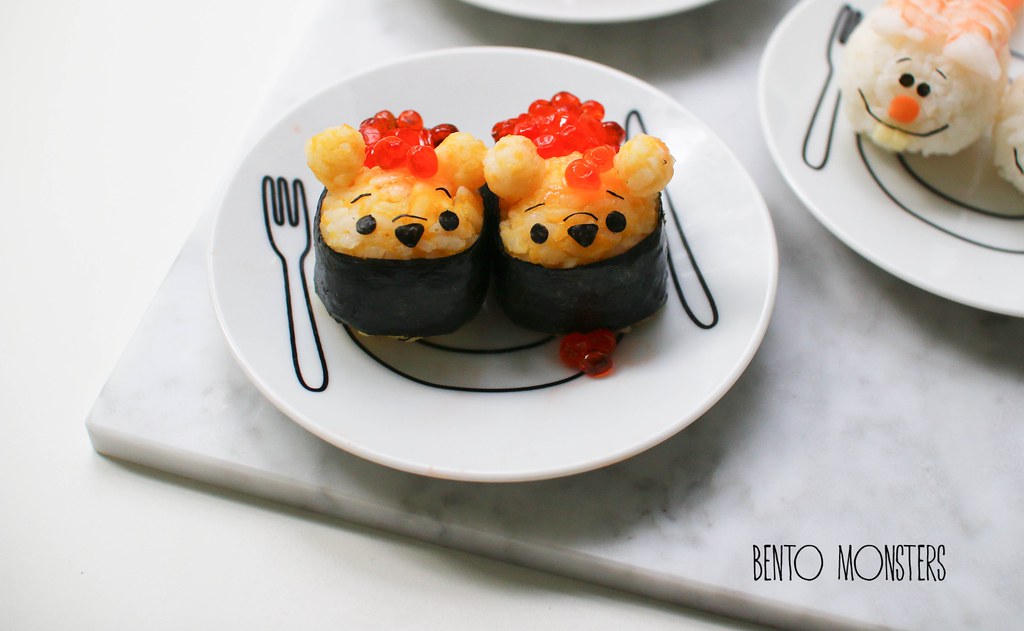
IMG_9974
Add on ikura(salmon roe) before serving these Pooh sushi.

Sunday, 24 January 2016

Tsum Tsum Deco Sushi

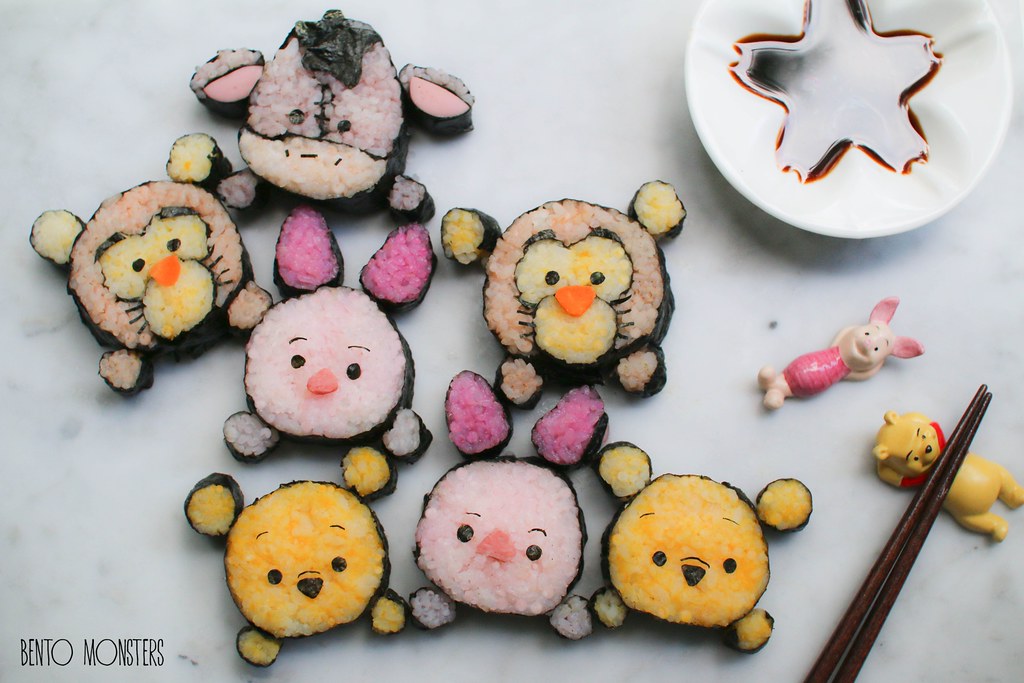
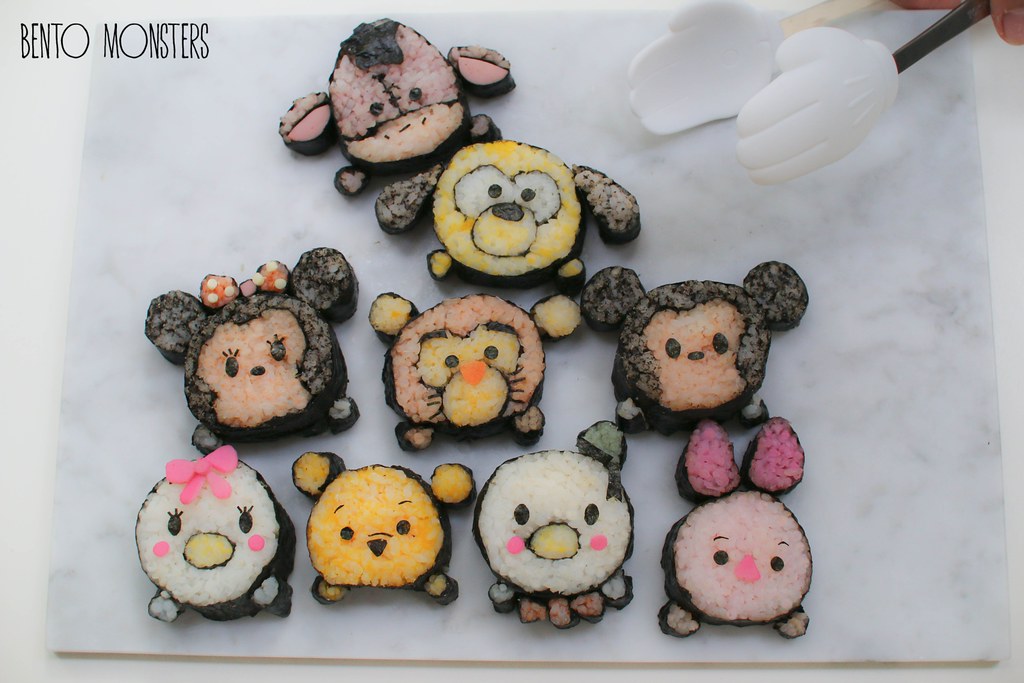
Hello! I'm back to update my blog today with more recent creations. I got a copy of Tsum Tsum deco sushi book in Japan, and tried my hands on making some using the recipes in the book. The book is in Japanese, but there are pictures, and it's not difficult to guess how to make the sushi from there. I will probably be exploring more creations in the book again.

IMG_9245
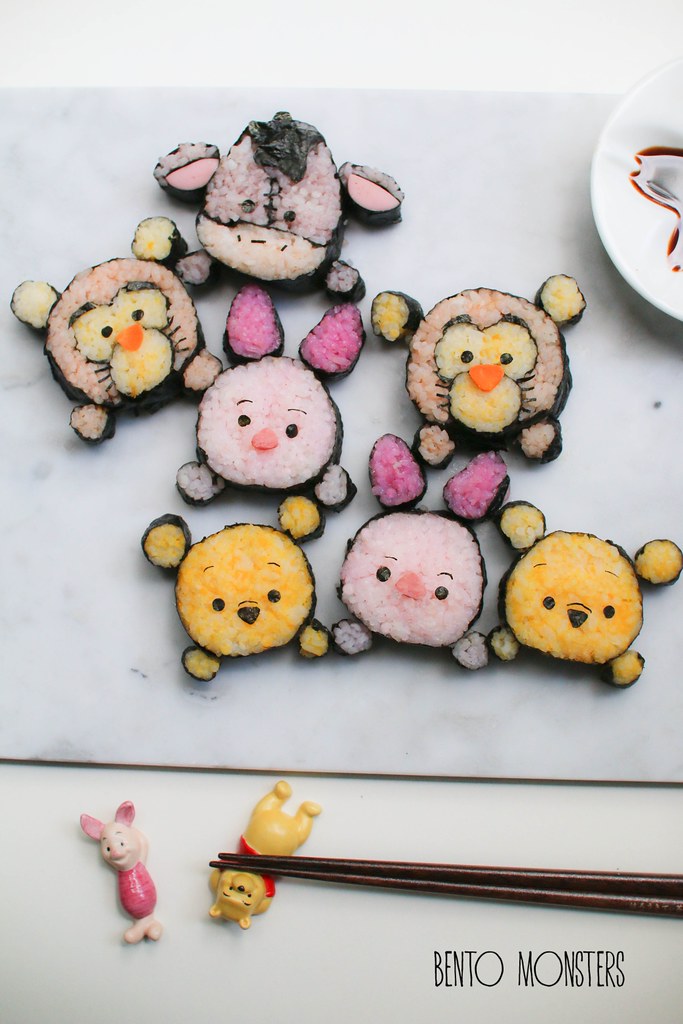
The first set I made was Pooh, Tigger, Eeyore and Piglet. You might have noticed that the sides aren't neat, it was due to the fact that the knife I'm using is not sharp enough. I actually don't have any sharp knifes at home, I've a phobia of them, I'm so accident prone, I think I'll easily slice off my fingers with a sharp knife.

IMG_9249
The colors were done using mashed egg yolks, deco furi and sushi mix. It's not that difficult making these as the recipes in the book was very precise, I just need to work harder on the neatness part.

IMG_9272
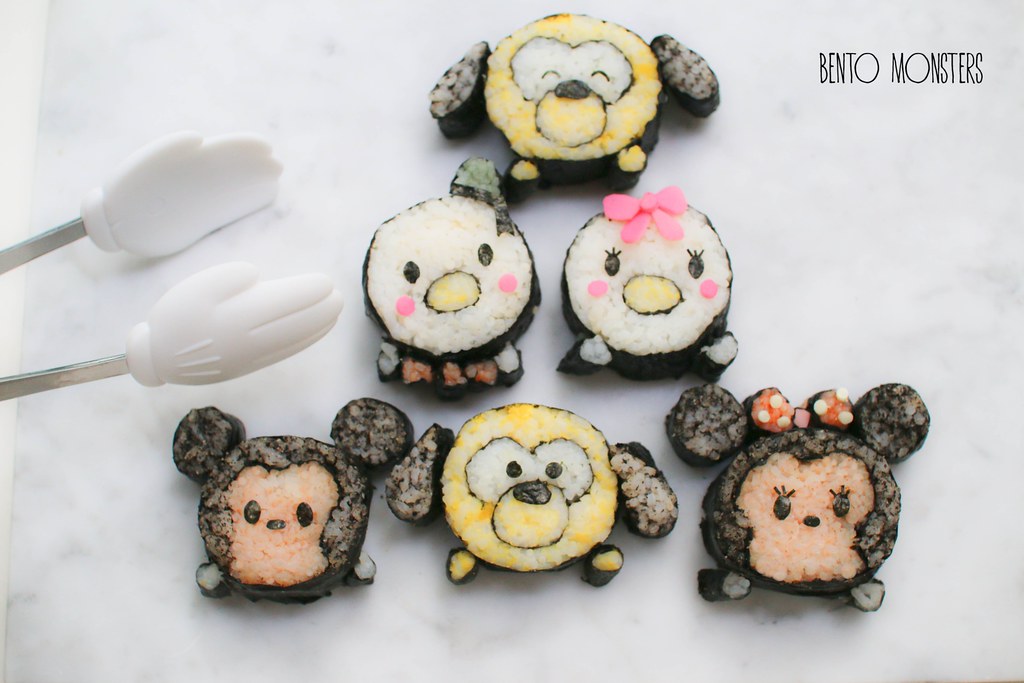
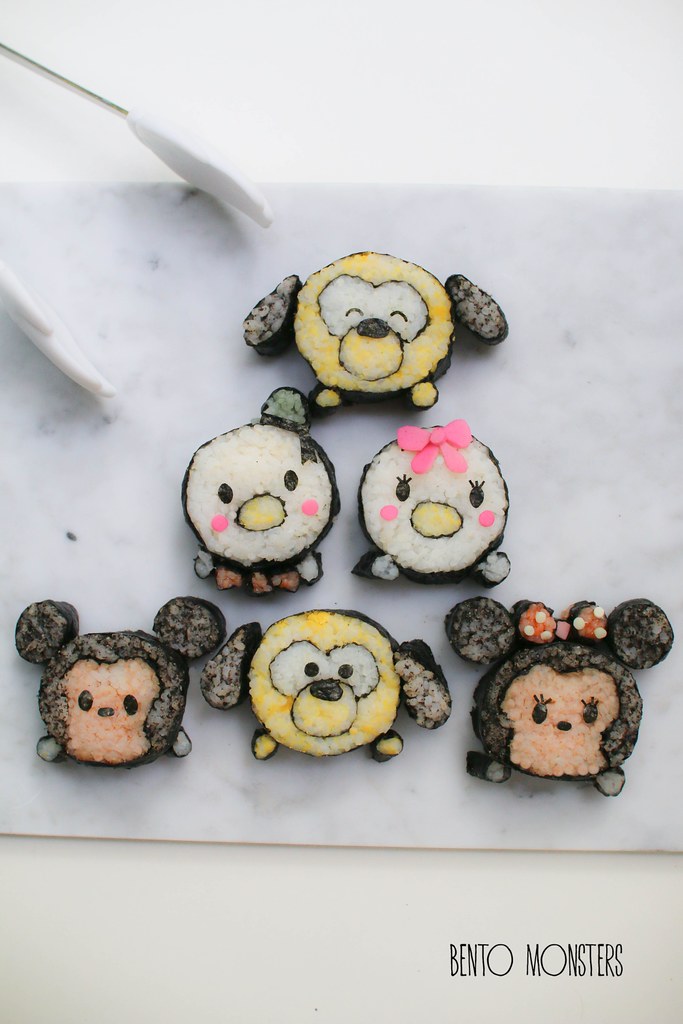
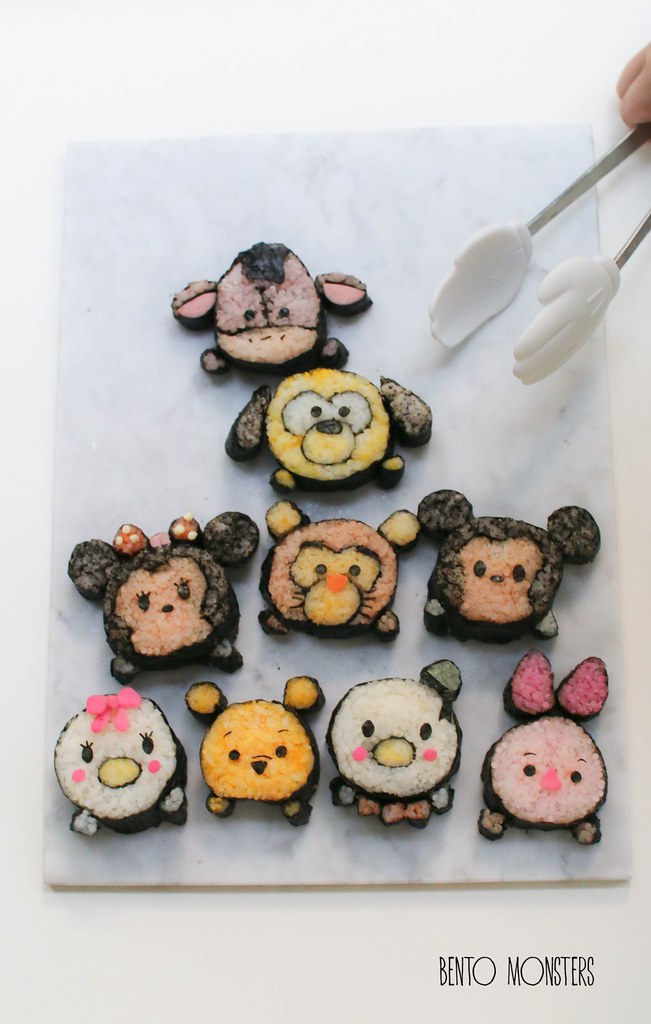
The second set I made was Mickey, Minnie, Donald, Daisy and Pluto. I accidentally mixed in a little too much grounded black sesame with the rice, the rice turned out too dry and not sticky, so the grey portions were tough to roll, lol. Never mind, I'll learn from my mistake, so hopefully next time will be better.

IMG_9274
Ingredients used to get the different colours were ketchup, deco furi, mashed egg yolk and grounded black sesame. The pink portion of Kamaboko was used for Daisy's bow and Donald and Daisy's cheeks.

IMG_9291
And here's a shot of the different characters from the two sets I made together. Which one do you like?

IMG_9306
I don't think I'll be making so many different designs at one go the next time, probably at most just two or three different ones next round.

Friday, 23 October 2015

Panda & Penguin Sushi

I love making sushi lately, simply cause they are relatively fast to make and I can present them without the side dishes. I've made quite a few so far, and still have ideas in my notes for many more, so you'll be seeing more of them, lol. What I've actually done after taking photos was to cling wrap the sushi, and kept them in a air-tight container in the fridge, so I can pack them for my boys' bentos for school the following day.
   IMG_5705
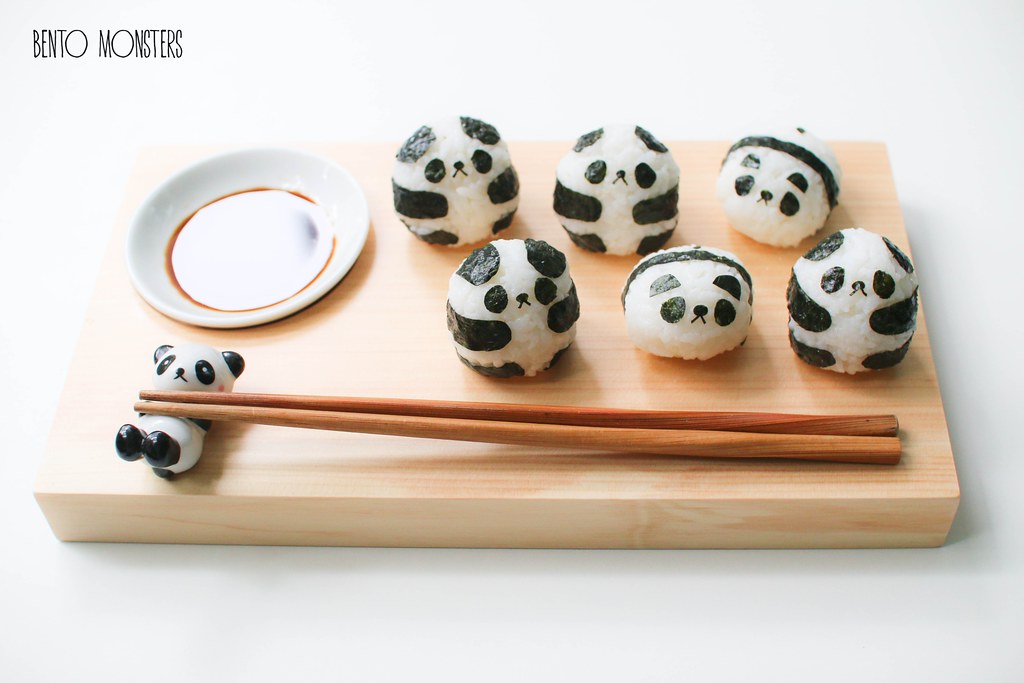
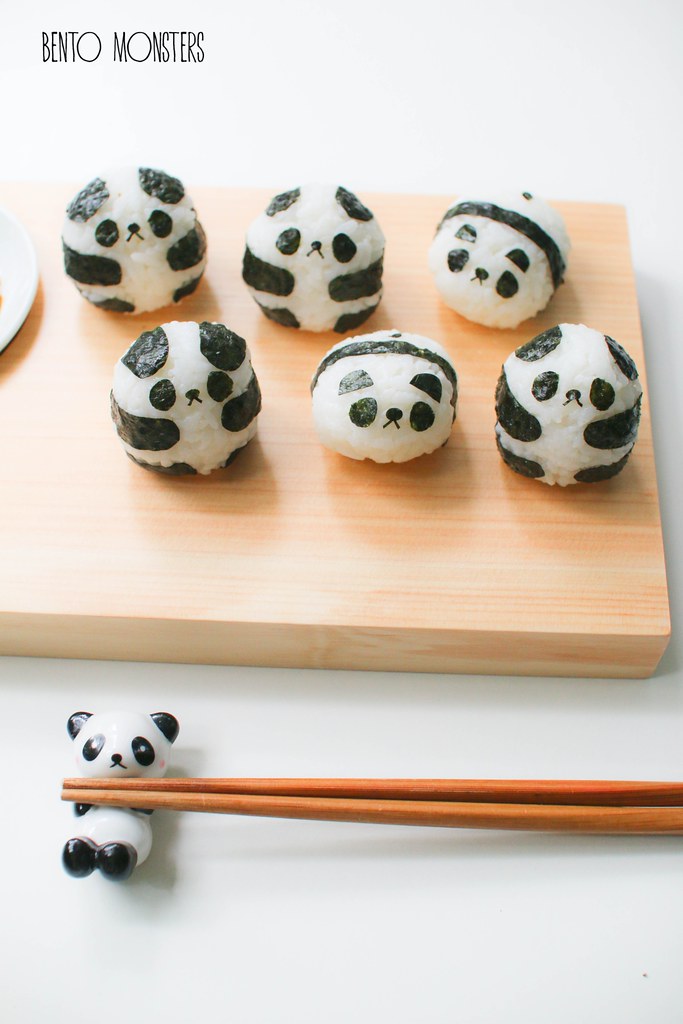
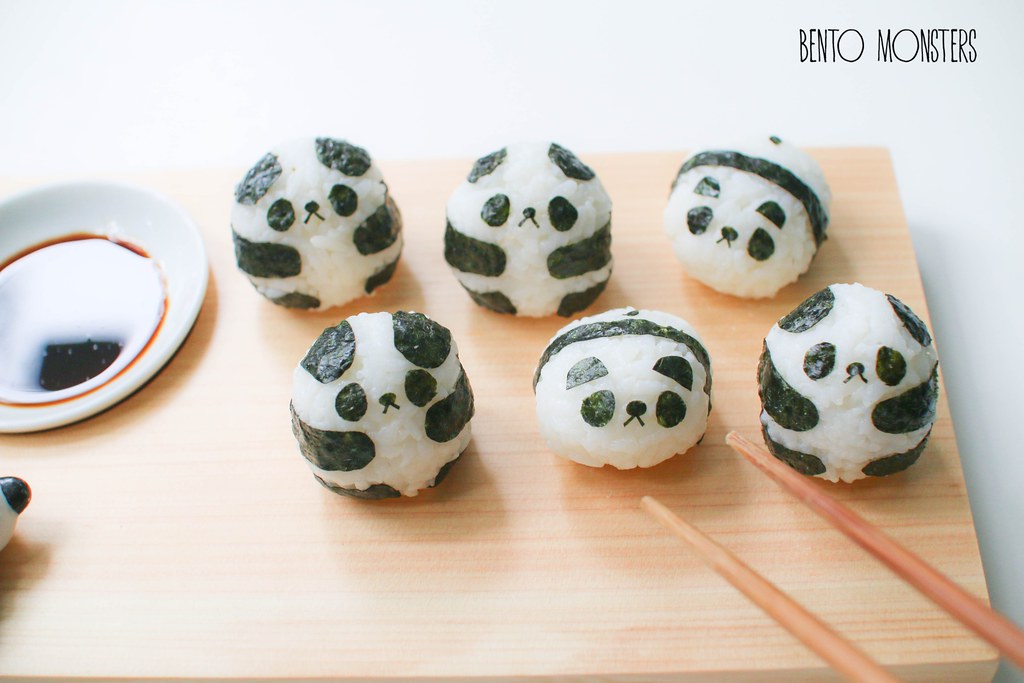
My favourite has to be these pandas, have ideas for more pandas sushi, will work on them soon. Maybe sushi is not the correct name for them, they are more like onigiri, but their size are small like sushi, whatever, lol.

IMG_5710
They are very easy to make, just using two ingredients - rice and nori.
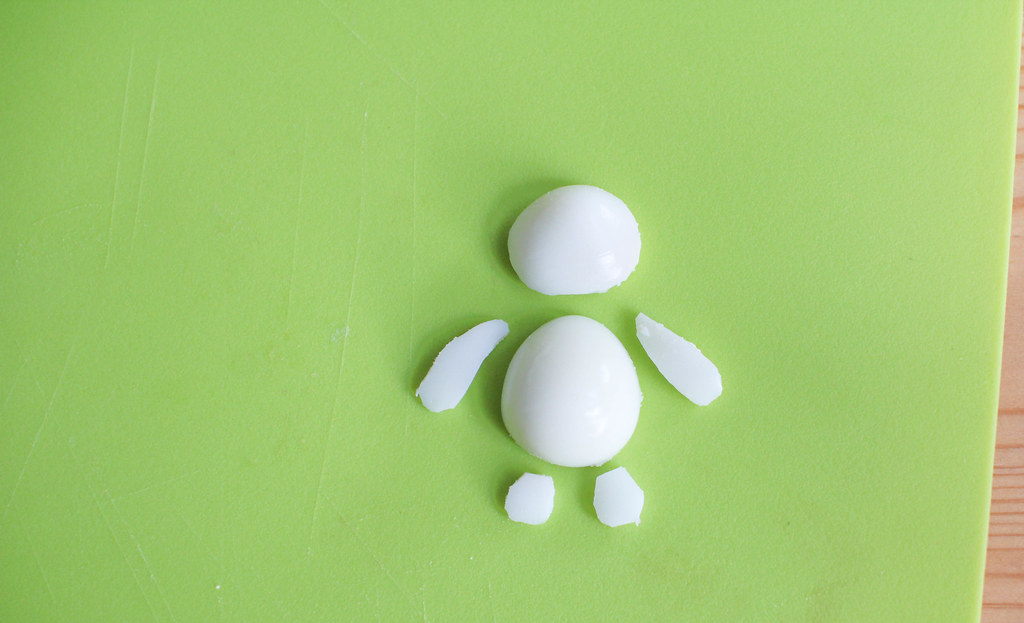
IMG_5707
I added lightly salted flaked salmon for the fillings. The recipe for the salmon is similar to the salmon soboro recipe here, but I added slightly less salt, as my boys will be dipping the pandas in soy sauce.

IMG_5767
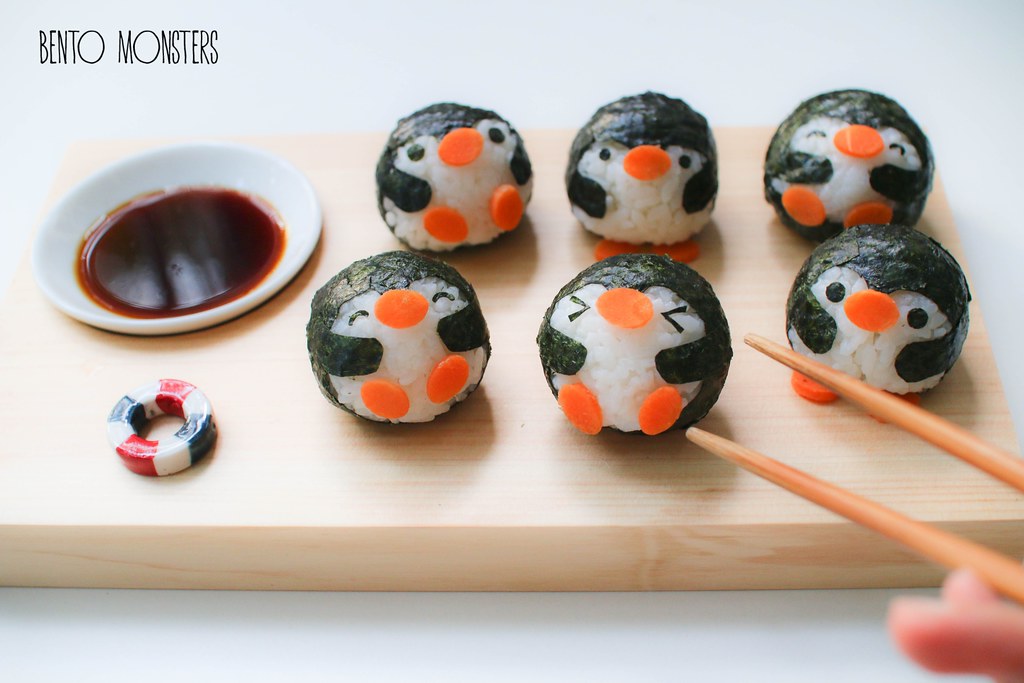
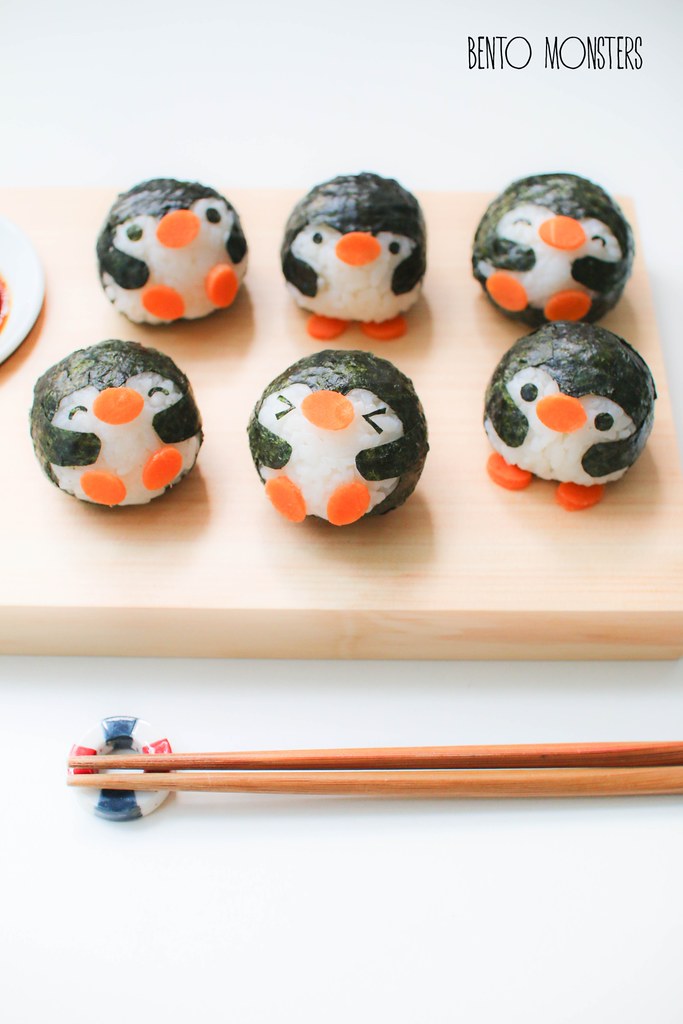
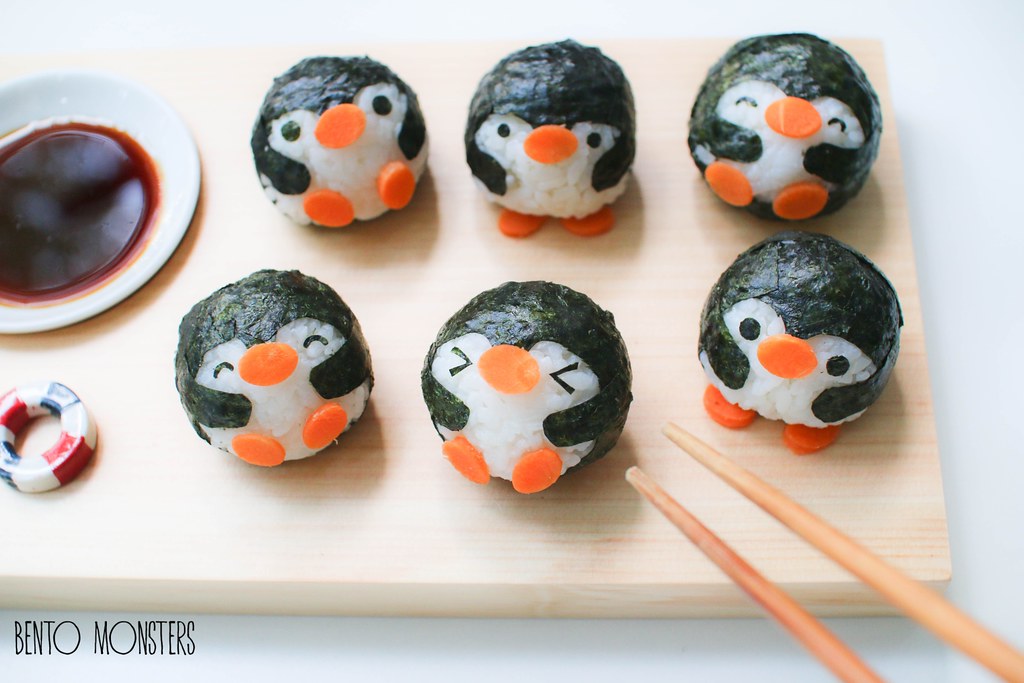
The next sushi I did were these penguins sushi, similar ingredients to the panda, with the addition of carrots.

IMG_5781
My favourite is the one in the middle front row, who looks like he's sliding. >.<

IMG_5784
That's all for today's post, I'm hoping to get two more Halloween creations done next week, and also blog about them before Halloween is here.

Tuesday, 8 September 2015

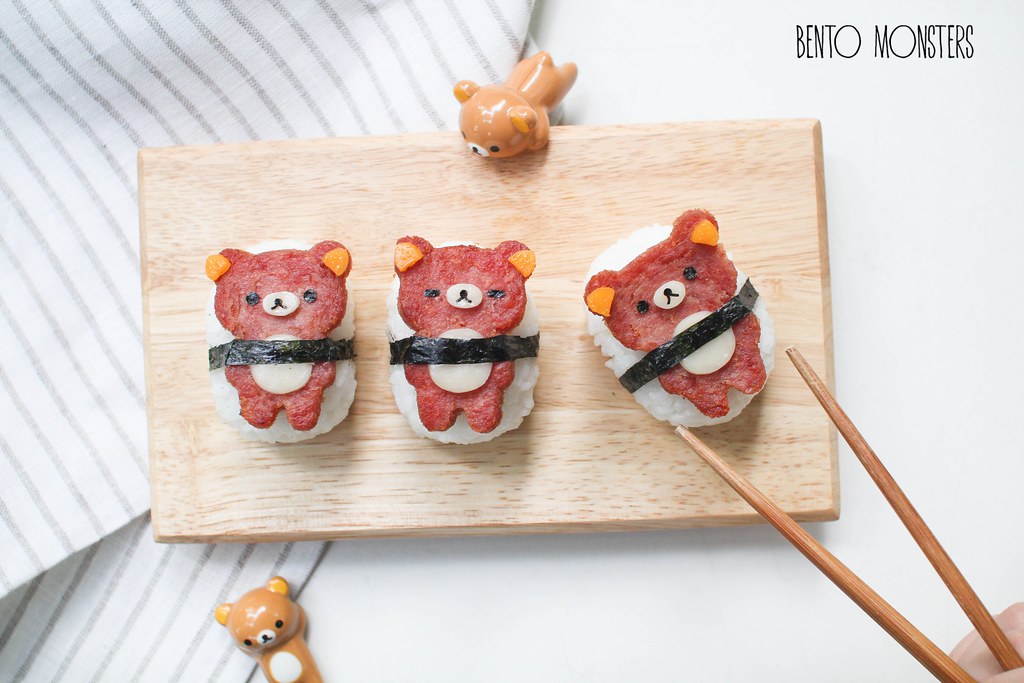
Rilakkuma & Kiiroitori Sushi

I love making sushi lately, if you have been following me on Instagram, you would have seen the many different ones I've made. It's great for days when I'm feeling lazy (which is almost all the time. -_-). I usually just serve them on a sushi board, as it saves me the trouble of arranging the side dishes in a bento, but they are perfect for packing in bentos as well.

IMG_4661
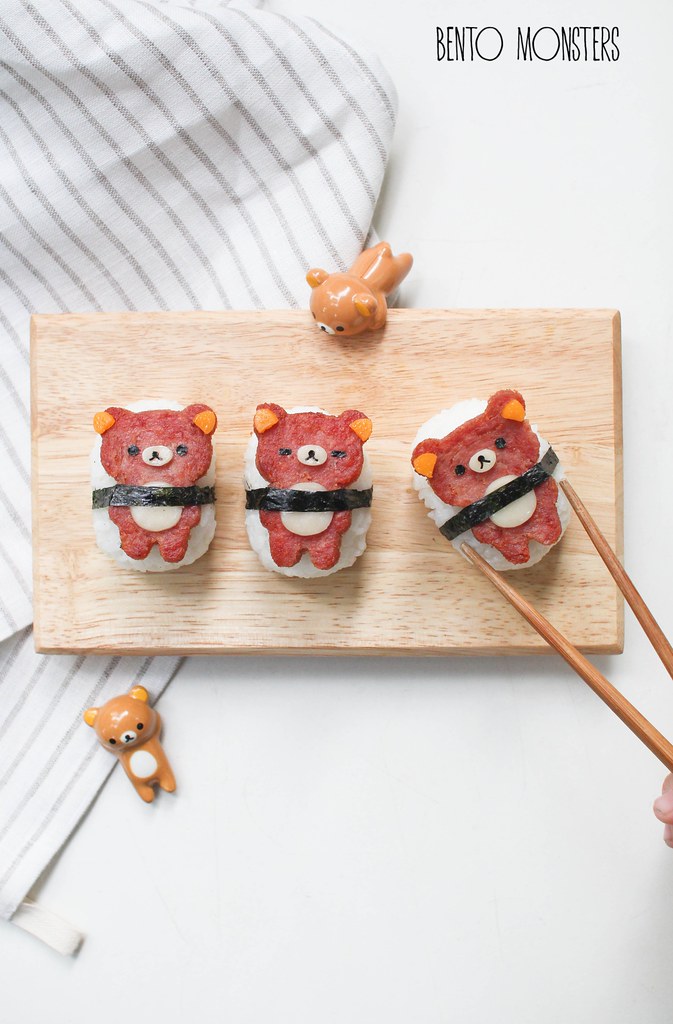
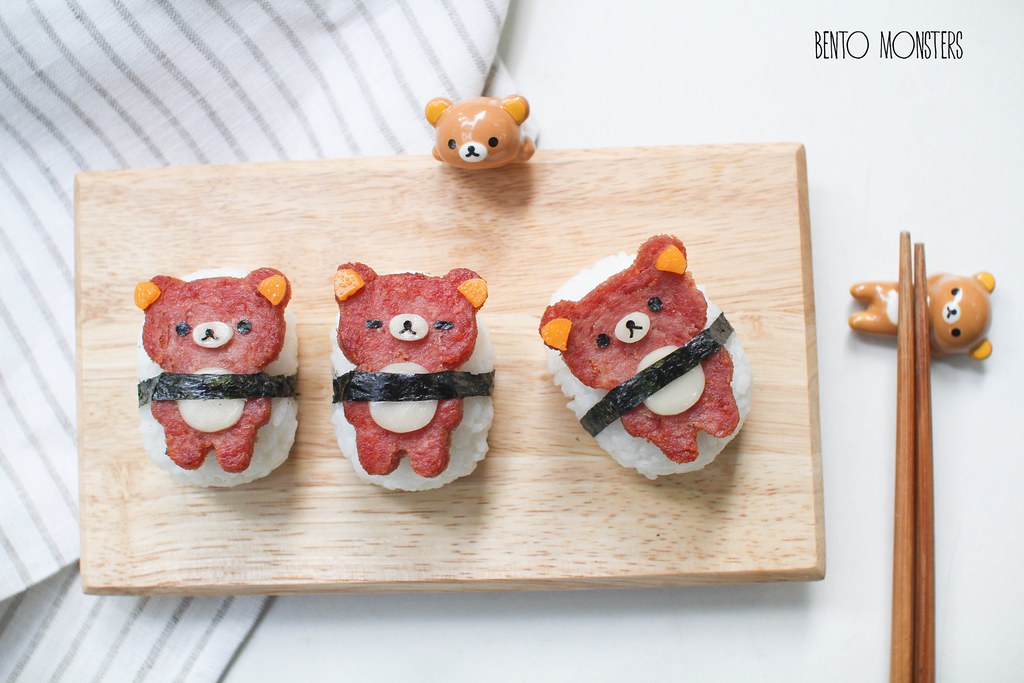
Spam musubi, a popuar Hawaiian food, which composed of a piece of grilled Spam on top of rice. So sinful but anything with Spam just tastes so good.

IMG_4660
I used a Rilakkuma cutter to cut out Spam first, before pan-frying them till brown.

IMG_4664
The details were done using two different coloured cheese and nori.

IMG_4679
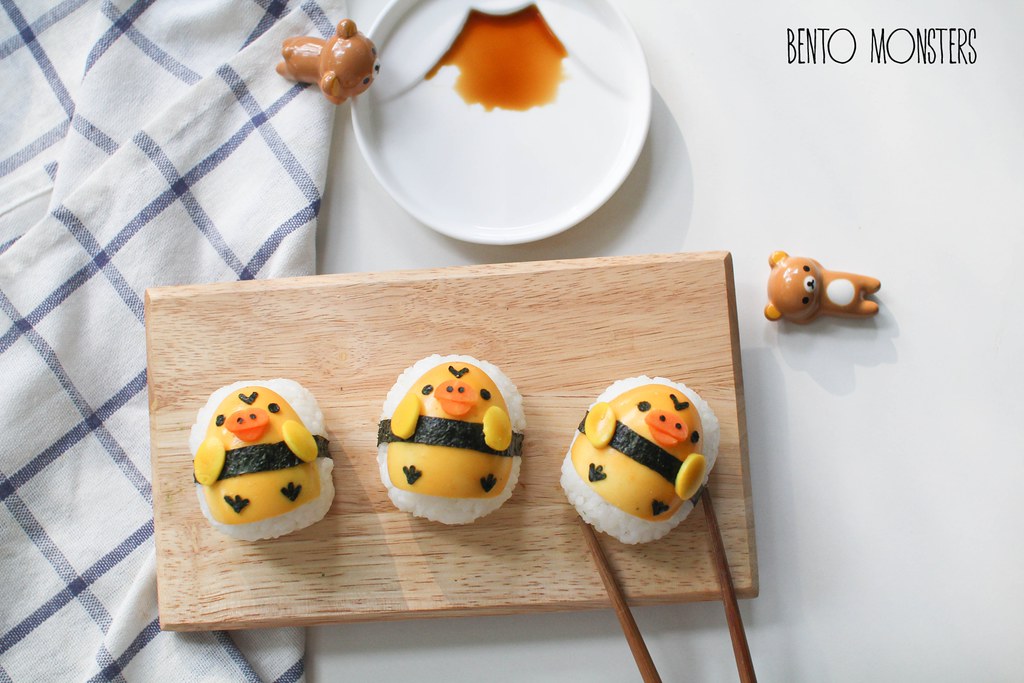
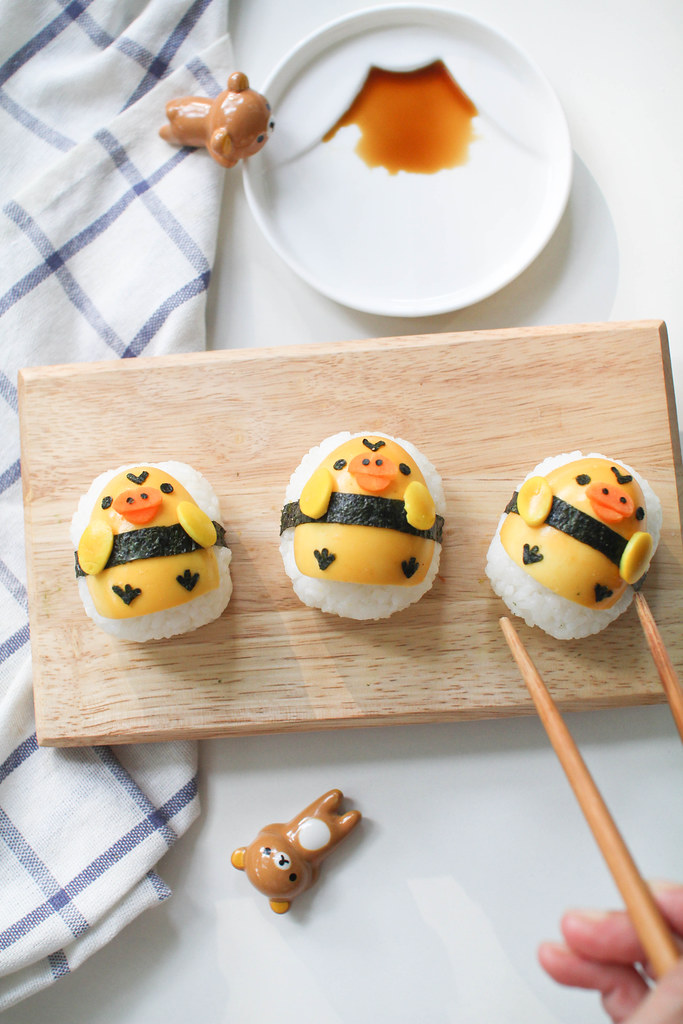
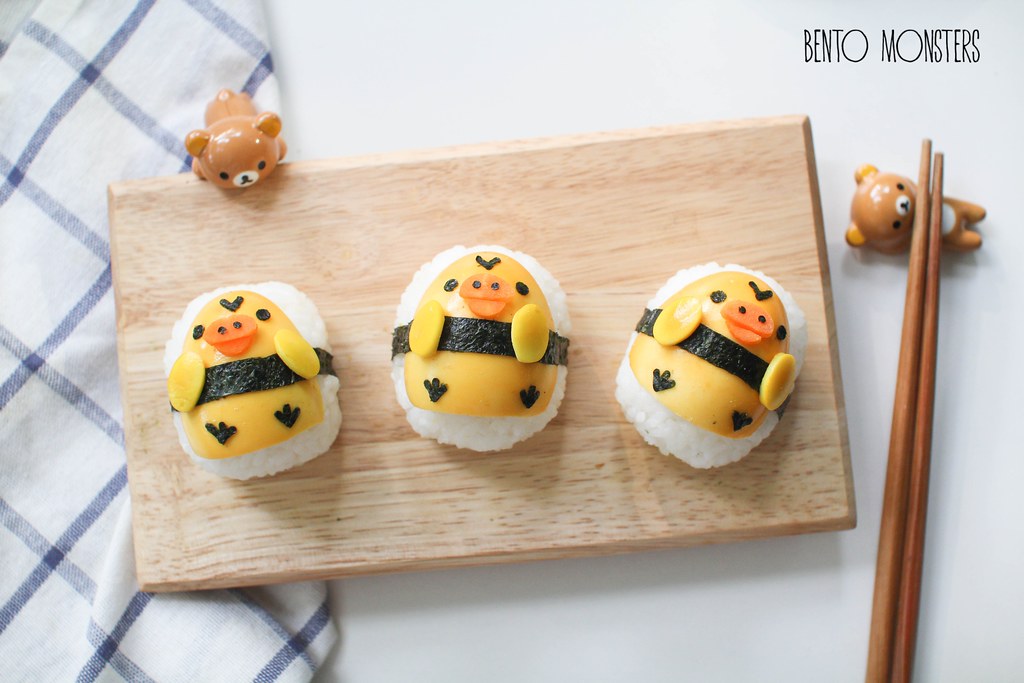
I've seen Kiiroitiori sushi made using tamagoyaki before, but I decided to use hard boiled egg for mine instead. I soaked the hard boiled egg in turmeric water to get the yellow colour.

IMG_4682
I sliced the hard boiled egg in half so it sits better on the rice. Can you spot the Mount Fuji saucer? Love the design, but it's a little tricky to pour the soy sauce in nicely. Maybe it's because I've butter fingers, lol. Sometimes I find it difficult to reprimand the boys for being clumsy, like knocking over the glass of water on the table, because I accidentally do it too at times, oops.

IMG_4686
Ingredients used for the details here were just carrots and nori. I attached on his wings, which was cut out from quail egg, using pasta sticks. Similarly, the carrots were attached on the same way, I'm using cooked carrots here so they are soft. If you are using raw carrots, you can spread on a little mayonnaise, so they will "stick" onto the egg.

Friday, 14 August 2015

Baymax Sushi

Today's food art is everyone's favourite healthcare companion, Baymax. And today's food art comes with step-by-step pictures. The truth is I had wanted to update this post much earlier, but I was lazy to edit the step-by-step photos, so I kept changing to another creation to update instead. -_- Okay, finally decided to get it done today.

IMG_4798

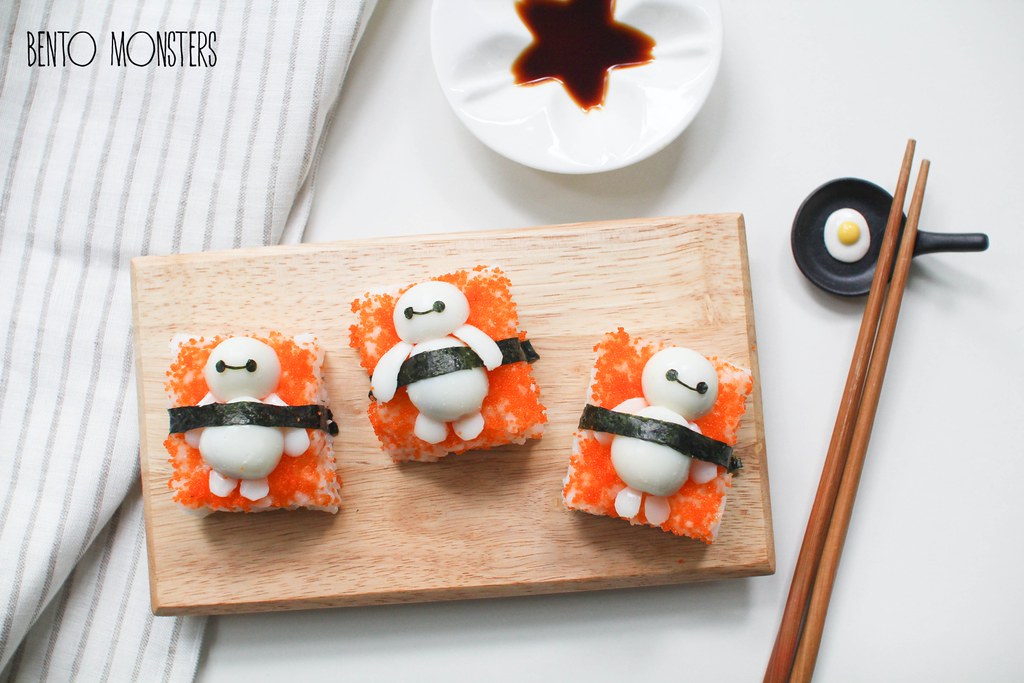
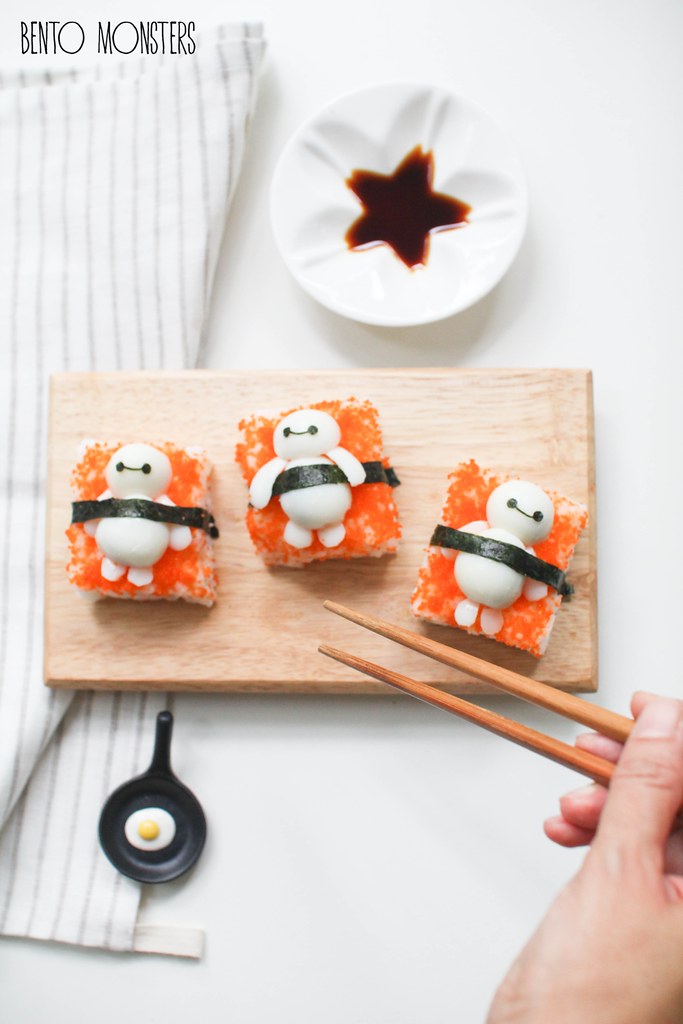
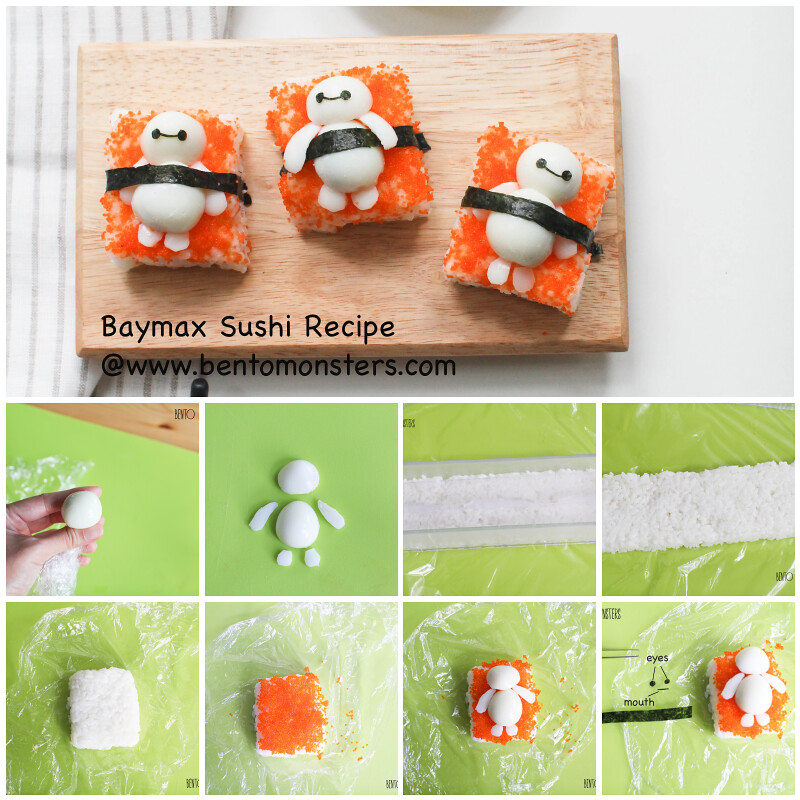
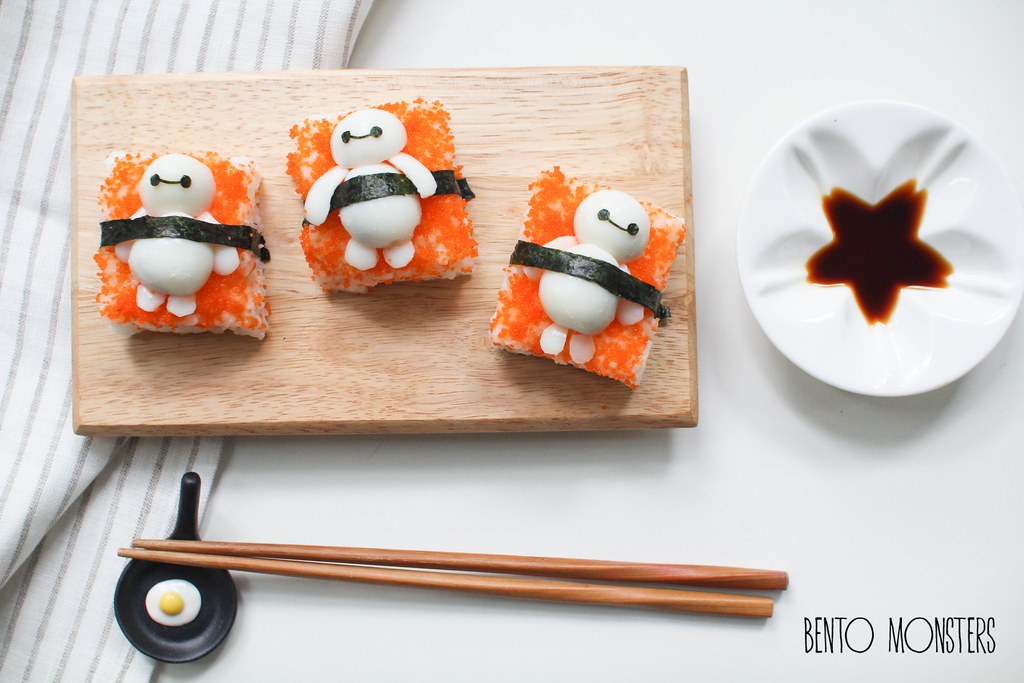
I made two different types of Baymax sushi, this one in the picture is sushi rice topped with ebiko. Babymax was made using quail eggs and nori.

IMG_4806
Someone commented Baymax looks like he's strapped to an electric chair. It does seems like so, but he looks quite happy to be electrocuted. -_-

IMG_2031
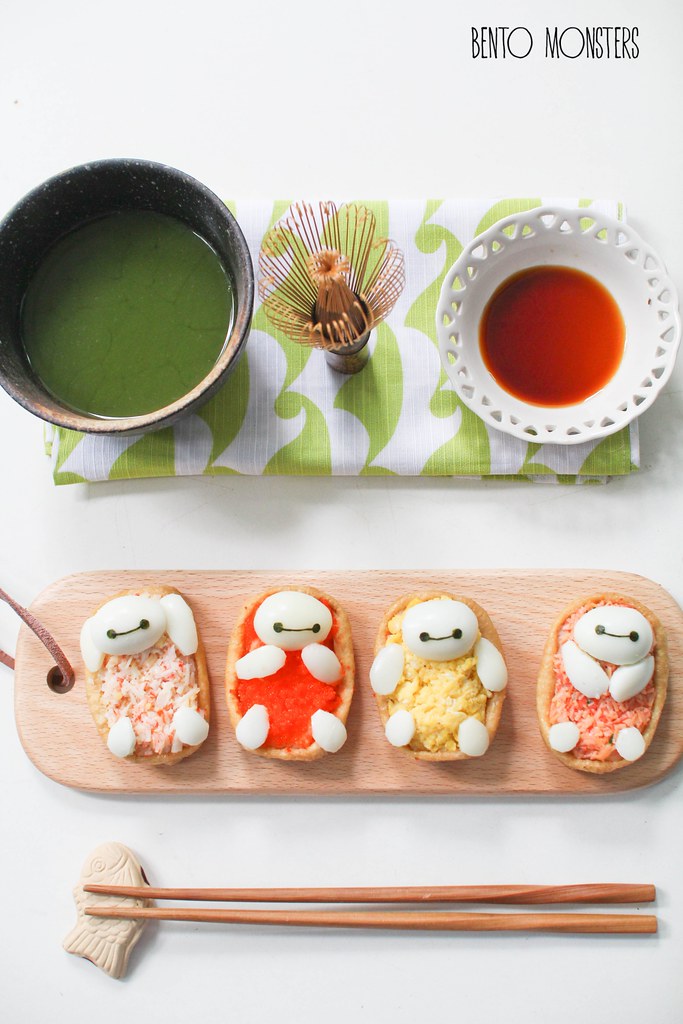
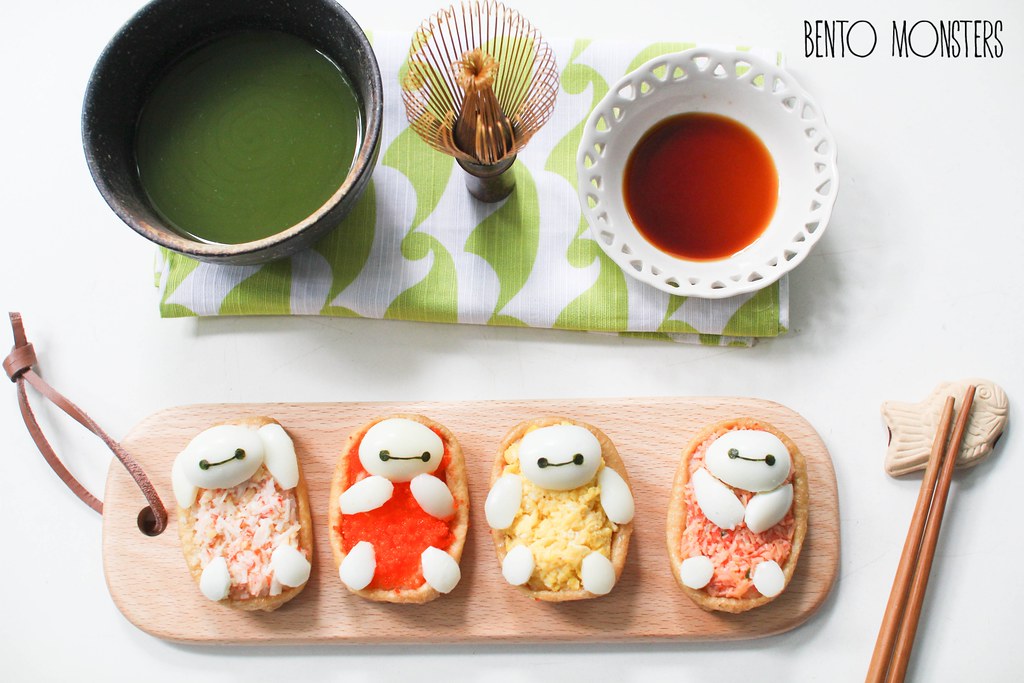
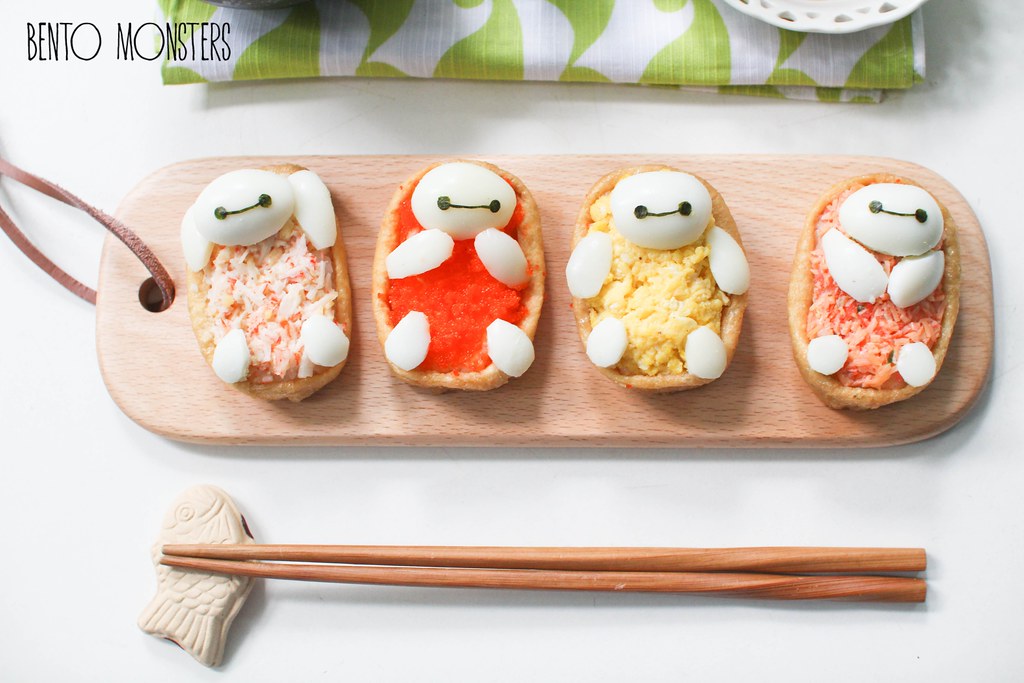
This is my second sushi design. I first filled the aburaage pouches with rice, then I topped them with different fillings. From left to right, there's crabstick, ebiko, scrambled egg and salmon.

IMG_2035
Baymax was made from quail eggs and nori and arranged in a variety of poses, lol.

IMG_2038
Do they look like they are soaking in a bathtub?

baymaxsushi
I only did the tutorial for the first sushi design, but I'm sure you can figure out the other design from this tutorial.

IMG_4955
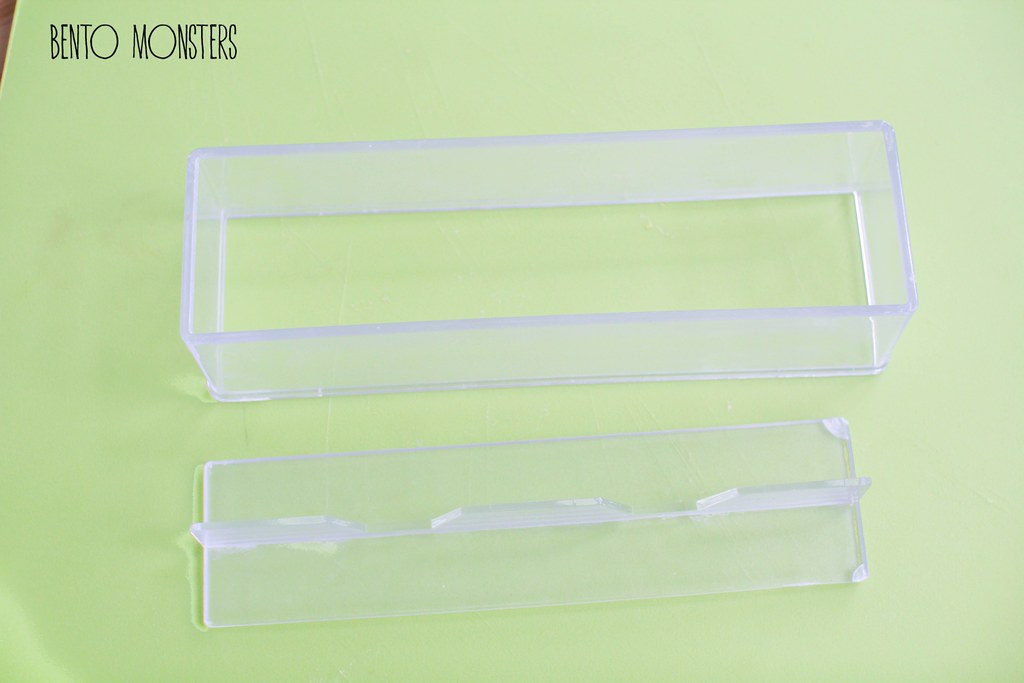
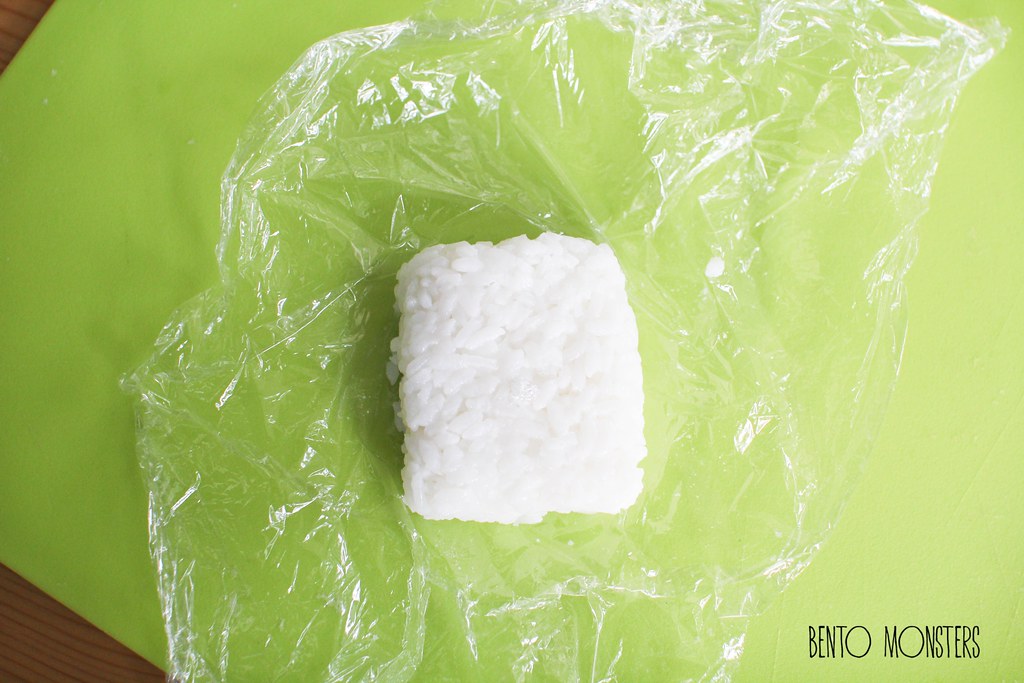
I used a rectangular mould to mould the rice, I got this from Daiso. This mould is commonly used for making Spam musubi. It's easier and faster to use this mould, but it's not a must,  you can just use cling wrap to mould the sushi rice too.

IMG_4958
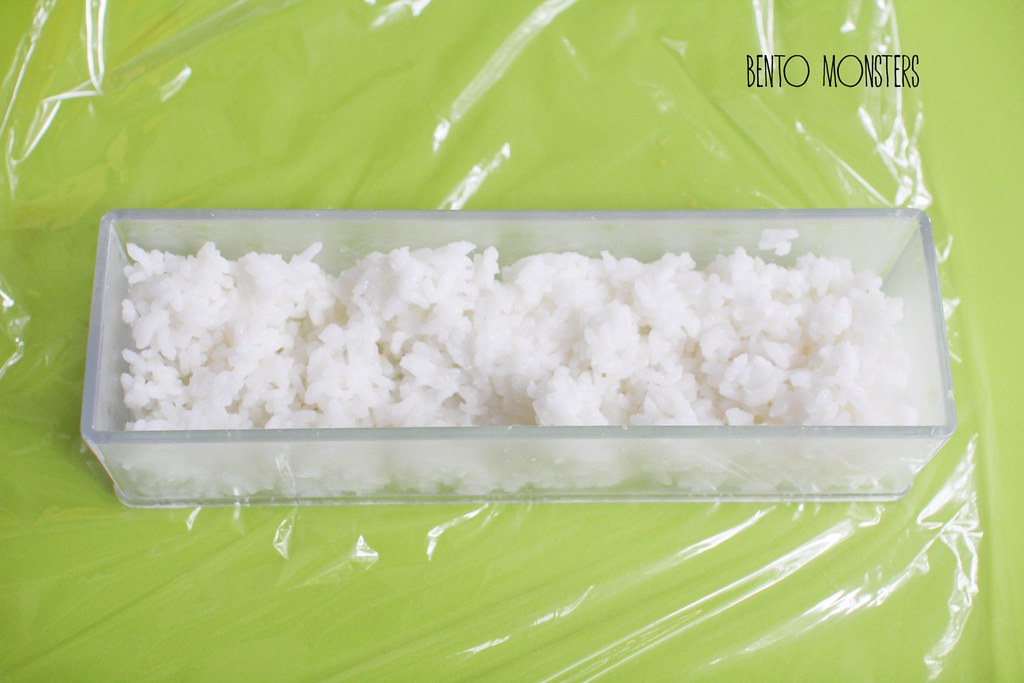
Wet the mould using water, place the mould on a sheet of cling wrap, topped it up with sushi rice. Wetting the mould prevents the rice from sticking.

IMG_4960
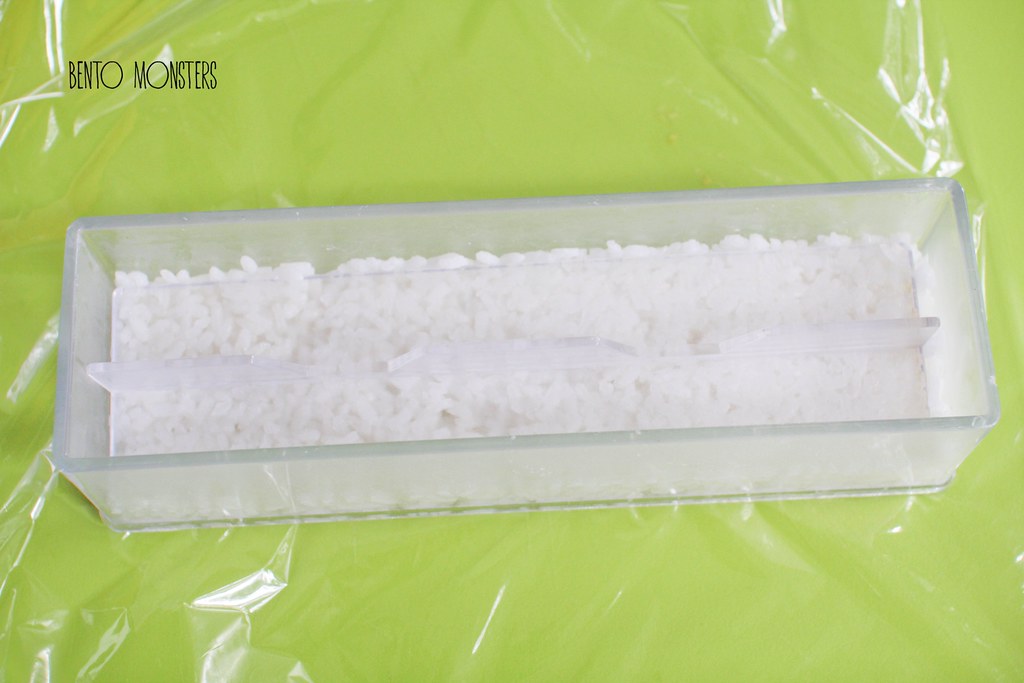
Press down hard on the rice to compact it.

IMG_4963
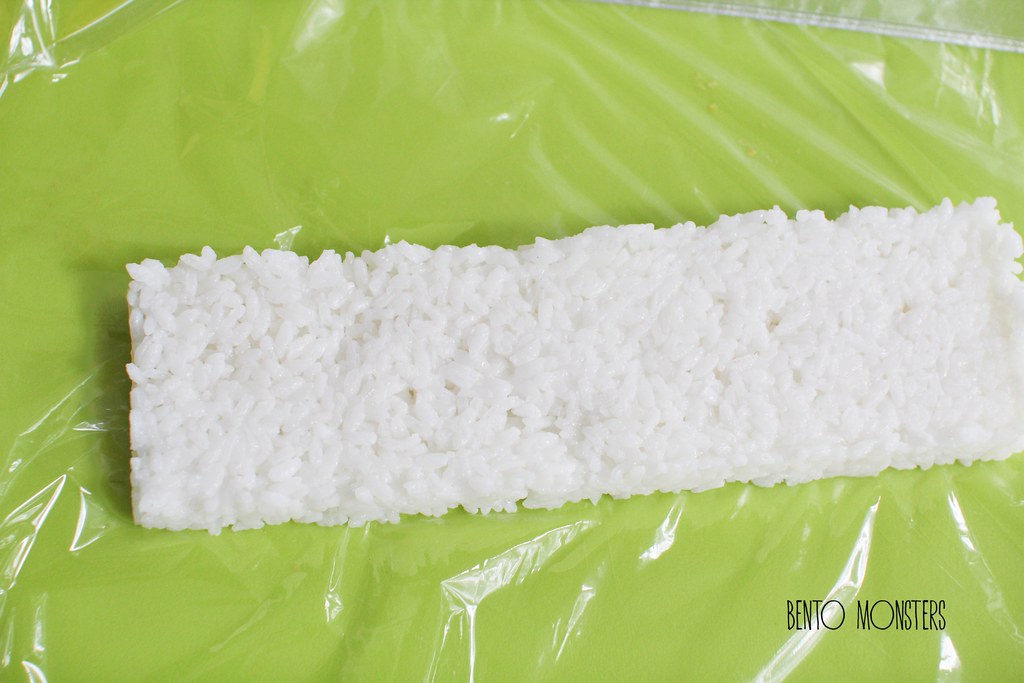
Slide the mould out.

IMG_4982
Using a wet knife, cut out the rice.

IMG_4985
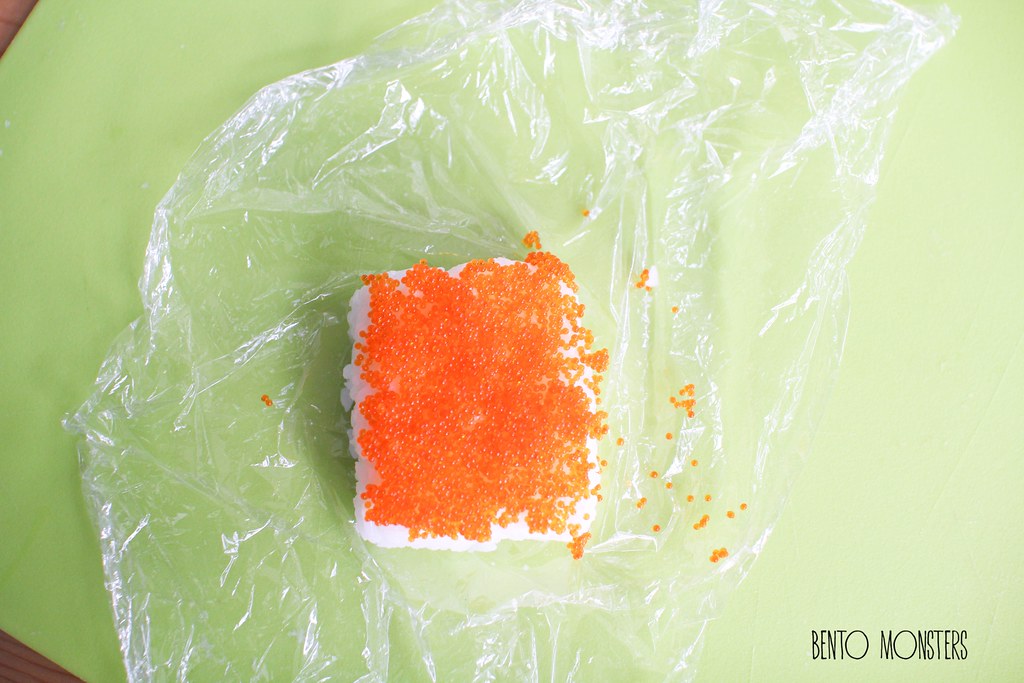
Top the rice with ebiko, you can use other ingredients like scrambled egg, chopped spring onions, etc, if you like. As Baymax is white, you need to top the rice with a coloured ingredient, so that there will be a contrast.

IMG_4987
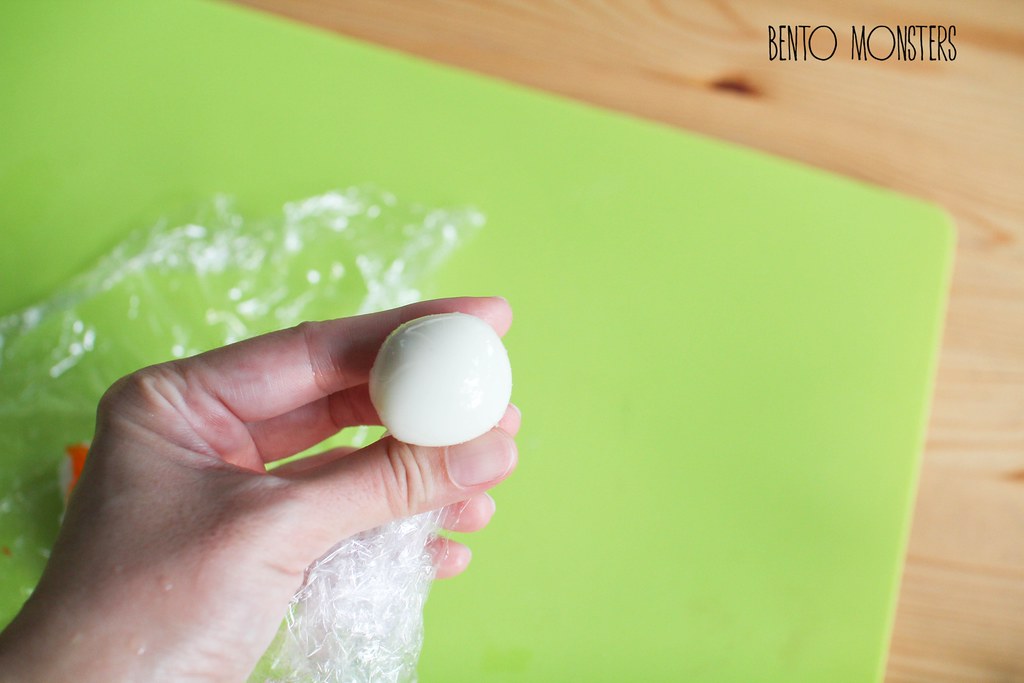
To make Baymax, you need hard boiled quail eggs. When the quail egg is still hot, wrap it in cling wrap to shape it round. Eggs can be moulded while they are still hot. When you are happy with the shape, cool down the egg by dipping in ice water. This rounded quail egg will be used for Baymax's head.

IMG_4989
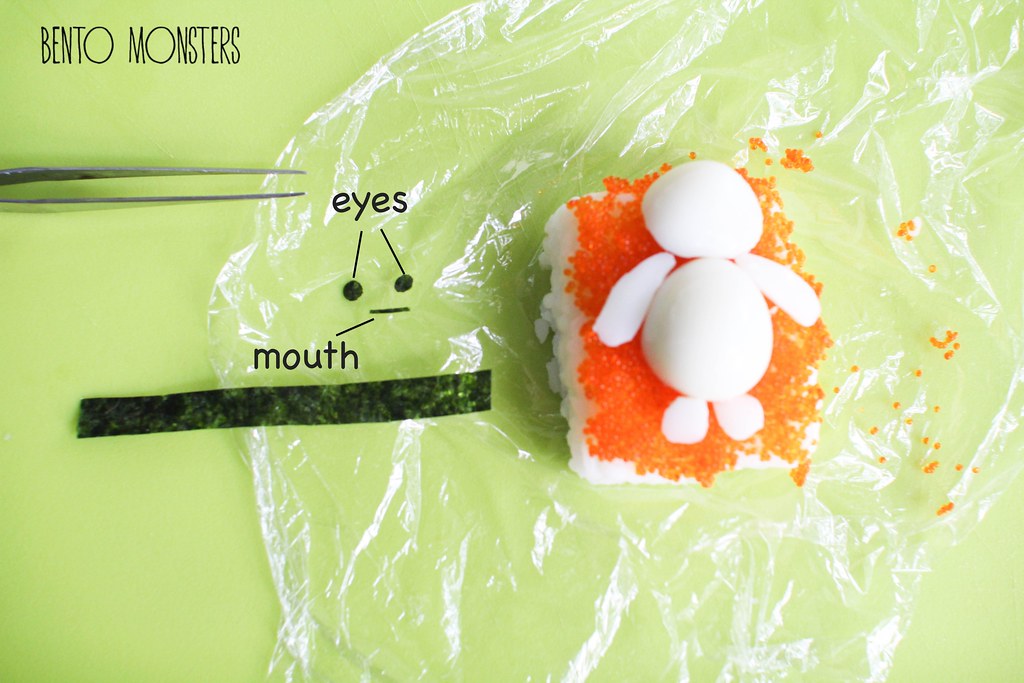
Using another quail egg, cut out Baymax's body, hands and legs. I cut the quail egg in half, one half is used for the body, and the other half is used to cut out the hands and legs. I also cut the rounded quail egg in half, and used it to make the head for another Baymax. Not a must to cut in half like I did, but I prefer to do so, as the quail egg sits better with a flat bottom, and I do not have to use too many eggs.

IMG_4991
Assemble the quail eggs on the sushi, secure using pasta sticks.

IMG_4993
Using a hole punch, cut out Baymax's eyes from seaweed. Use a pair of scissors to cut out Baymax's  mouth and also a long strip of nori to wrap Baymax to the sushi rice.

IMG_4802
And your Baymax sushi are done. Bon appétit! Hope you like this cuddly fella as much as we do. :)