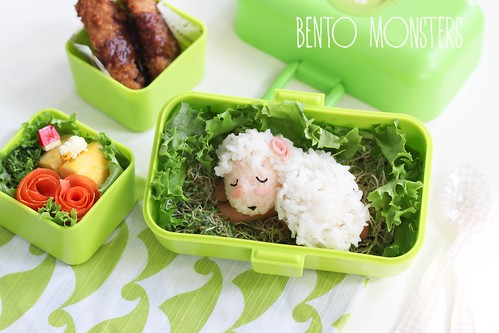
I'm sharing the last bento I made for Chinese New Year. This one is not so festive, but it's Chinese New Year inspired, since this year is the year of the sheep.
Showing posts with label review. Show all posts
Sunday, 1 March 2015
Tuesday, 27 January 2015
Cornell Hello Kitty Sandwich Toaster
Do you remember I shared about the Hello Kitty sandwich toaster from Cornell last year? The toaster just got a makeover and I love this new revamp version.
Friday, 23 January 2015
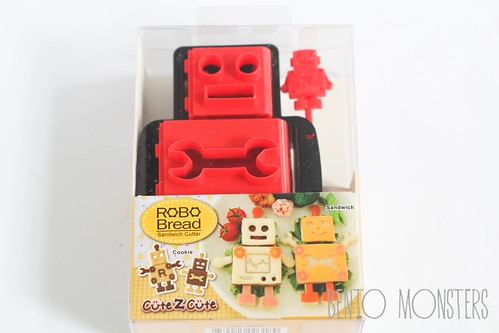
CuteZCute Robo Bread
Sorry for the lack of updates, had a crazy week, something unpleasant happened as well, hiaz, don't feel like talking about it. :( Next week will be even busier, but things should get slightly better for me after that. I know some of you want the recipe for my steamed buns, I will get one of the buns recipe updated next week. Meanwhile, if you want to make something cute for Chinese New Year, you might want to click HERE to check out my piggy pineapple tarts recipe from last year. The same post has instructions to shape bunny and panda pineapple tarts too.
Friday, 21 November 2014
Keroppi Noodles & Philips Noodle Maker
Monday, 17 February 2014
Cornell Hello Kitty Sandwich Toaster
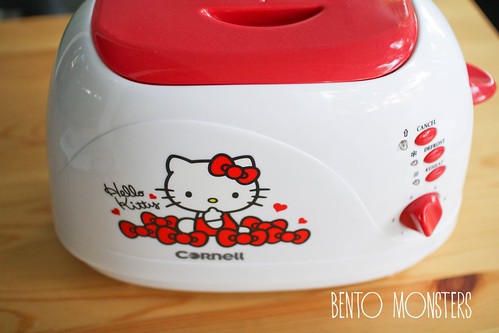
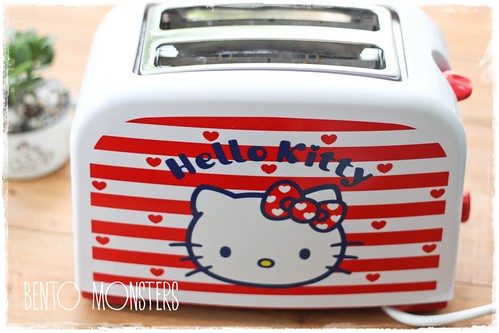
Do you remember the Cornell Hello Kitty Sandwich Maker I shared before previously? This time, I am sharing the Hello Kitty Sandwich Pop Up Toaster from Cornell.
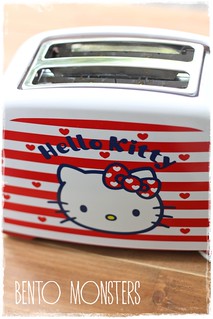
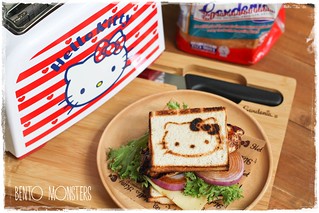
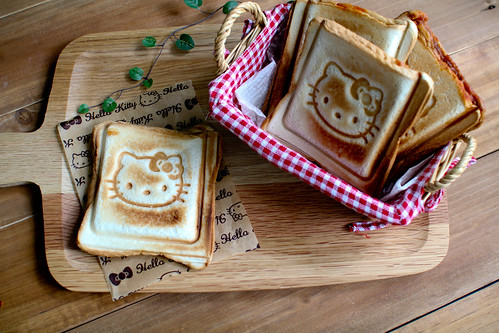
This is the kawaii toaster I'm referring to, which lets you make a Hello Kitty print on your toasted bread. I received it last Thursday and was eager to try it out the following day. The toaster comes with a cover lid that helps to keep dust out when the toaster is not in use. It also comes with a removable tray at the bottom that helps you to get rid of the bread crumbs.
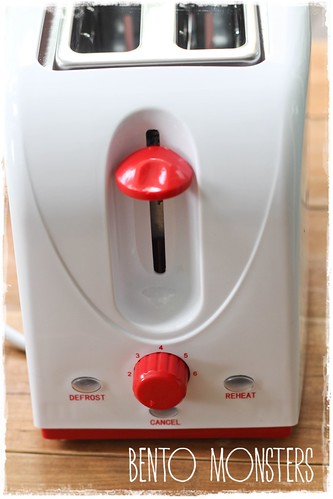
The toaster is a breeze to use. It comes with an adjustable knob for you to adjust the heat settings. I suggest setting it to around 3 for your first try. After that, you can turn the heat level up or down, depending on how dark/light you want your Hello Kitty print to be.
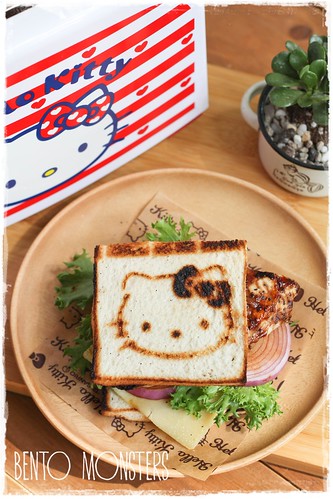
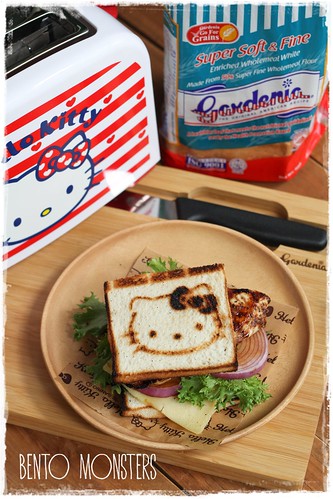
I made a grilled chicken sandwich for our dinner. I omitted the onions for my boys' sandwiches as they don't like onions. I will be sharing the recipe at the end of this post.
The Hello Kitty Pop Up Toaster is available at all major electronics and departmental stores.
If you are staying in Singapore, you can now stand a chance to win a Hello Kitty Toaster or Sandwich Maker, I will share about it in tomorrow's post. I will also share another recipe for you to try with the Sanwich Maker tomorrow. :)
GRILLED CHICKEN SANDWICH RECIPE
Ingredients:
2 slices of bread
1 chicken breast
1 slice of cheddar cheese
1 tsp sake
1/2 tsp salt
1/2 tsp black pepper
1/2 onion, sliced
2 tbsp teriyaki sauce ( 3 tbsp water, 3 tbsp soya sauce, 1 tbsp sake, 1 tbsp mirin, 1 tbsp sugar)
1 tbsp mayonnaise
1 tbsp mustard
mix of salad greens
Method:
- If you do not have a bottle of teriyaki sauce. You can make some by simmering 3 tbsp water, 3 tbsp soya sauce, 1 tbsp sake, 1 tbsp mirin and 1 tbsp sugar till the mixture thickens slightly. Set this aside first.
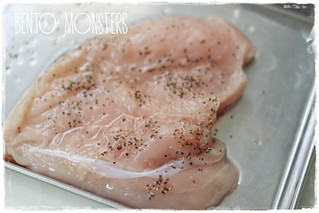
- Butterfly cut the chicken breast. Marinade chicken with salt, black pepper and sake for half an hour.
- Heat up grill, grill both sides of chicken. When chicken is almost done, spread on teriyaki sauce, and grill for another minute each on both sides.
- Toast your bread slices in the Hello Kitty Pop Up Toaster using heat level 3.
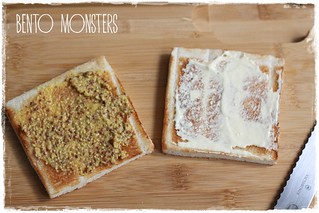
- Spread mayonnaise on one slice of bread and mustard on the other half.
- Assemble by placing salad greens on bottom half of bread, followed by cheese, onions, chicken and top half of bread.
Friday, 27 December 2013
Panda Sandwich Bento
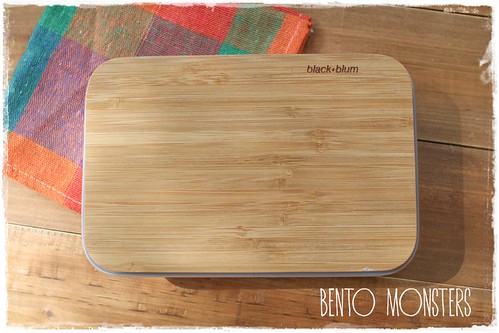
Black + Blum has kindly sent me one of their lunch box, the Sandwich on Board, just before I left for my vacation.
This is the beautiful box I received. This box is large at 1 litres, but it's perfect for packing in bread and sandwiches, as most traditional bento boxes are rather small for packing in a decent size sandwich. It works well for rice too, click HERE to check out my previous post where I packed in onigiris in this box. As you can see from my previous post, this functional box is definitely not restricted to packing sandwiches.
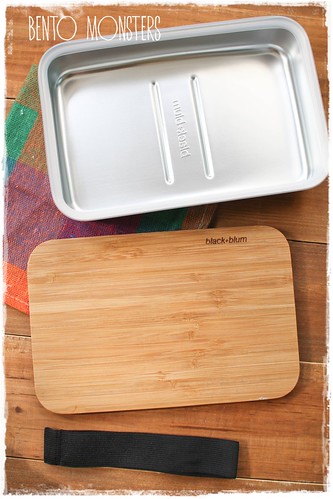
The Sandwich on Board combines an aluminium box with a wooden bamboo lid. The bamboo lid doubles as an antibacterial cutting board. How cool is that! The aluminum box has a rubber sealing all around the sides to prevent spillage and a black band holds everything together.
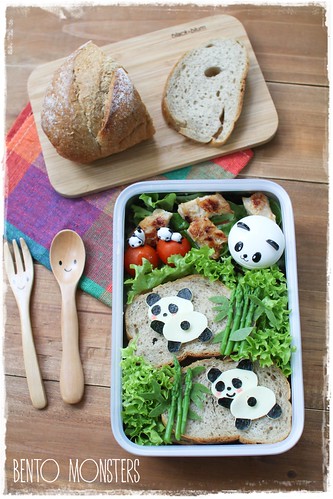
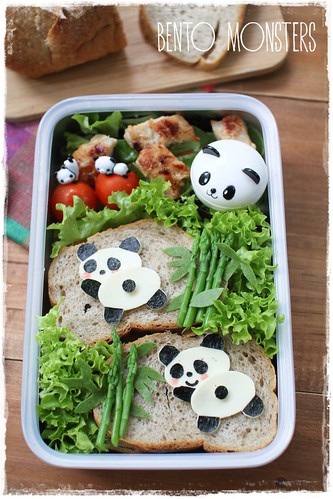
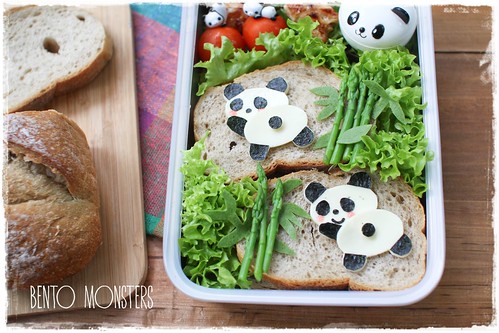
I packed in two grilled chicken sandwiches and a salad for my lunch.
I added on two pandas as decoration. The pandas were just cut out from cheese using two bear shaped cutters.
The Sandwich on Board is available in three colours, pink, green and silver. Pink and green are striking and pretty, but I chose sleek silver as I prefer a minimalist look. :)
Where to get same or similar items used in today's post:
Sunday, 3 November 2013
Bosch MSM67160 ErgoMixx Hand Blender
I received the Bosch MSM67160 ErgoMixx Hand Blender last week. I will be doing up a review in this post, as well as sharing three easy and yummy recipes using this product. One of them is mild guacamole cheese toast, which will be shared in this review post. The other two are curry pumpkin soup and fruity cream sandwich.
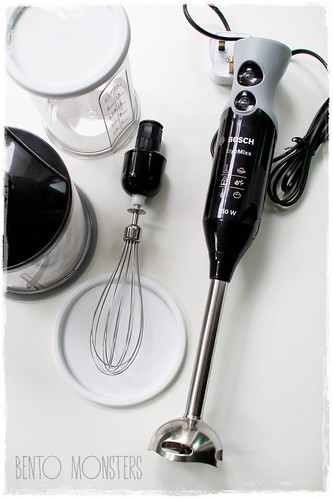
I have always wanted to get an immersion blender, as it will be so much easier to use one to blend my soups. I'm really happy with this set, as it also comes with additional attachments as well.
This blender comes with stainless steel QuattroBlade blender foot, XL chopper, stainless steel whisk, mixing beaker with lid and measuring beaker with lid. The hand blender is powerful with a 750 watts power and comes with 12 speed settings. The appliance is now retailing at a promotional price of S$109 (usual price S$159) until 5th Jan 2014, at leading electrical and departmental outlets island-wide.
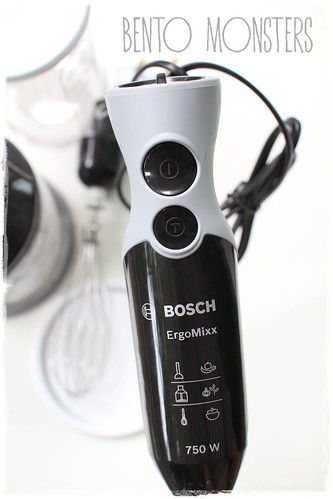
The blender is ergonomically shaped and features a soft touch handle, so it fits well in our hands and is comfortable to hold. As seen in the picture above, the blender comes with large buttons for easy operation. There is also a turbo button for maximum power too.
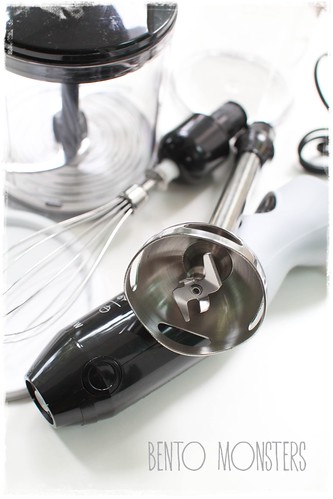
This stainless steel blender foot is not only convenient to use, it does an impressive job in blending soup, smoothies, sauces, puree, etc.
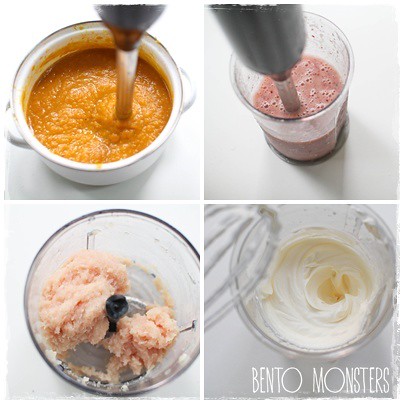
I tried out the mixing wand to blend soup and smoothies, it does the job really well and fast. I used the universal cutter to minced chicken and it does the job effortlessly too. The universal cutter is also good for blending nuts, hard cheese, garlic, onions, herbs, etc in small quantities. I like the non slip container it comes with, so the container won't shift during the mixing process.
Lastly, I tried out the balloon whisk to whisk whipped cream and I must say it does the job as well as my standing mixer. I no longer need to bring out my bulky standing mixer just to whip up some cream. :)
Overall, the Bosch MSM67160 ErgoMixx Hand Blender is a breeze to use, it was easy changing the attachments and washing up was fast. I am impressed with the blender, it is a handy kitchen gadget to own and works really well. I will definitely recommend one if you are thinking of getting a hand blender.
If you want to learn more about Bosch MSM87160 ErgoMixx Hand Blender, you can visit this page, http://www.bosch-home.com.sg/products/food-preparation/hand-blenders.html
With the help of my Bosch blender, I prepared some guacamole and served it on top of toasted cheese bread.
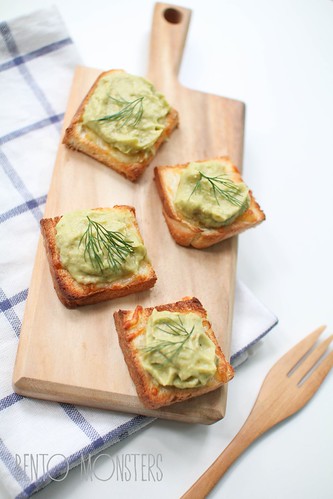
This is a mild guacamole recipe which is suitable for toddlers too.
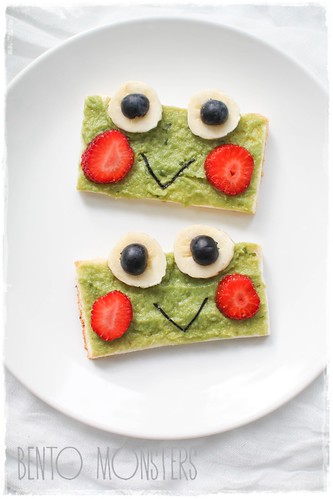
If you want to make the toast more appealing to children, how about turning them into cute froggies?
\
All you need are bananas and blueberries for the eyes and strawberries for the cheeks. You can cut out nori for the mouth, or draw the mouth with nutella or chocolate sauce. :)
MILD GUACAMOLE CHEESE TOAST
(serves 2)
Ingredients:
1 avocado
4 cherry tomatoes
lemon juice from 1/2 a lemon
pinch of salt
2 slices of bread
1/2 cup shredded mozzarella cheese
Method:
- Toast bread for 2 minutes on each side in the toaster.
- Sprinkle shredded cheese on the bread and toast till it melts.
- Cut avocado in half lengthwise, remove pit. Remove skin and scoop out flesh.
- Using a blender, blend avocado with tomatoes and lemon juice.
- Season with a pinch of salt.
- Spread mixture on top of cheese toast.
*All opinions expressed in this post are my own and there is no monetary compensation received.
Thursday, 26 September 2013
Cornell Hello Kitty Sandwich Maker
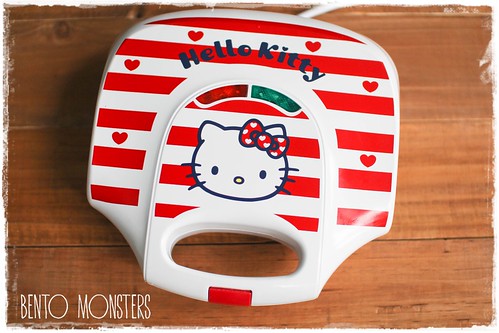
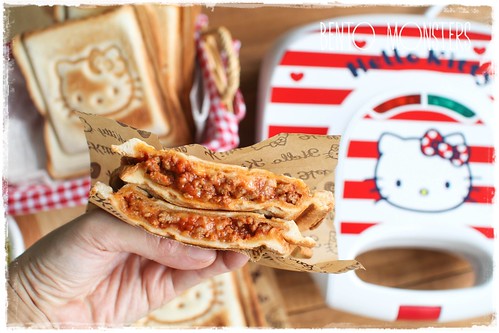
I just received this super cute Sanrio Hello Kitty Sandwich Maker from Cornell. I've shared about the Sandwich Maker on my blog last month. They were super hot and were sold out then. I've been waiting for their new shipment to arrive, so happy to finally receive the Sandwich Maker. :)
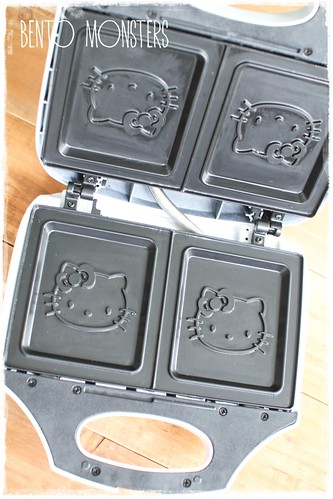
The Sandwich Maker makes a Hello Kitty imprint on the sandwich. Great for whipping up something kawaii fast. :)
This is the pretty Sandwich Maker, love the colour! It is retailing at a promotional price of $39.90, while stocks last. You can buy one at all major electronic stores. :)
The product is easy to clean, just sweep away any crumbs with a soft brush, and wipe both the interior and exterior with a damp cloth.
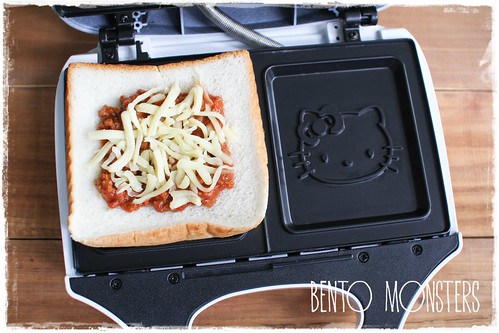
To use, simply preheat the Sandwich Maker until the green light indicator goes off. Place a slice of bread at the base, add in your fillings, leave some space all around. Top with another slice of bread and toast for around 3 minutes.
I filled our toast with the beef mixture used in Sloppy Joes and some shredded cheese.
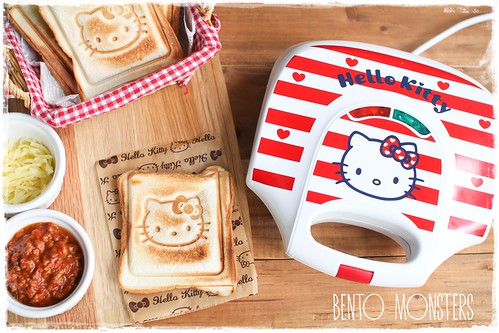
Yummy, the boys and I had these for lunch yesterday. Sloppy Joes are typically serve with hamburger buns, but the fillings are great with toasted bread too. I'm sharing the recipe below. :)
SLOPPY JOES RECIPE
Ingredients:
Note:
The Sandwich Maker makes a Hello Kitty imprint on the sandwich. Great for whipping up something kawaii fast. :)
This is the pretty Sandwich Maker, love the colour! It is retailing at a promotional price of $39.90, while stocks last. You can buy one at all major electronic stores. :)
The product is easy to clean, just sweep away any crumbs with a soft brush, and wipe both the interior and exterior with a damp cloth.
To use, simply preheat the Sandwich Maker until the green light indicator goes off. Place a slice of bread at the base, add in your fillings, leave some space all around. Top with another slice of bread and toast for around 3 minutes.
I filled our toast with the beef mixture used in Sloppy Joes and some shredded cheese.
Yummy, the boys and I had these for lunch yesterday. Sloppy Joes are typically serve with hamburger buns, but the fillings are great with toasted bread too. I'm sharing the recipe below. :)
SLOPPY JOES RECIPE
Ingredients:
- 300g minced beef
- 1/2 medium onion, minced
- 1/2 green pepper, finely chopped
- 1 celery stalk, finely chopped
- 2 cloves garlic, minced
- 1 can tomato purée, around 300g
- 4 tbsp ketchup
- 1 tbsp worcestershire sauce
- salt and black pepper, to taste
- 4 hamburger buns
Method:
- Heat oil over medium heat, add onion, green pepper, celery and garlic. Stir fry with some salt and black pepper. Cook till the vegetables are softened, around 5 minutes.
- Add in minced beef, break up the meat and cook until it is no longer pink.
- Stir in tomato puree, tomato sauce and worcestershire sauce. Simmer till the sauce thickens, stirring occasionally.
- Taste and season with salt and black pepper, if desired. Spoon onto toasted hamburger buns and serve.
- Beef can be replaced with other meats like turkey, chicken or pork.
- Beef mixture can also be served over pasta.
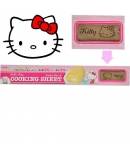
Where to get wax paper used in today's post:
Wednesday, 25 September 2013
Panda Bento
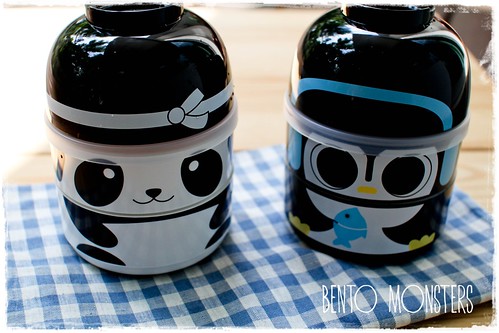
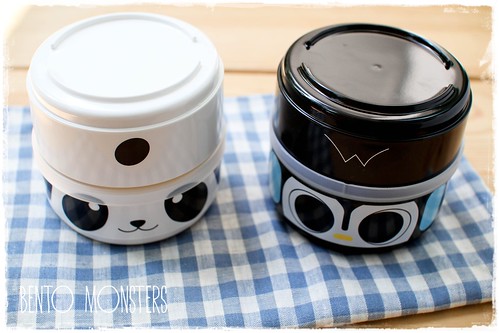
I'm sure most of you are familiar with the cute cutter from CuteZcute, I've shared about them many times and I've done quite a few creations using them. You can check out all my bentos made using the cutter HERE. If you like the cutter, I'm sure you will be thrilled to know that CuteZcute has just launched 3 super kawaii bento boxes.
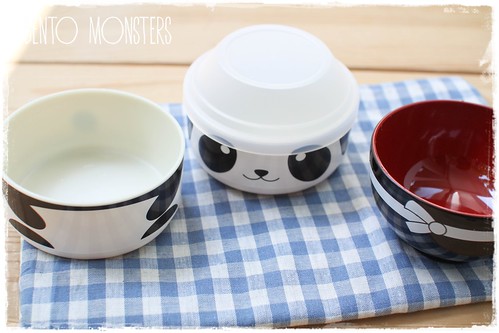
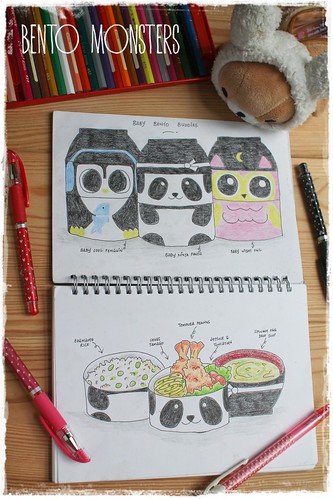
These boxes have the cutest names too. There are 3 designs and they are called Baby Bento Buddies. The one on the left is Baby Ninja Panda and the one of the right is Baby Cool Penguin. There's another one in pink and that one is Baby Night Owl. :) These boxes are now available at BentoUSA.
The capacity are 200ml, 240ml and 240ml, from the left container to the right one. If you are transporting the bento to work or school, the soup bowl on the right can't be filled since it will be turned over to act as a lid. What you can do is to pack some snacks in a ziplock, thermos filled with soup or dry soup pack, and it can be used as a serving bowl.
They can be used as a single tier container too. For this, the bottom tier holds the food, and the top act as a lid. :) These boxes are dishwasher safe and mircowave safe (without the fitted lid).
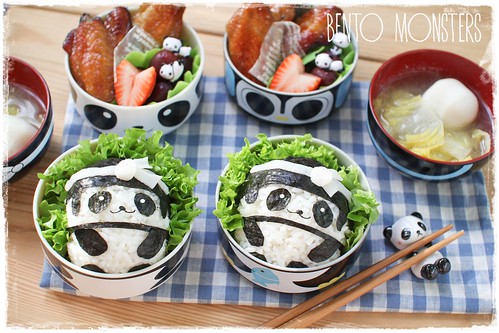
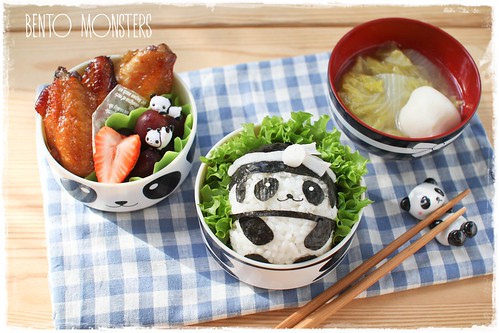
I made panda onigiri for my boys in their new containers. :) Panda are made just using rice, nori and crabstick.
For this meal, they had honey baked wings, teriyaki salmon ( hidden under the panda onigiri), cabbage soup, grapes and strawberries. :)
I drew these before the bento boxes came, just for fun. :)
Where to get same or similar items used in today's post:
Subscribe to:
Posts (Atom)