Showing posts with label pooh. Show all posts

Tuesday, 22 March 2016

Tsum Tsum Easter Food Art

I'm updating my Tsum Tsum Easter creations today. I want to get this done before Good Friday, as I'll "disappear" for the next few days to catch my K-drama, the new episodes I've been waiting for all week is finally coming again, lol. I did not managed to make much Easter creations this year, if you need more Easter ideas, you can check out all my past ones here.
IMG_0469
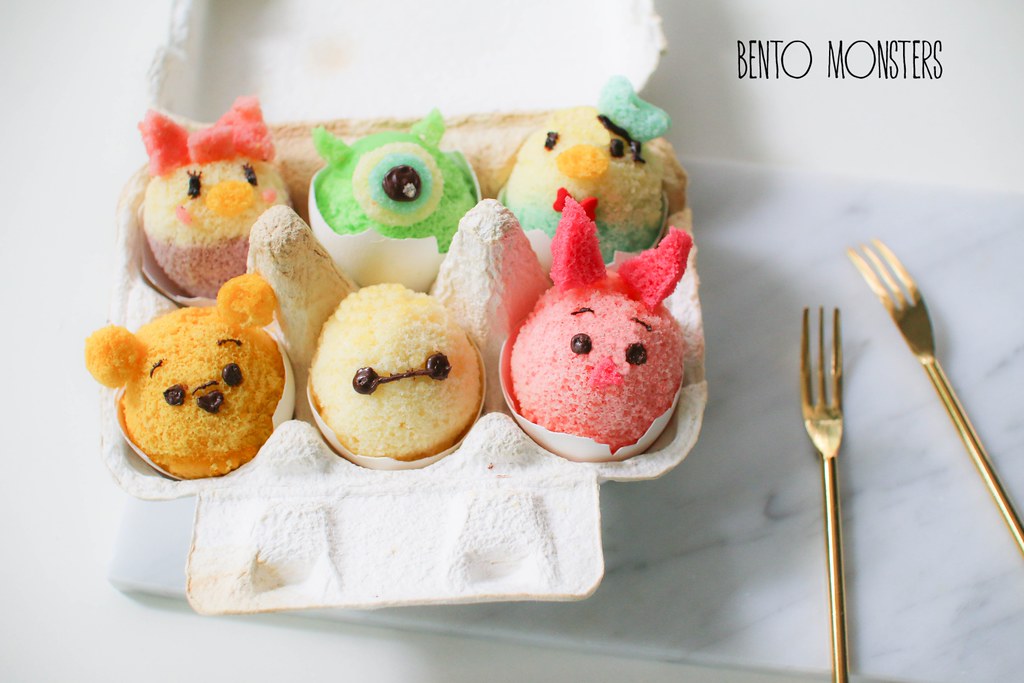
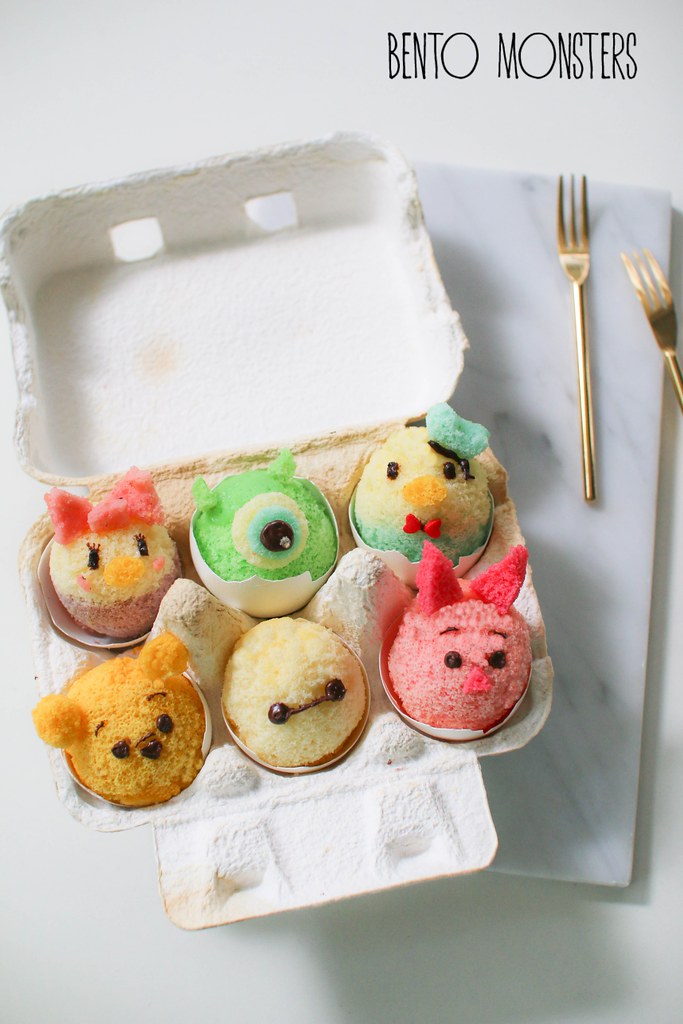
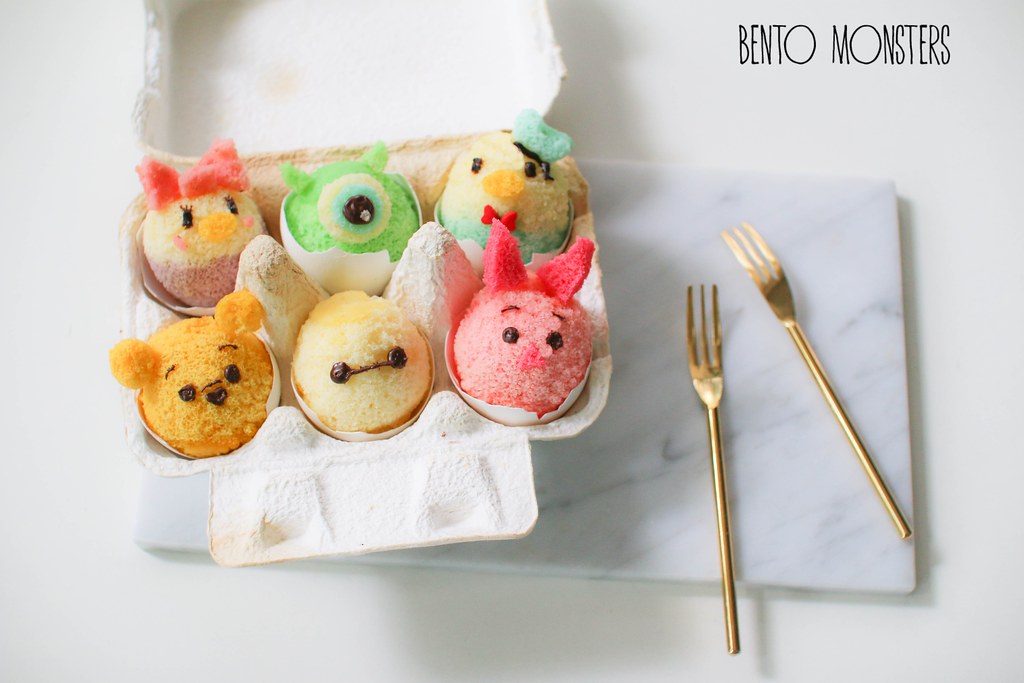
The first Easter Tsum Tsum I made were these chiffon cakes. They are meant to look like Easter eggs.  I actually wanted to make a rice version of this too, but did not have time to work on it. Maybe next year, if I'm still into Tsum Tsum then.
IMG_0476
I've no recipe to share for this as they did not turned out very well, I think I was a little too ambitious to make so many different designs and colours at one go, lol. Never mind, I'll try again next time, already have the next design in mind, I need to start collecting egg shells. -_-
IMG_0467
The basic recipe I used is the same as the Gudetama chiffon cake recipe I shared earlier here, I just split the batter and colour them in different colours before folding in the egg white.
IMG_0567
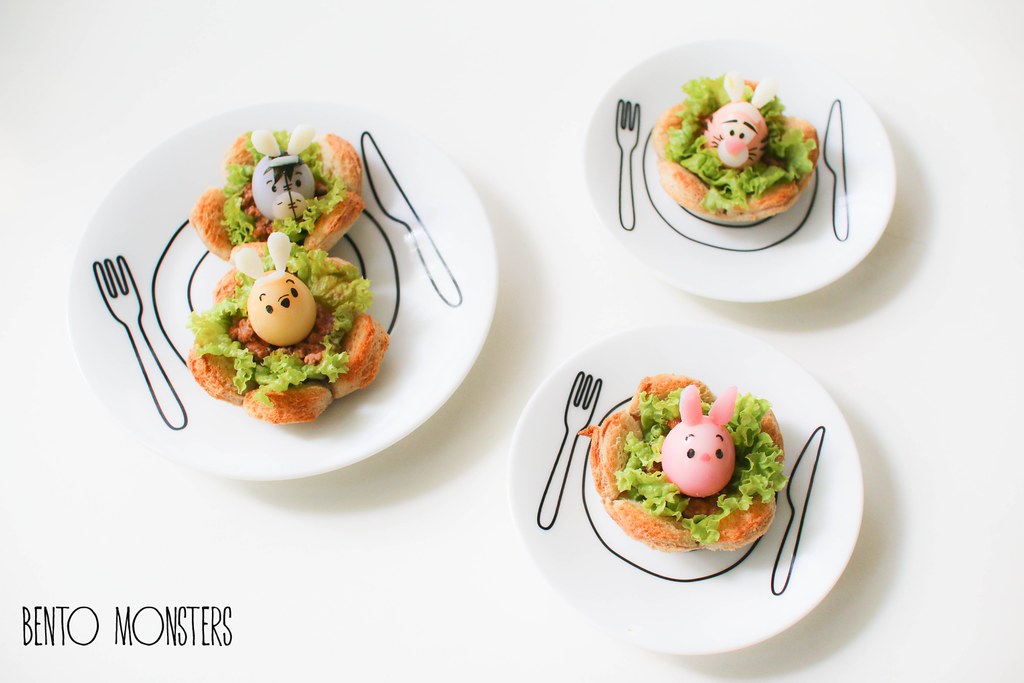
Tsum Tsum Pooh, Piglet, Tigger and Eeyore Easter eggs on bread cups. Here's the link to make the bread cups. This time I filled them with some minced pork curry.
IMG_0563
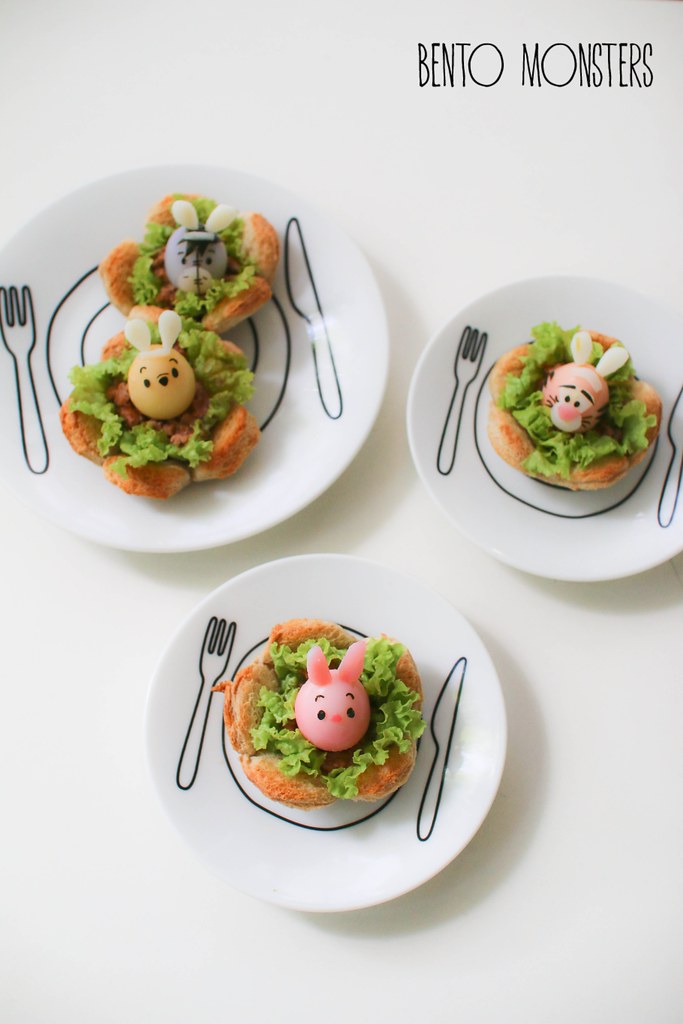
The quail eggs were all coloured naturally, beetroot for Piglet, curry powder for Pooh, mixture of beetroot and curry powder for Tigger and mixture of beetroot and red cabbage for Eeyore. A little troublesome though, a faster way would be just to colour them using food colouring.
IMG_0574
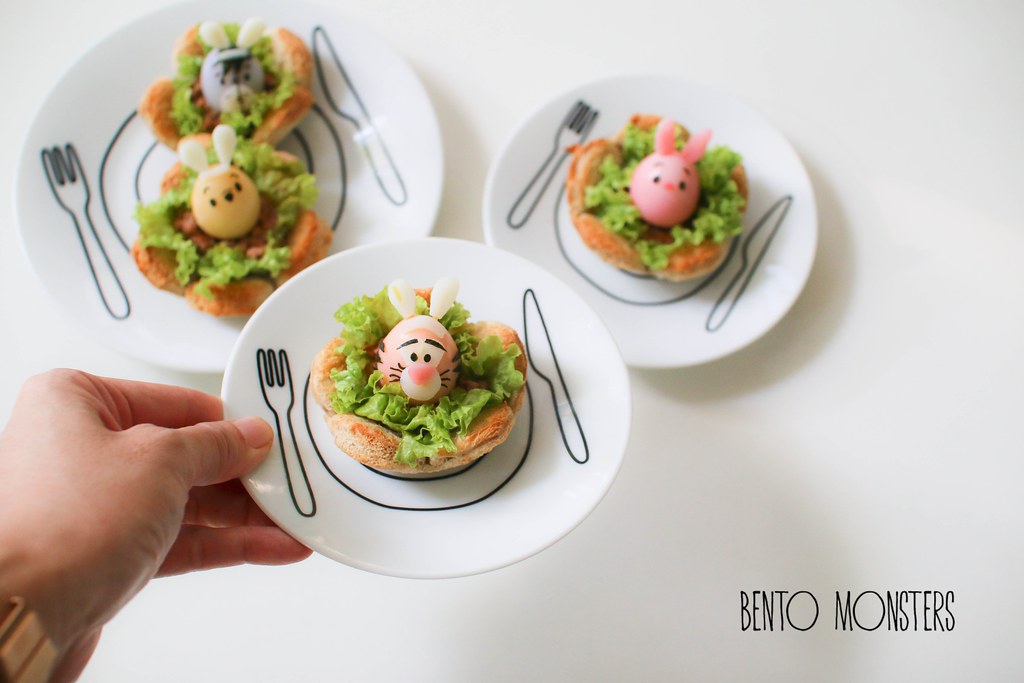
Ingredients used to make Pooh and friends were just nori and quail eggs.

Thursday, 18 February 2016

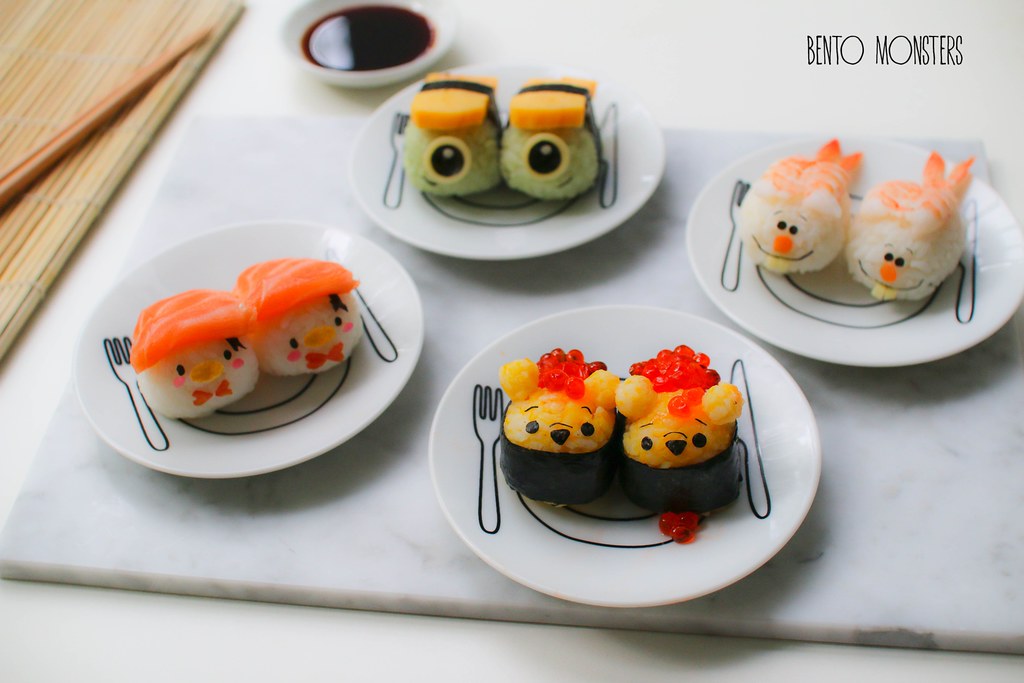
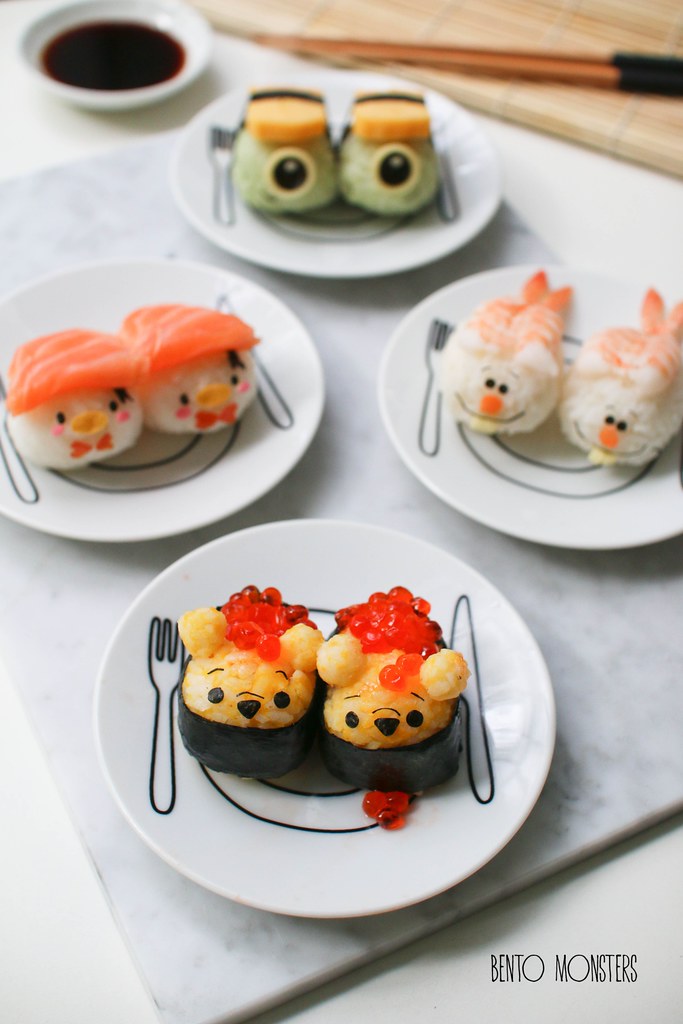
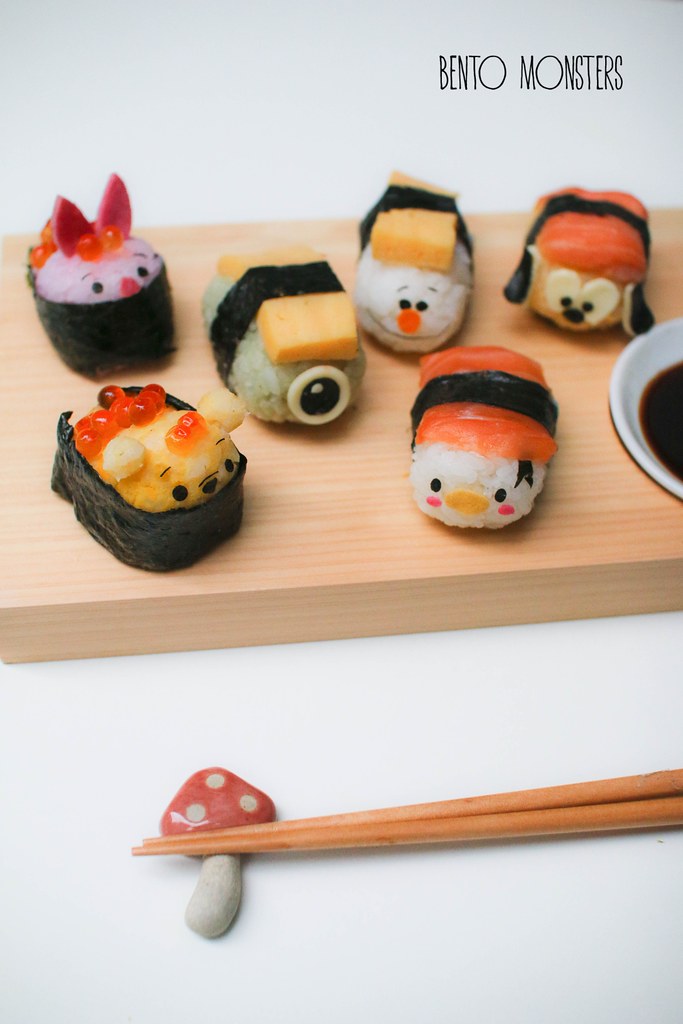
Disney Tsum Tsum Sushi

I've made many sushi creations to date, but I think this set of Tsum Tsum sushi that I'm sharing today is my favourite by far. I had this idea for awhile and I'm happy they turned out the way I visualized. I will be sharing some photos on how I made these sushi, I hope that they will be useful if you intend to make some of your own. :)

IMG_9983
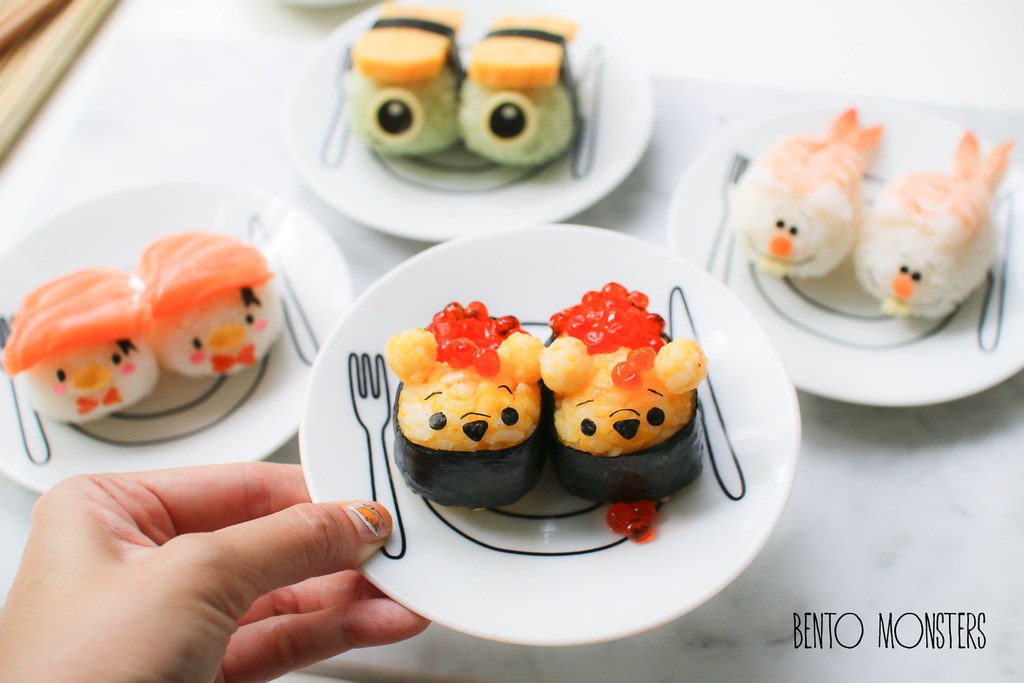
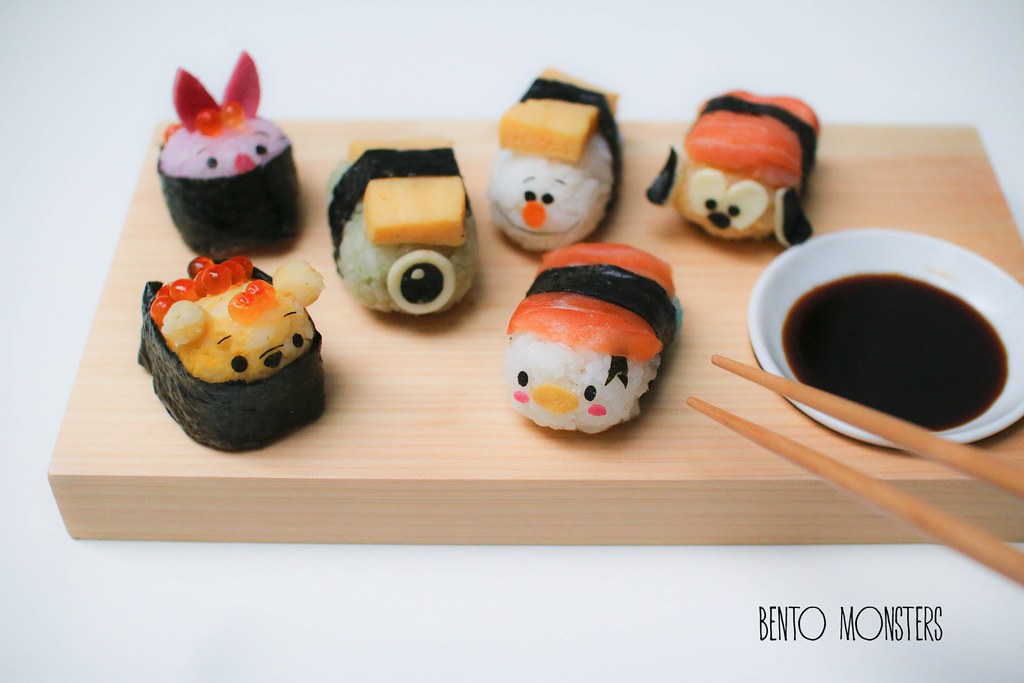
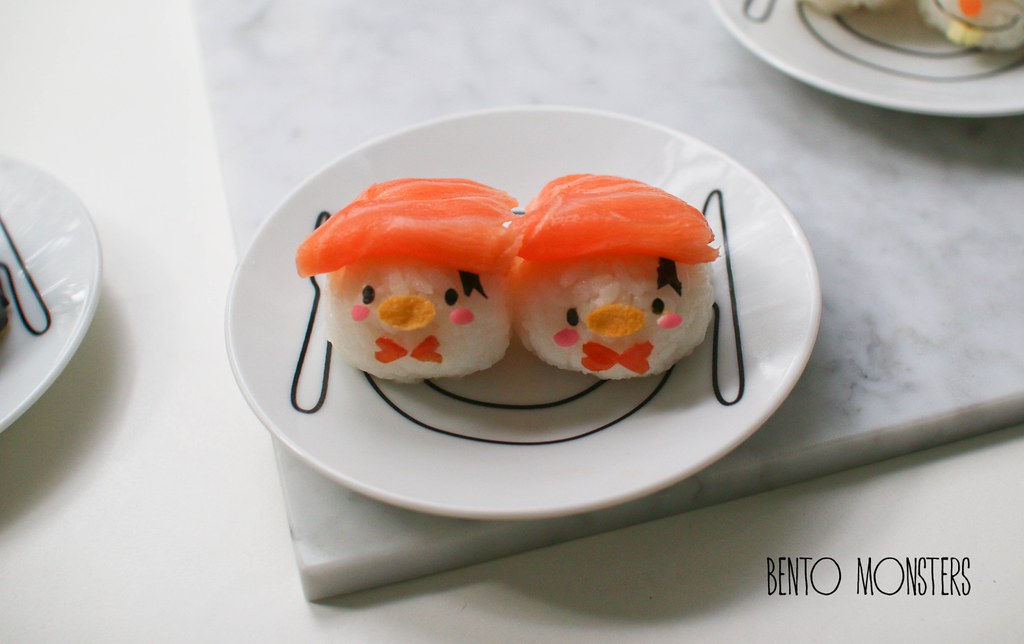
The shapes of the Tsum Tsum characters are just perfect for making into sushi. For this set, I chose Donald, Pooh, Mike Wazowski and Olaf.

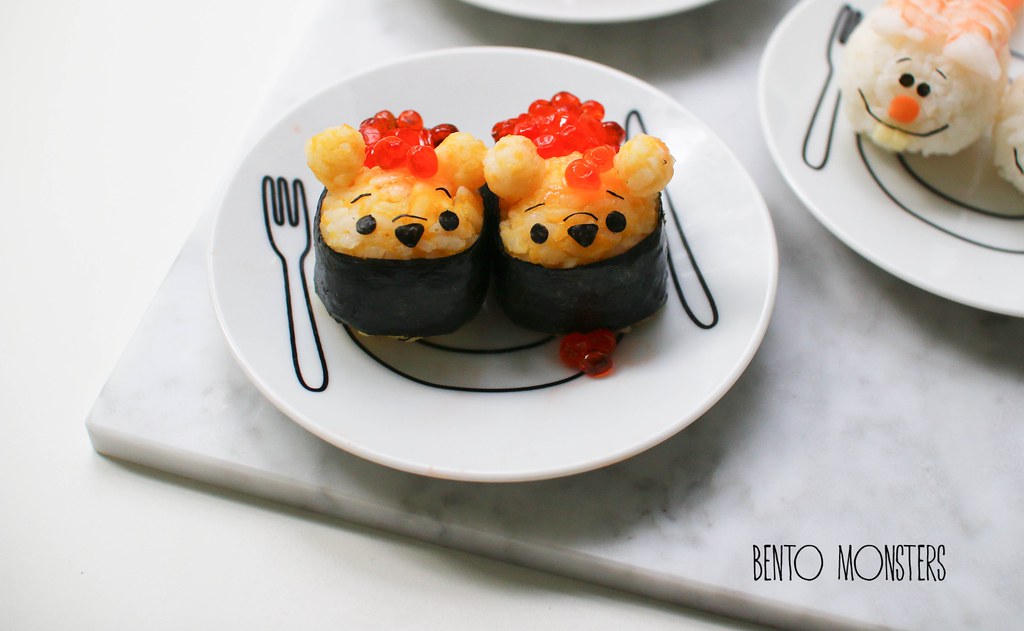
IMG_9976 Mike is a tamago sushi, Olaf is shrimp sushi, Donald is salmon sushi, and lastly, Pooh is Ikura sushi.

IMG_9986
I love them all but Pooh is my favourite out of the lot.

IMG_9378
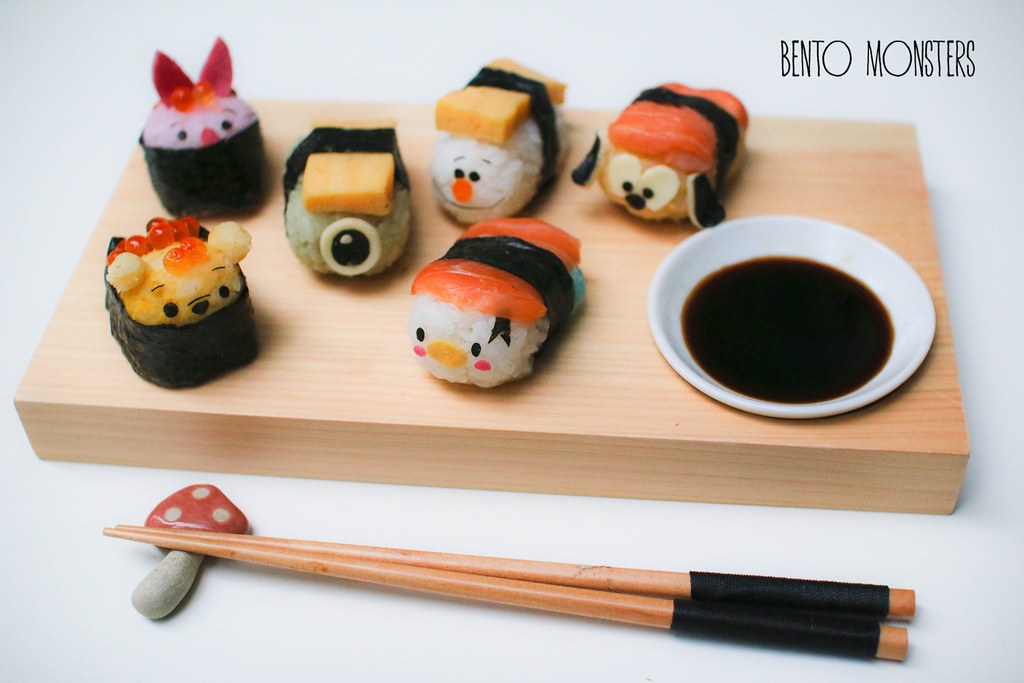
This was actually the first set that I made, there's two more characters here, Piglet and Pluto.

IMG_9384
My boys love sushi and sashimi, but I think what they really like is that they get to dip them in soy sauce, lol.

IMG_9387
If you are using raw ingredients for your sushi, it's safer to shape your characters in advance and place the ingredients on just before serving.

tsumtsumsushi
Want to try your hands at making these sushi? I'm will be sharing how I made Pooh and Donald sushi.

IMG_9937
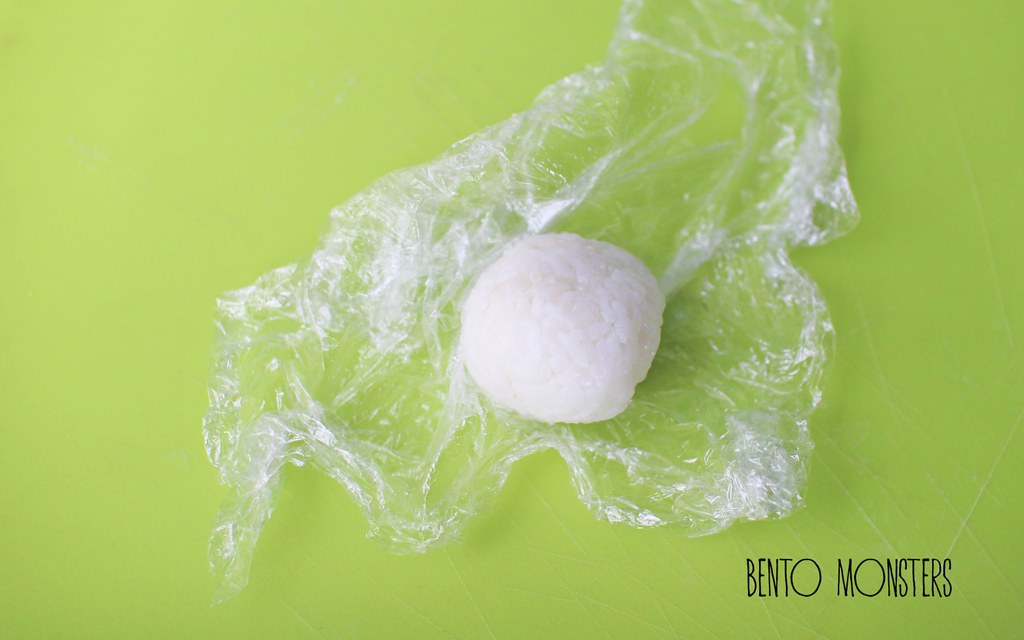
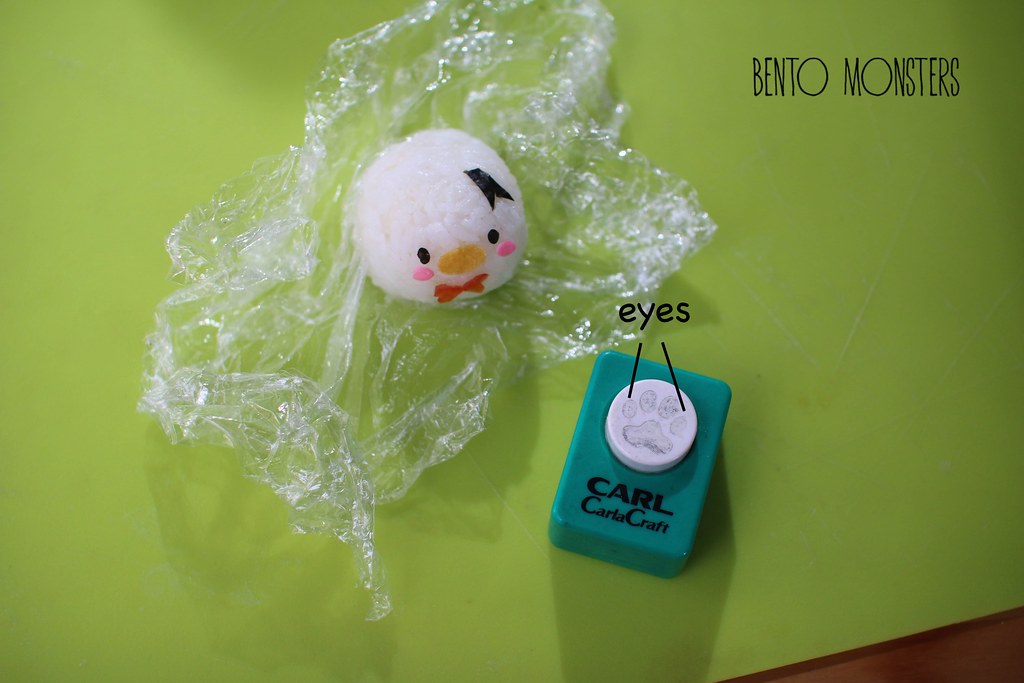
I'll start off with Donald. Since this is for sushi, I mixed some sushi vinegar to the rice before shaping it with cling wrap.

IMG_9939
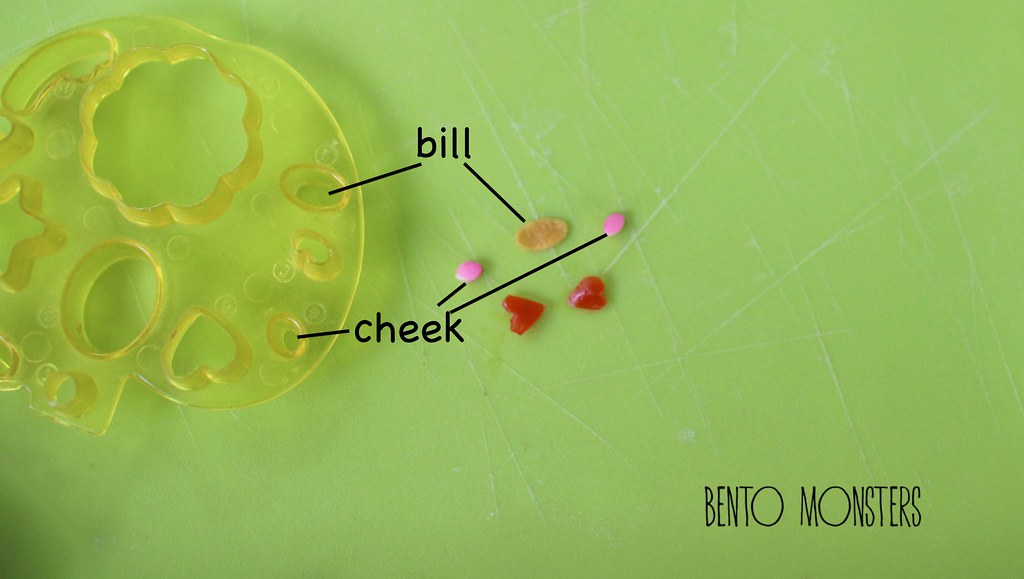
I used two different size oval cutters to cut out the bill and cheeks. I used egg for the bill and the pink part of kamboko(Japanese fishcake) for the cheeks. You can also use different size straws and pinch it to an oval to cut. For the bow, I cut out two heart shapes from tomatoes, using a pair of scissors.

IMG_9942
I used a paw craft punch to cut out oval for the eyes from seaweed. I used a pair of scissors to cut out the bow for the hat from seaweed.

IMG_9979
Place a slice of salmon on top of Donald.

IMG_9943
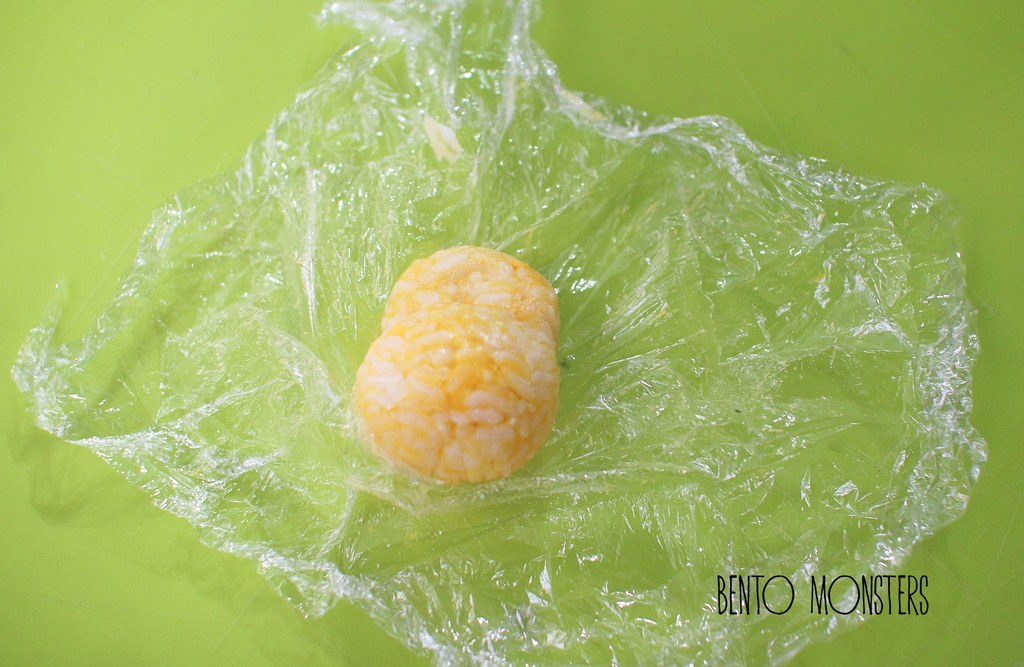
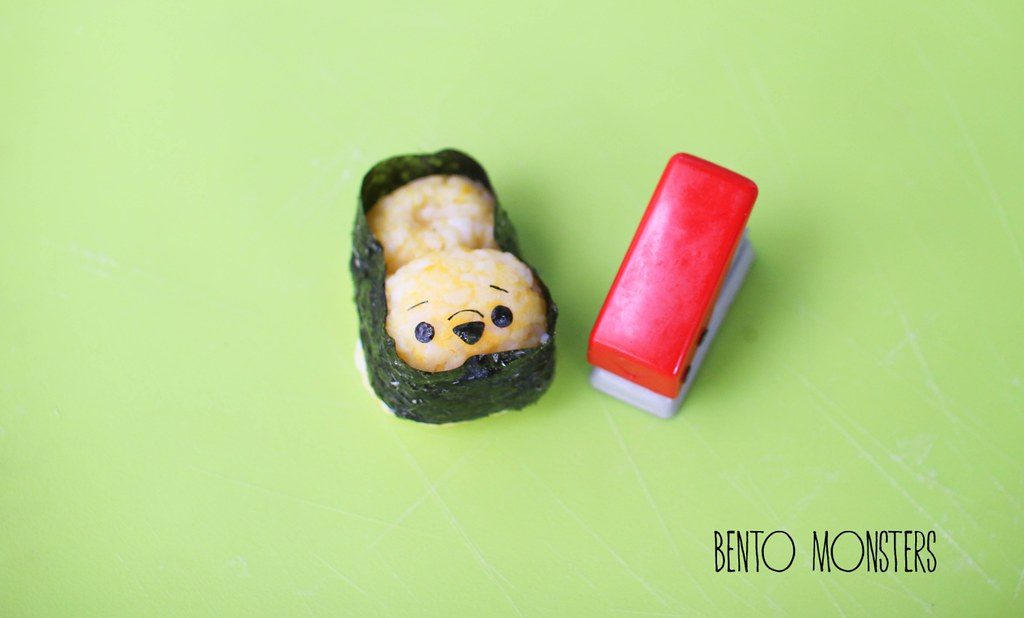
For Pooh, add some mashed egg yolk to sushi vinegar rice to colour it yellow. Using cling wrap, mould out the rice, I moulded the back half of the sushi lower so that I can place the ikura on that part.

IMG_9946
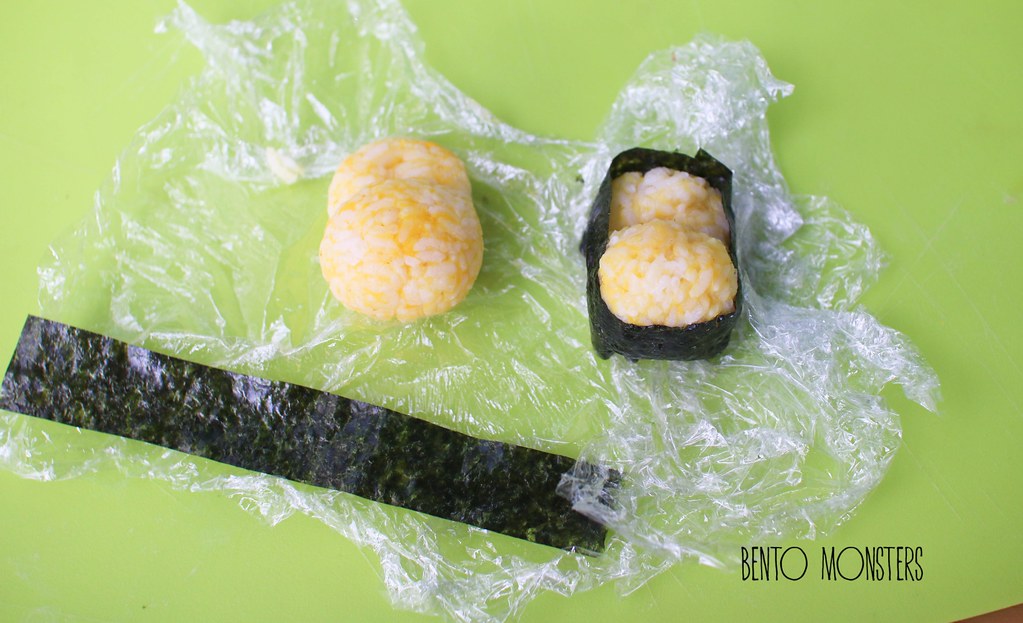
Cut out a strip of nori and wrap it around the rice.

IMG_9947
I used a hole punch to cut out nori for Pooh's eyes. The other details were cut out using a pair of scissors.

IMG_9948
Usng cling wrap, mould out Pooh's ears from rice and attached them on using pasta sticks.

IMG_9974
Add on ikura(salmon roe) before serving these Pooh sushi.

Friday, 12 February 2016

Edible Valentine's Day Bouquet

Valentine's Day falls on this sunday, which is also the 7th day of Chinese New Year. We don't celebrate Valentine's Day, but I do like to make Valentine's Day themed food, just for the fun of it. I only managed to make 3 designs this year, if you want to see more, you can take a look at my past creations over here.

IMG_0095
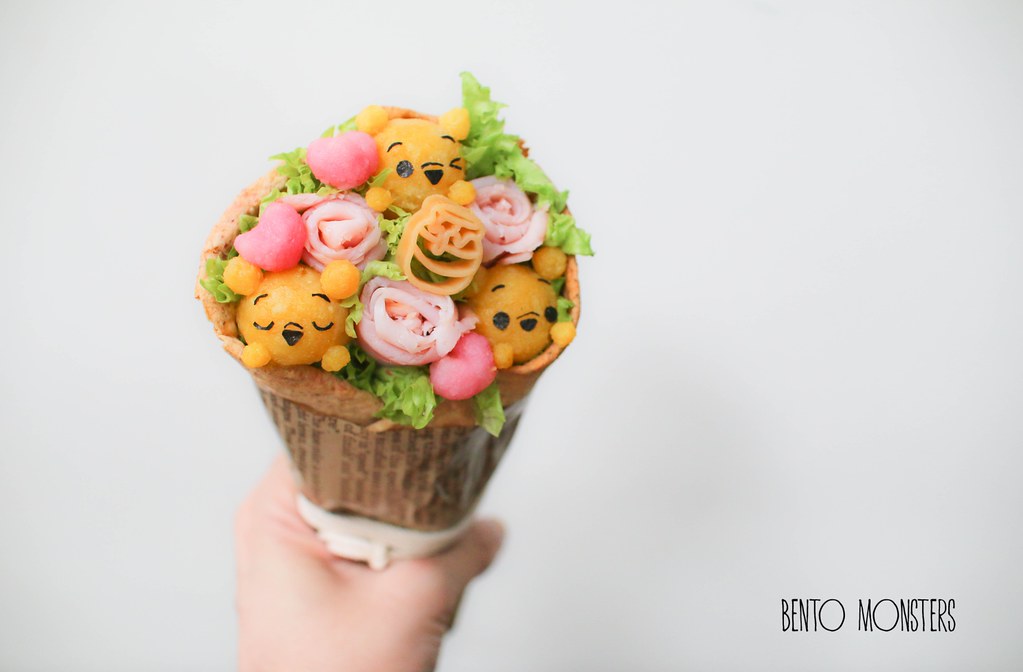
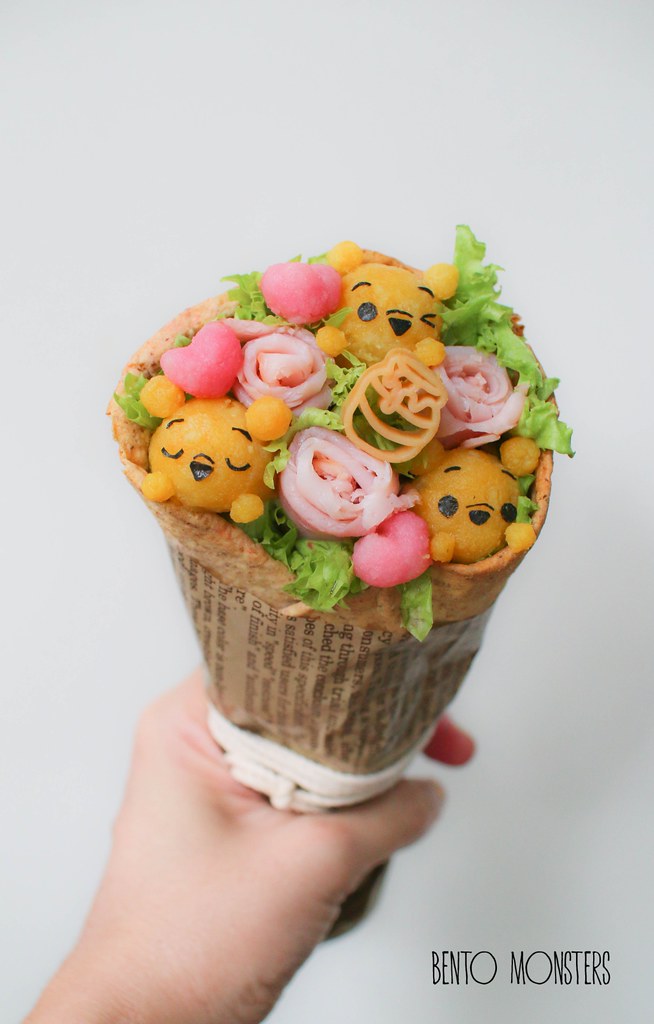
I'm sharing two of the designs in this post. The first one is this Pooh Bear bouquet. Everything is edible, well almost everything, the paper and string are not edible, lol.

IMG_0093
This is a toasted wrap, filled with scrambled eggs, ham and lettuce. I added on some Pooh Bear and hearts, moulded out of mashed potatoes. The honey pot in the middle is pasta.

IMG_0055
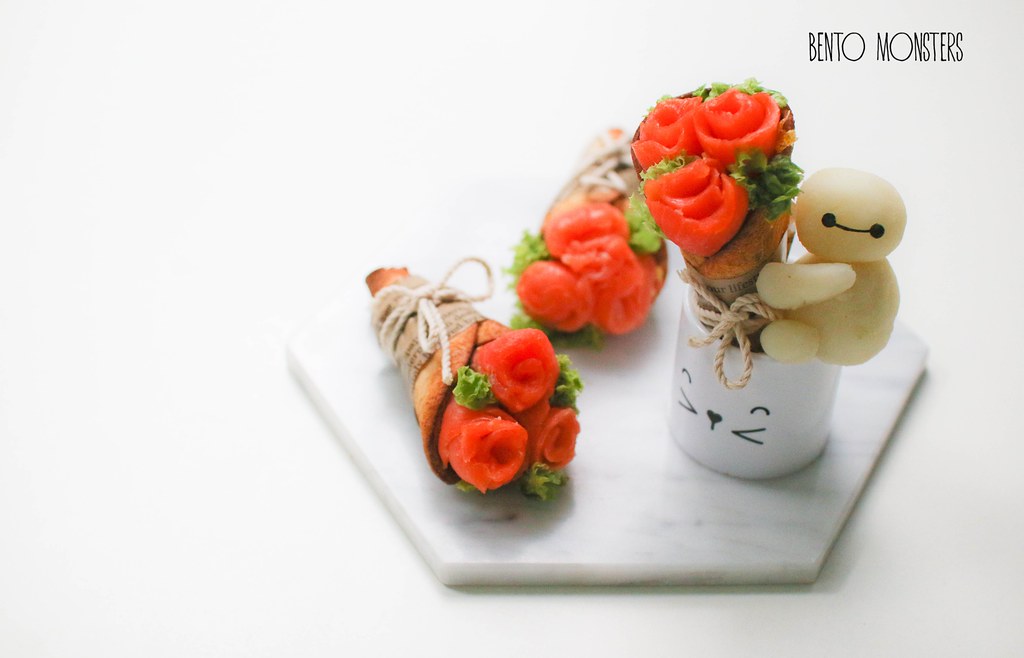
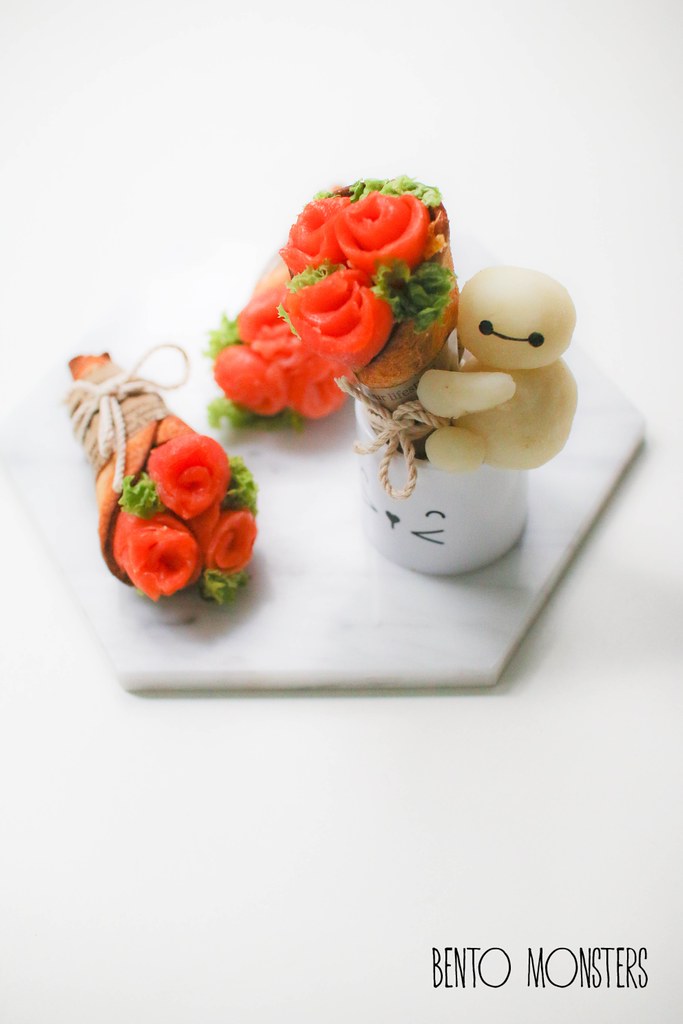
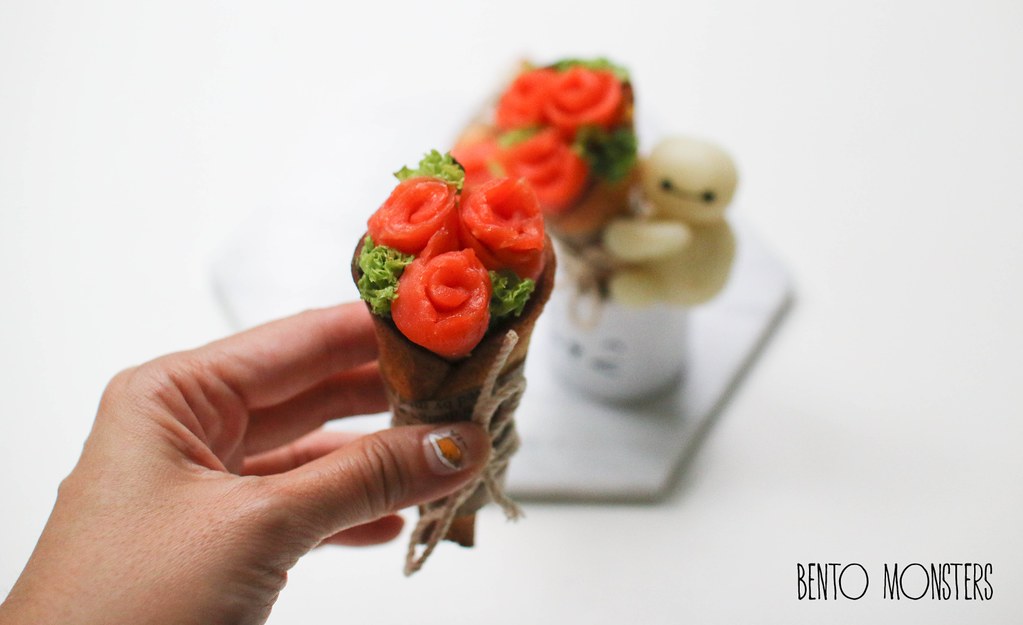
These bouquets are much smaller and are made from bread instead. I filled them with scrambled eggs, smoked salmon and lettuce.

IMG_0050
I added on a Baymax made of mashed potato, hugging one of the bouquet.

breadbouquet
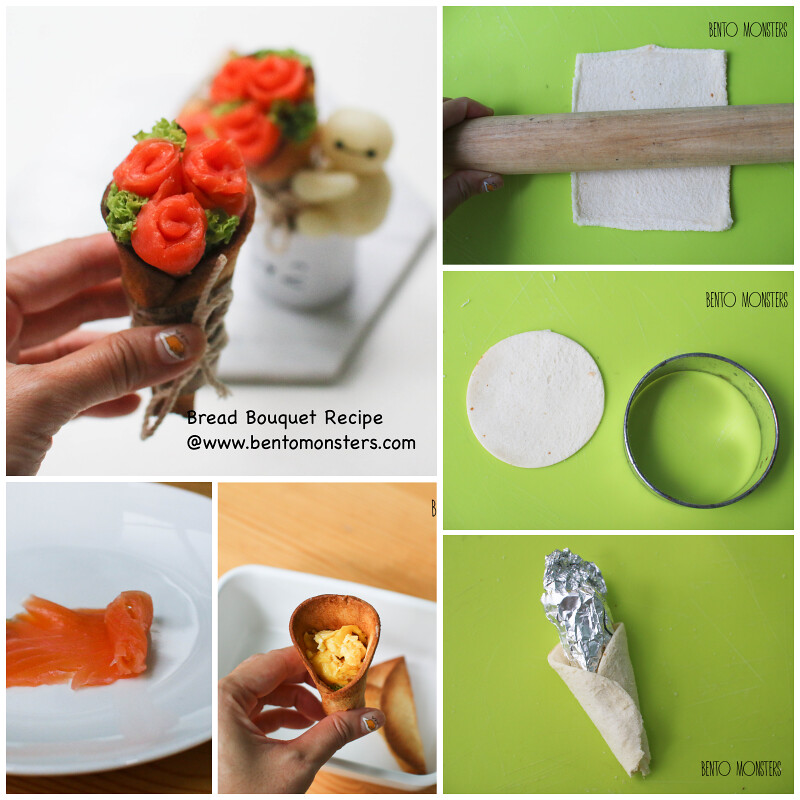
I will be sharing with you how to make these edible bouquets, they are not only for Valentine's Day, they can be served any time and they are also great for parties too.

IMG_0037
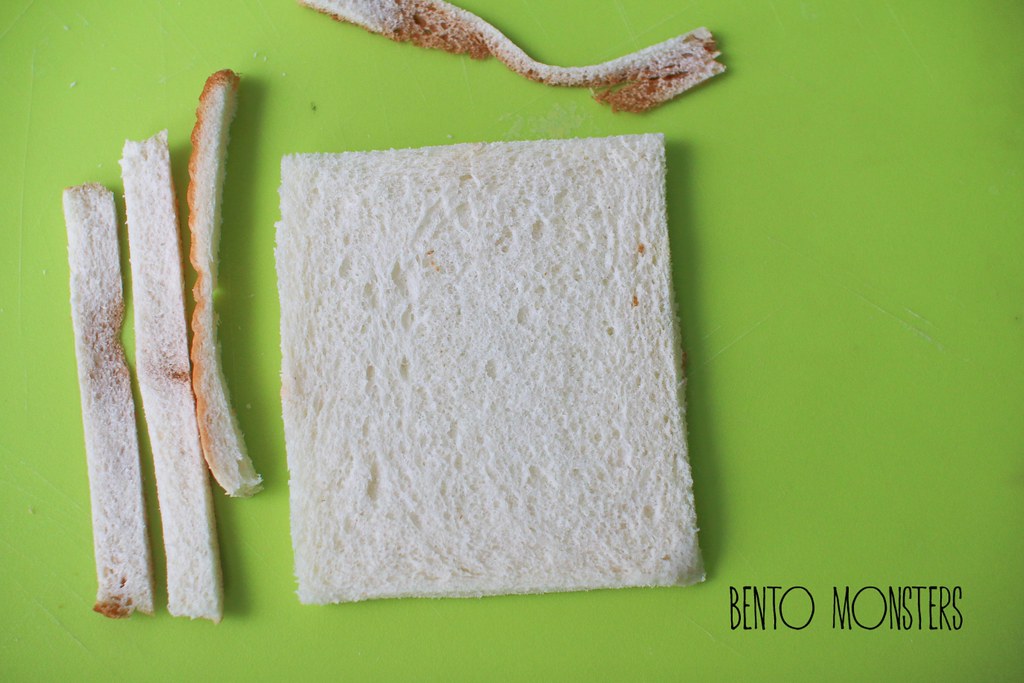
First, slice off bread crusts using a knife.

IMG_0039
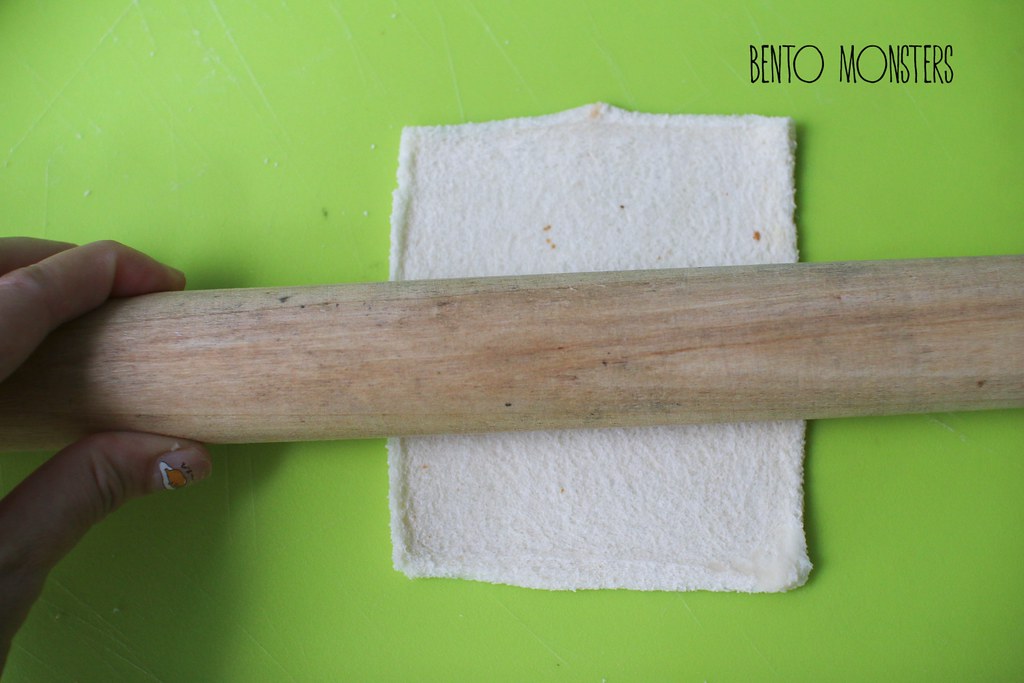
Flatten the bread using a rolling pin.

IMG_0036
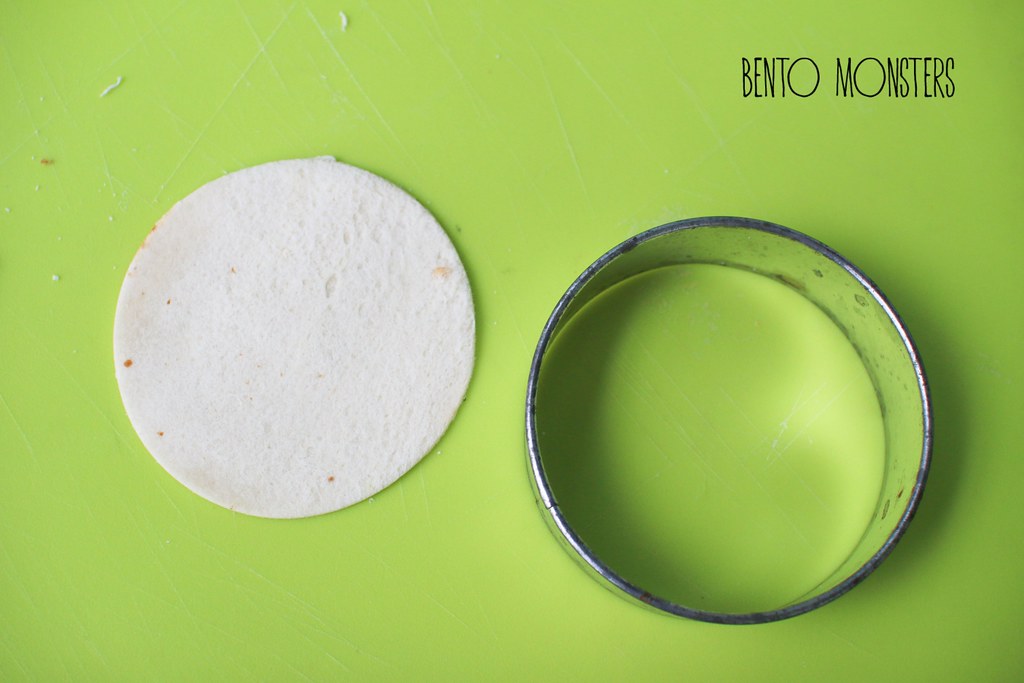
Cut into a circle using a round cutter. This step is optional, it's just easier and neater if you fold a cone from a circle.

IMG_0043
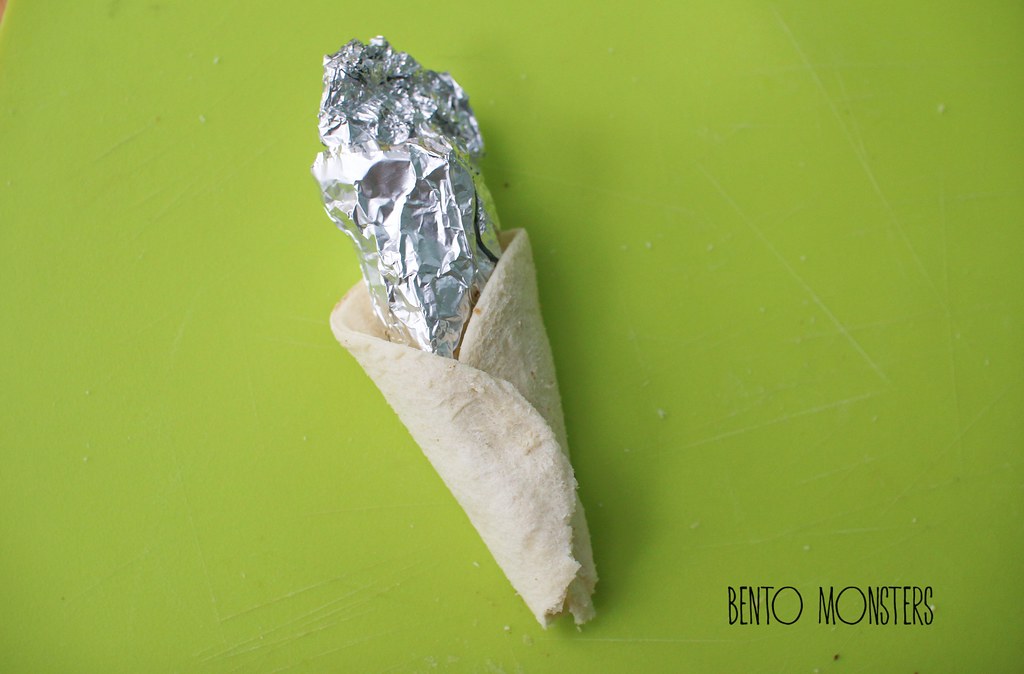
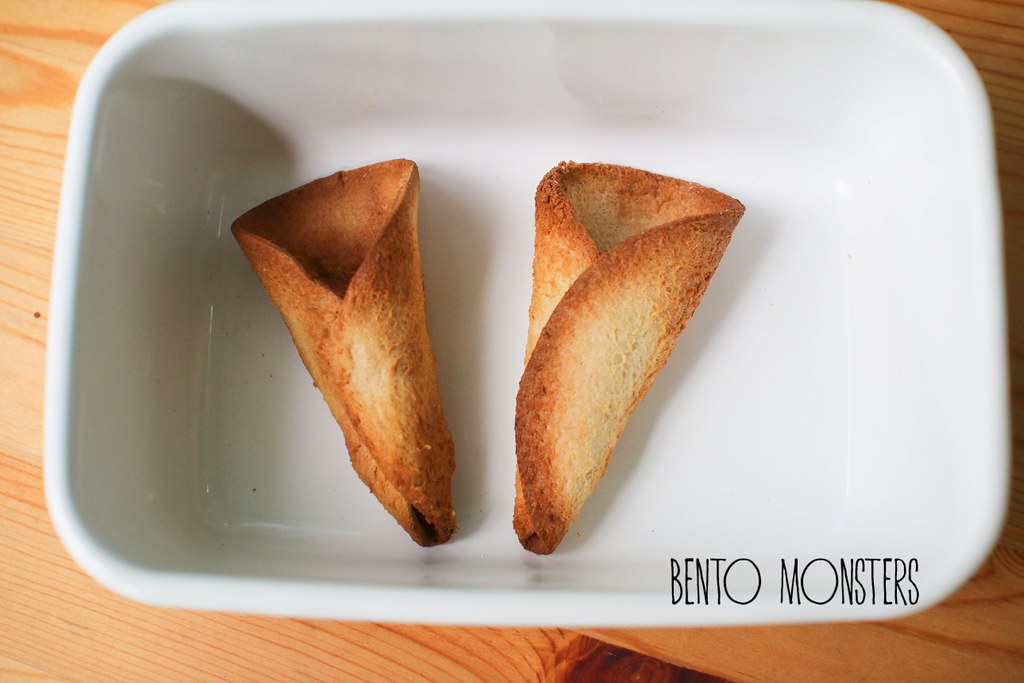
Make a cone using aluminium foil and wrap the bread around it. Bake at 180 degrees celcius for 5 minutes, flipping over halfway.

IMG_0040
Wait till they cool down a little before removing the aluminium foil.

IMG_0042
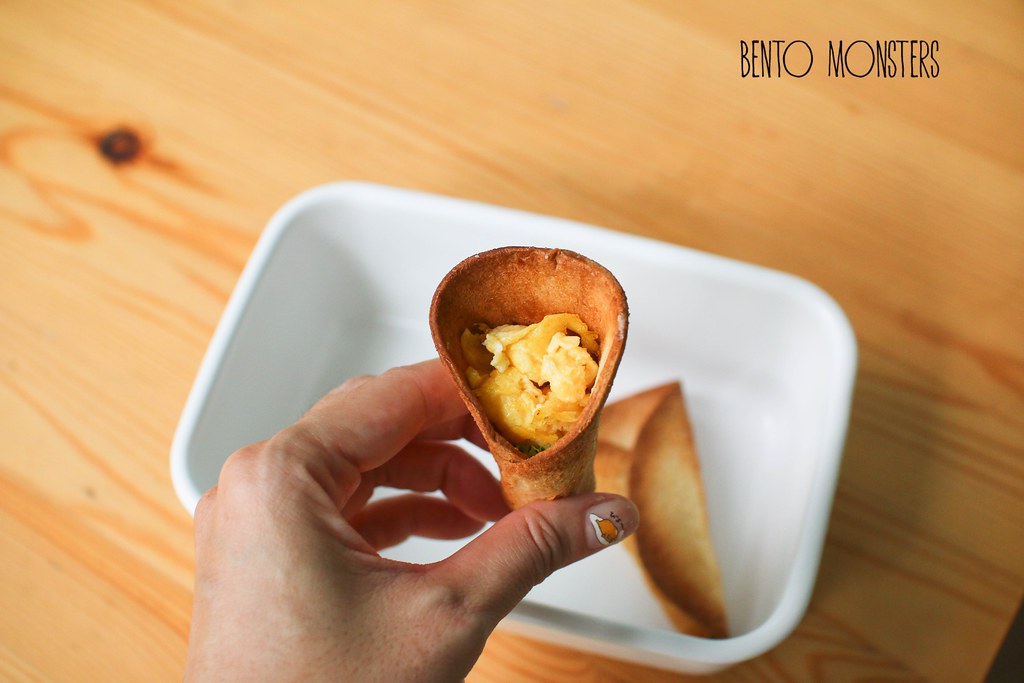
You can fill in with fillings of your choice. I filled mine with lettuce and scrambled eggs.
IMG_0161
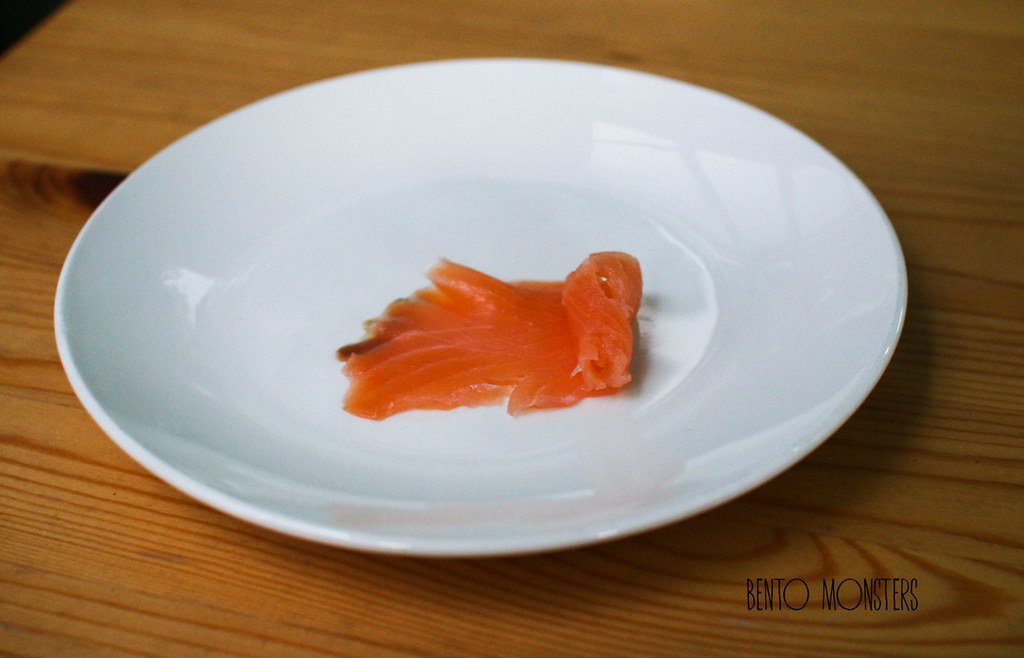
To make the roses, take strips of salmon and roll them up.

IMG_0060
Fill the top with salmon roses and lettuce, you can use pasta sticks to secure the roses if you like. However, if you pack them in compactly, you don't really need anything to secure them.

IMG_0101
For the wrap version, you can skip the first 3 steps and just wrap it around the aluminium foil and toast. This is bigger, so you will need to fill it up with more ingredients, I used scrambled eggs, lettuce and shaved ham to fill the inside. The roses are rolled up from ham, instead of salmon. Pooh bear and hearts are shaped from mashed potatoes, I did a tutorial on how to mould using mashed potatoes before, you can take a look here.

Hope you like this edible bouquet idea, I've more creations using this idea, but I'll share those next time. Have a good weekend!

Sunday, 24 January 2016

Tsum Tsum Deco Sushi

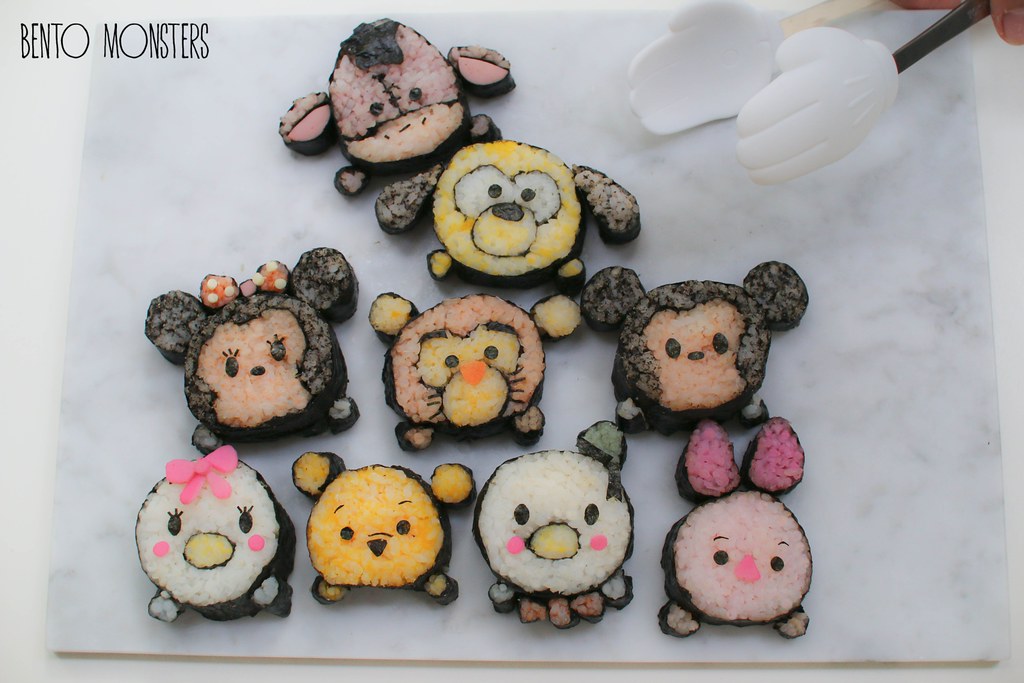
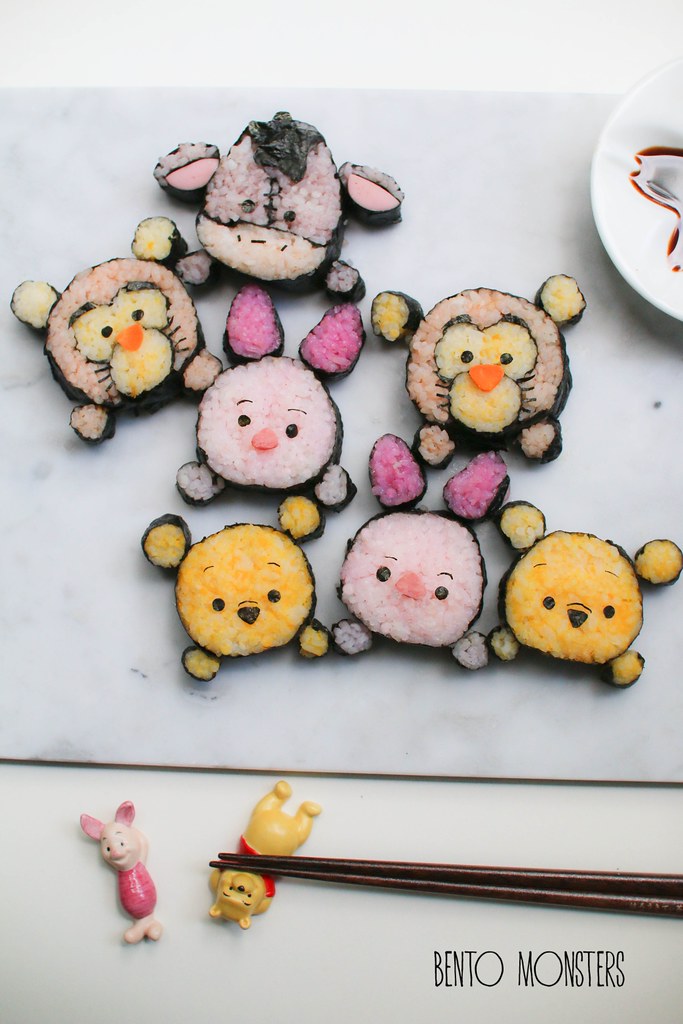
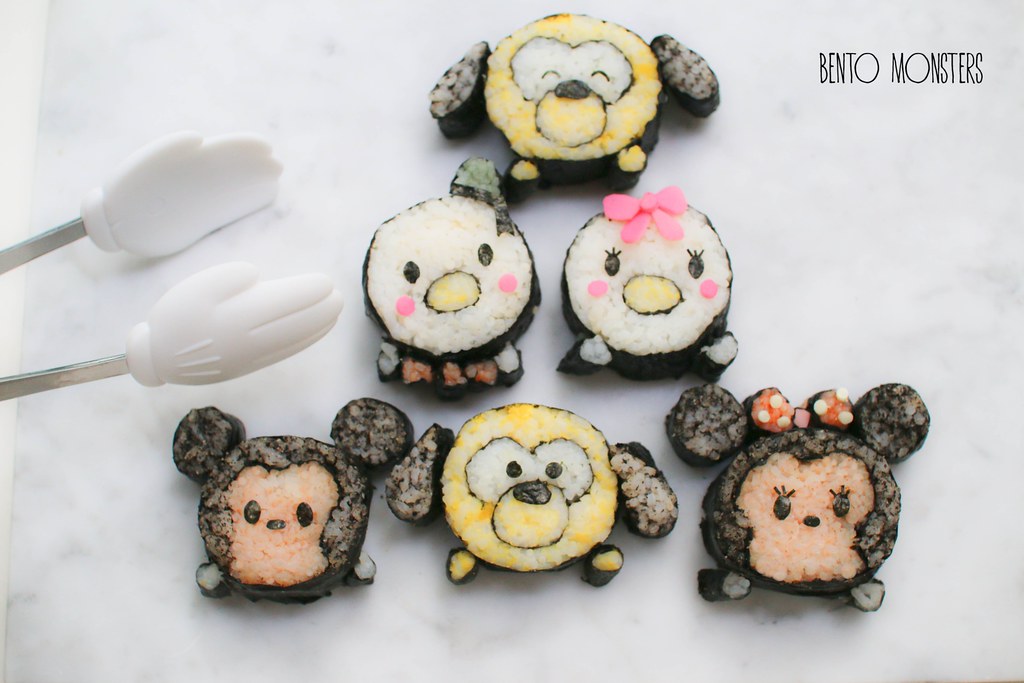
Hello! I'm back to update my blog today with more recent creations. I got a copy of Tsum Tsum deco sushi book in Japan, and tried my hands on making some using the recipes in the book. The book is in Japanese, but there are pictures, and it's not difficult to guess how to make the sushi from there. I will probably be exploring more creations in the book again.
IMG_9245
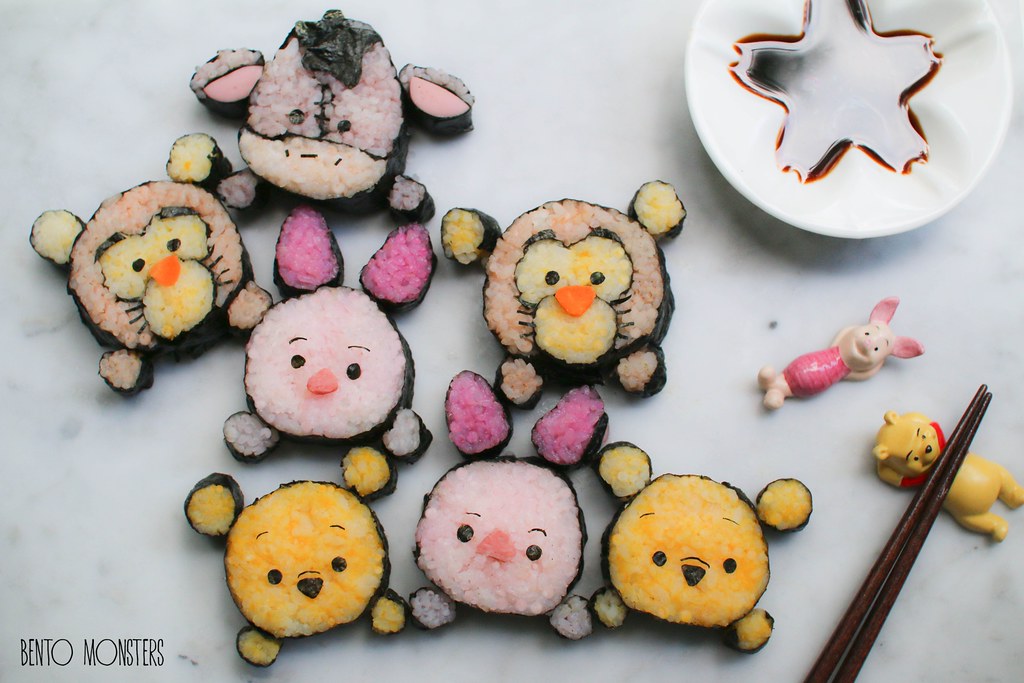
The first set I made was Pooh, Tigger, Eeyore and Piglet. You might have noticed that the sides aren't neat, it was due to the fact that the knife I'm using is not sharp enough. I actually don't have any sharp knifes at home, I've a phobia of them, I'm so accident prone, I think I'll easily slice off my fingers with a sharp knife.

IMG_9249
The colors were done using mashed egg yolks, deco furi and sushi mix. It's not that difficult making these as the recipes in the book was very precise, I just need to work harder on the neatness part.

IMG_9272
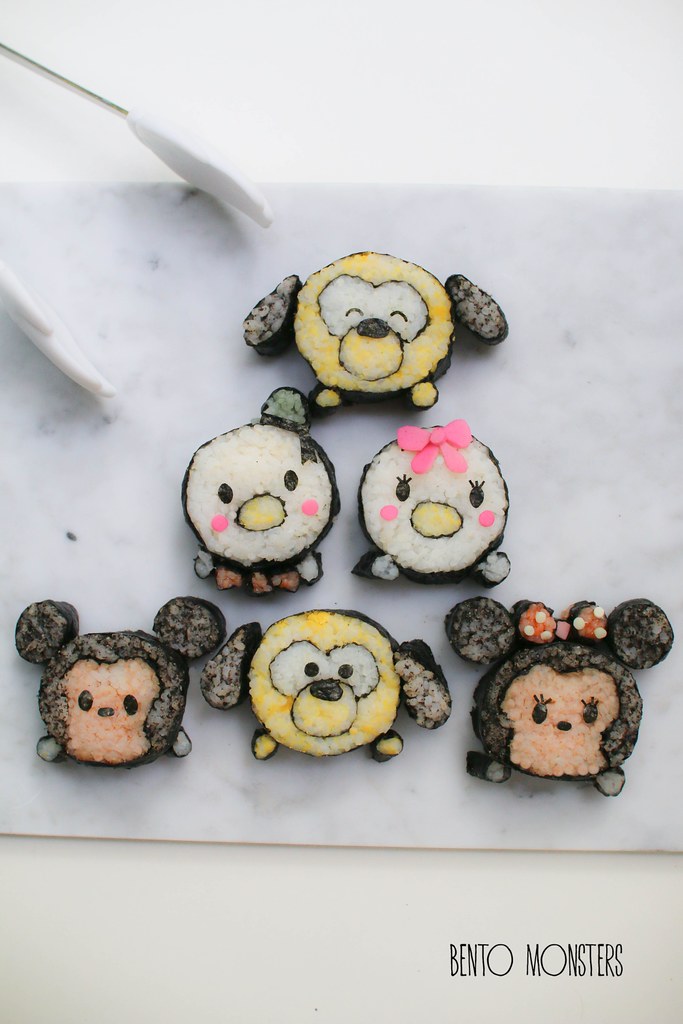
The second set I made was Mickey, Minnie, Donald, Daisy and Pluto. I accidentally mixed in a little too much grounded black sesame with the rice, the rice turned out too dry and not sticky, so the grey portions were tough to roll, lol. Never mind, I'll learn from my mistake, so hopefully next time will be better.

IMG_9274
Ingredients used to get the different colours were ketchup, deco furi, mashed egg yolk and grounded black sesame. The pink portion of Kamaboko was used for Daisy's bow and Donald and Daisy's cheeks.

IMG_9291
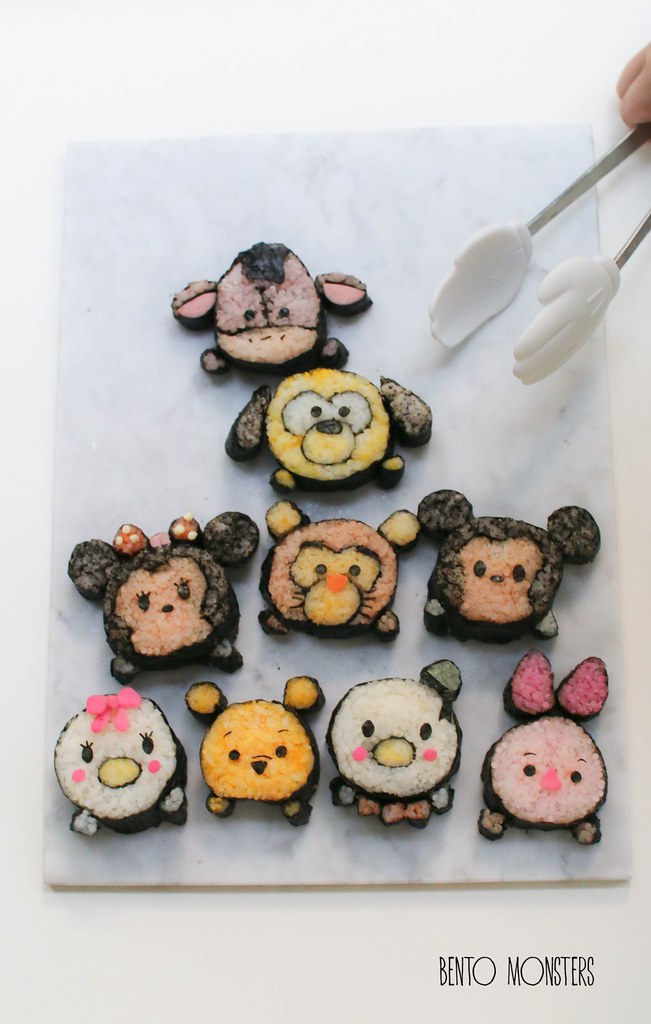
And here's a shot of the different characters from the two sets I made together. Which one do you like?

IMG_9306
I don't think I'll be making so many different designs at one go the next time, probably at most just two or three different ones next round.

Saturday, 16 January 2016

Pooh bear & Friends Donuts

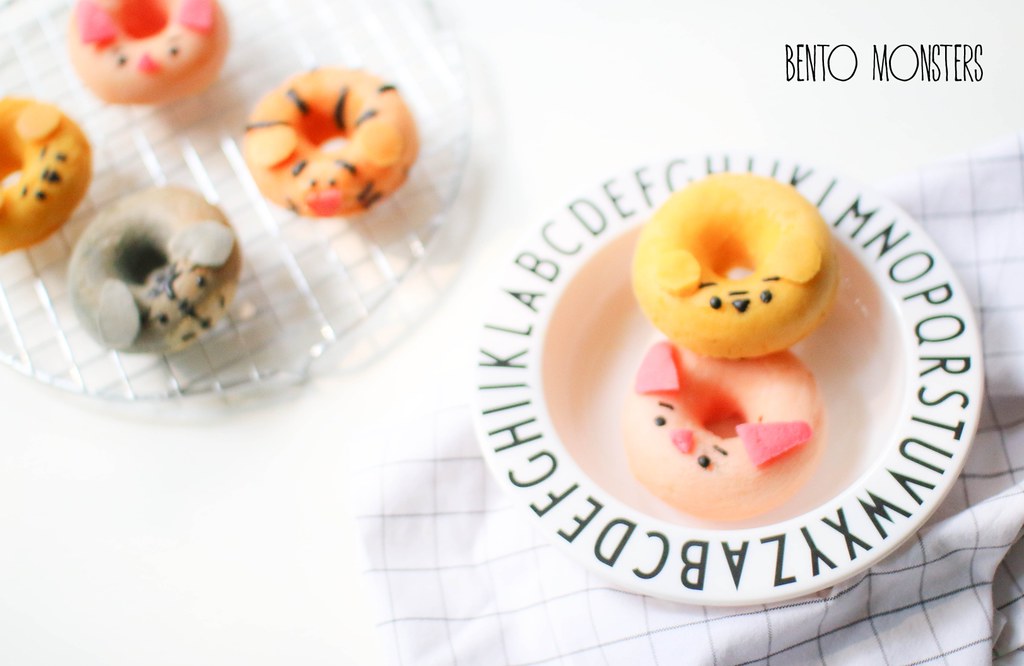
It has been a long time since I last shared about donuts on my blog. I started experimenting with various designs last school holidays. The ones I'm sharing today belongs to one of my earlier batch. I recently made an updated glazed version of this, I like the look of that one better but that recipe will be shared another time instead.

IMG_7835
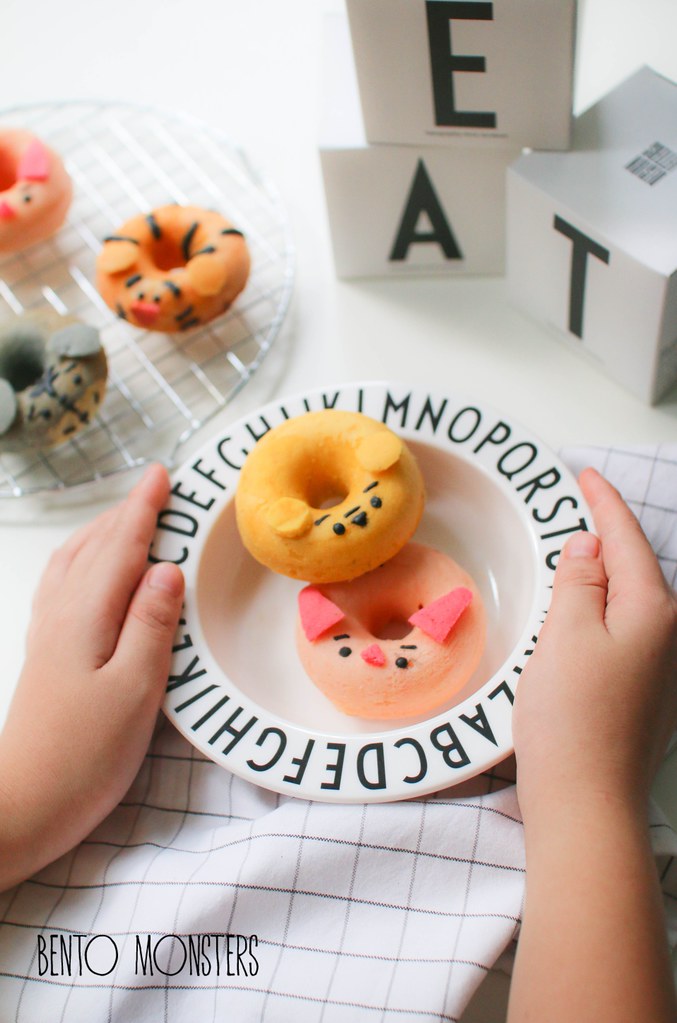
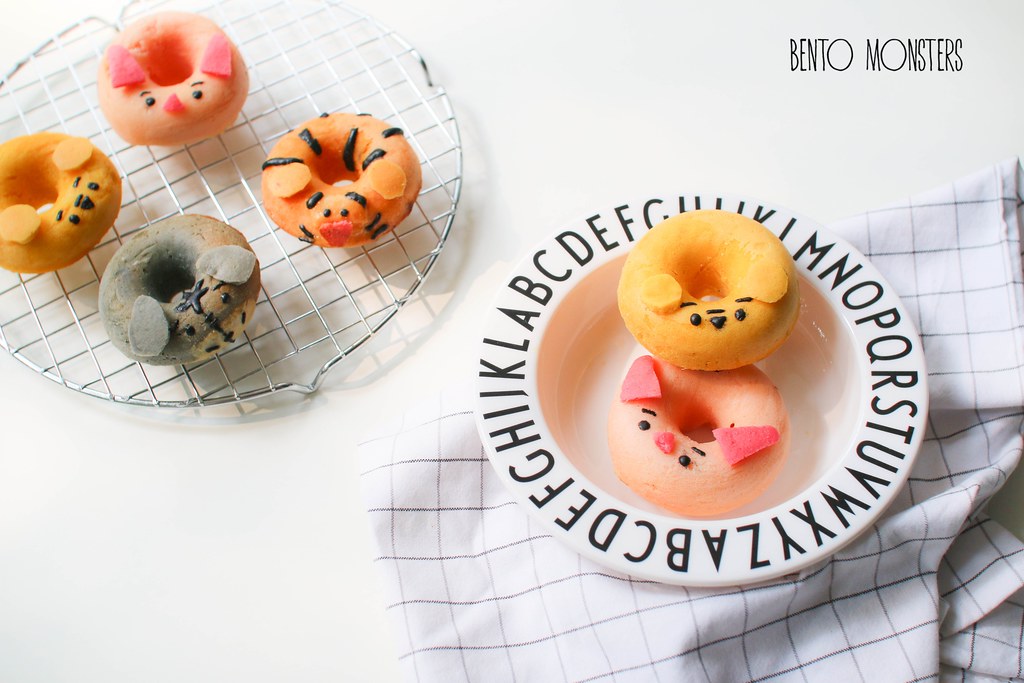
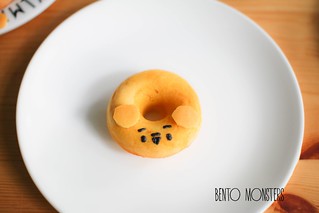
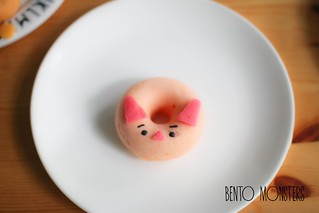
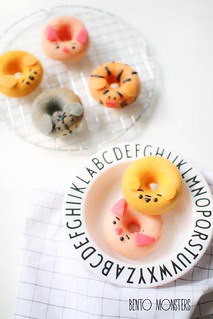
Pooh, Piglet, Tigger and Eeyore donuts, which one do you like? These donuts are baked, not fried, so the texture is similar to cakes. You would need a donut mould for this recipe, I'm using a silicon one but the metal ones are fine too.

IMG_7857
I used Morinaga pancake mix to make this, but if you can't get hold of it, you should be able to substitute with other pancake mix.

IMG_7836
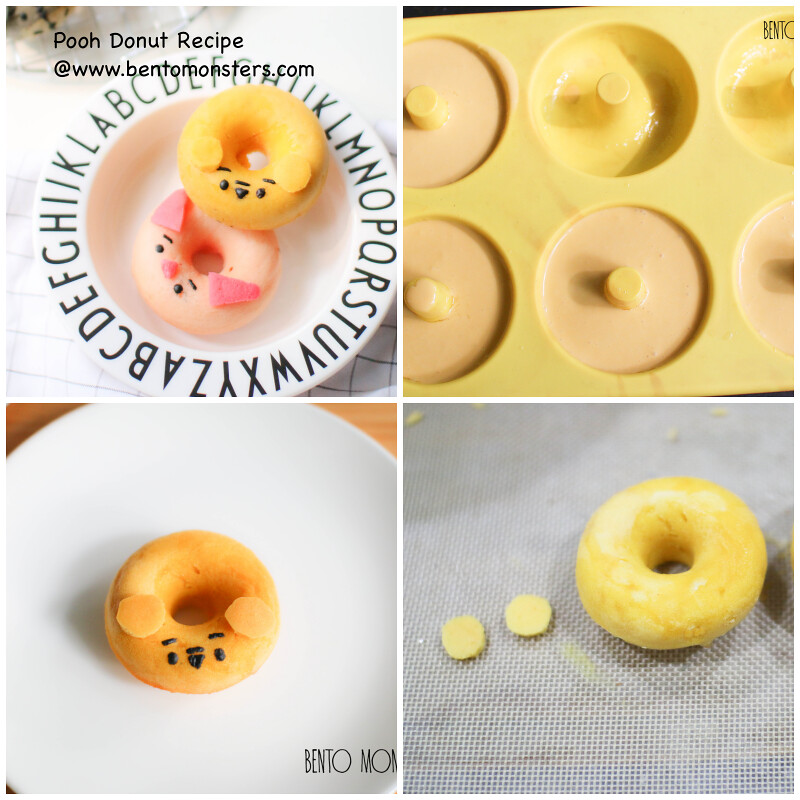
I'm only sharing the recipe on how to make Pooh, since he's the easiest. However, you can use the same basic recipe to make the Eeyore, Tigger and Piglet.

poohdonut
I used soya milk and cold pressed coconut oil for this recipe and the donuts turned out really fragrant, I recommend these two combi, but I've also provided alternatives you can use in the recipe.

POOH BEAR DONUT RECIPE

Ingredients:
150g Monrinaga pancake mix
100ml soya milk/milk
1 egg
3 tbsp honey
10g cold pressed coconut oil/vegetable oil/melted butter
A little Wilton yellow icing colours
A little black charcoal powder

Method:
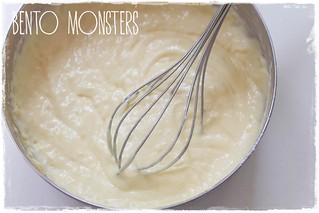
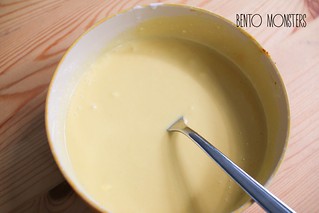
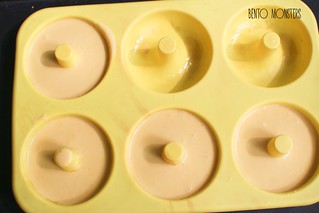
  1. Put pancake mix, soya milk, egg, honey and coconut oil in a bowl and mix until all the ingredients are evenly distributed. Scoop out 2 tbsp of batter, add in black charcoal powder and mix well, fill in a pipping bag (A) and set aside. 
  2. IMG_9042
  3. Add in some yellow icing colours and mix well. Scoop out 4 tbsp of batter and fill in a piping bag (B) and set aside. 
  4. IMG_7755
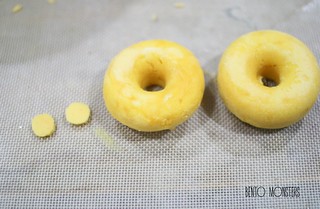
  5. Lightly grease donut pan with vegetable oil. Spoon mixture into donut mould till around 80% full. Bake in preheated oven at 180C for 15 minutes.
  6. IMG_7756
  7. Use pipping bag (B) to draw out circles on a tray lined with baking paper. Bake in preheated oven at 180C for 2 minutes. This will be for Pooh's ears.
  8. IMG_7823
  9. Using pipping bag (A), draw out Pooh's features on the baked donut, return the donut to the oven and bake for 1 minute. Stick on Pooh's ears using melted chocolate.
  10. IMG_7918
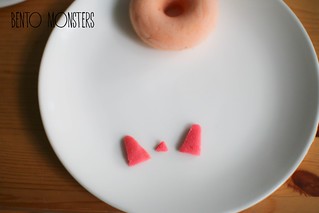
  11. The same basic dough can be used to make Piglet, Eeyore and Tigger.
  12. IMG_7921IMG_7923 IMG_7833