Showing posts with label melody. Show all posts

Saturday, 28 May 2016

Hello Kitty & Friends Donuts

PHello!! I'm finally back to dust off the cobwebs from this space, lol. Sorry for the long hiatus, I don't really know why, was just feeling lazy after exams were over, just not motivated to switch on my laptop to update my blog. -_-
IMG_8950
If you have been following my Instagram, you might have seen these Hello Kitty donuts I made last year. I am finally going to update the recipe for these in today's post, sorry for the long wait.
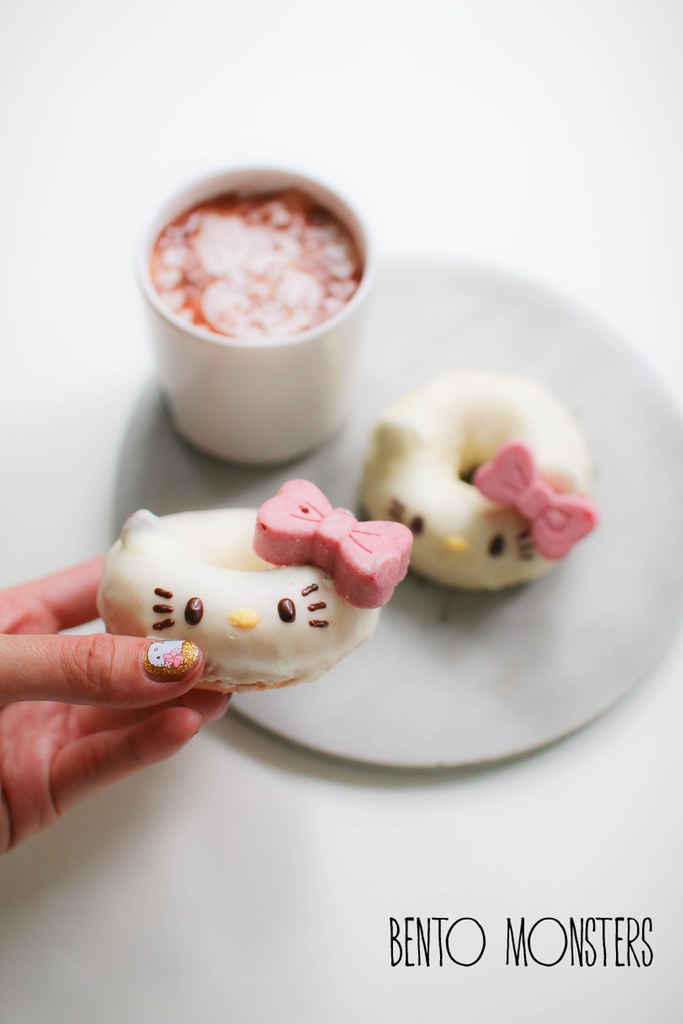
IMG_8957
These donuts are baked, so the texture would be similar to cakes instead.
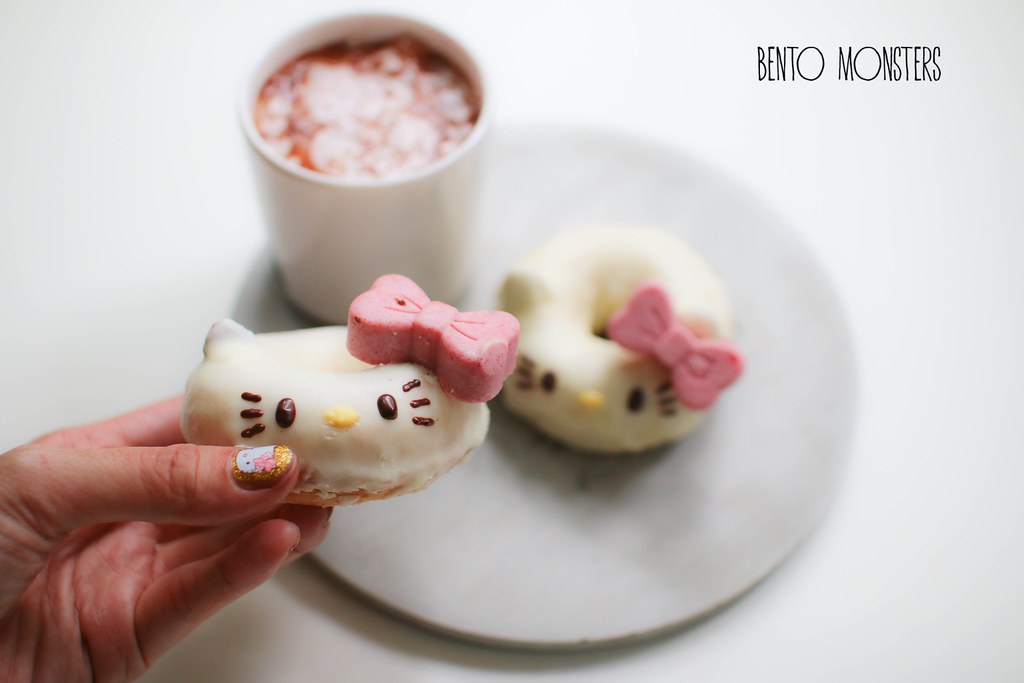
IMG_8958
I happened to have matchy Hello Kitty nails that day. Sadly, my pretty nails can never last past a few days, due to all the housework I do. :(
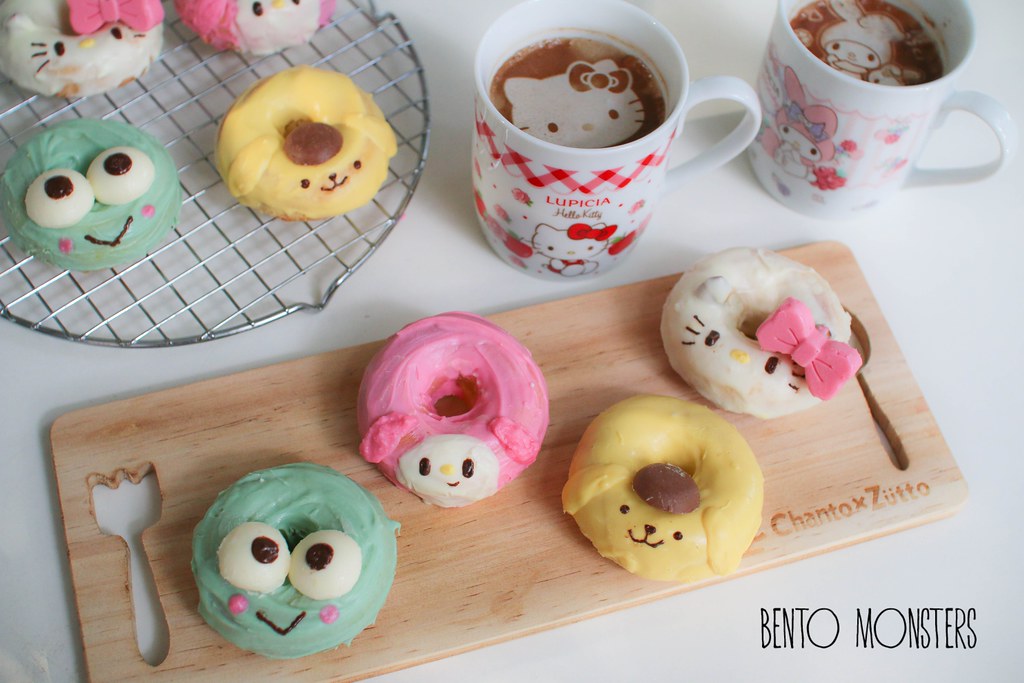
IMG_1070
I also went on to make Hello Kitty friends, Keroppi, Pompompurin and my melody on another day.
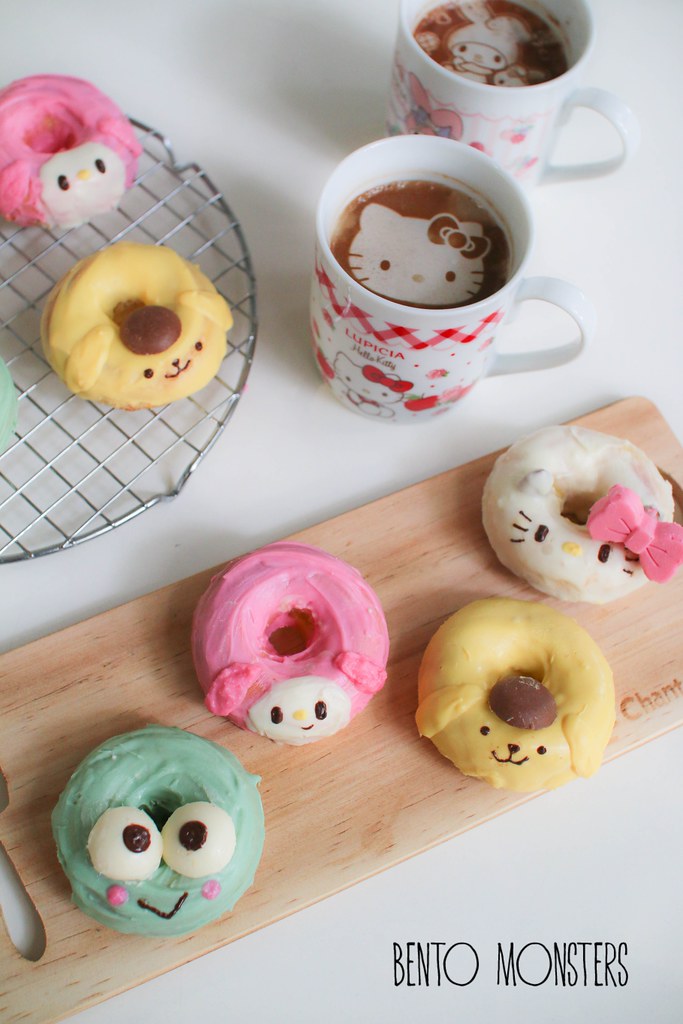
IMG_1066
These batch was rather messy though, as I had some problem with the chocolate consistency.
IMG_1576
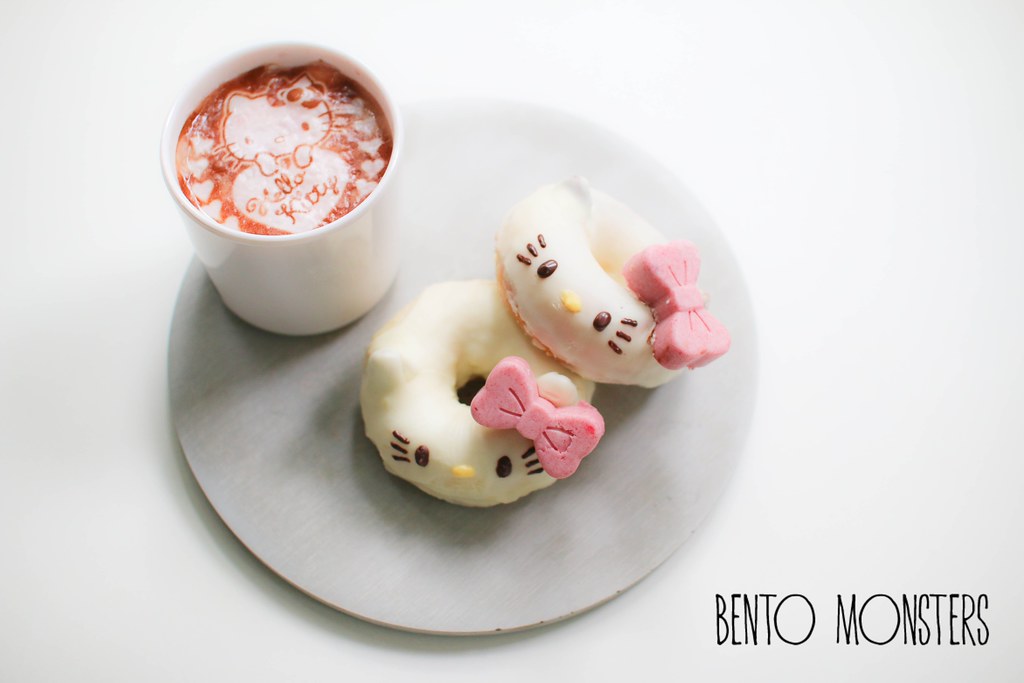
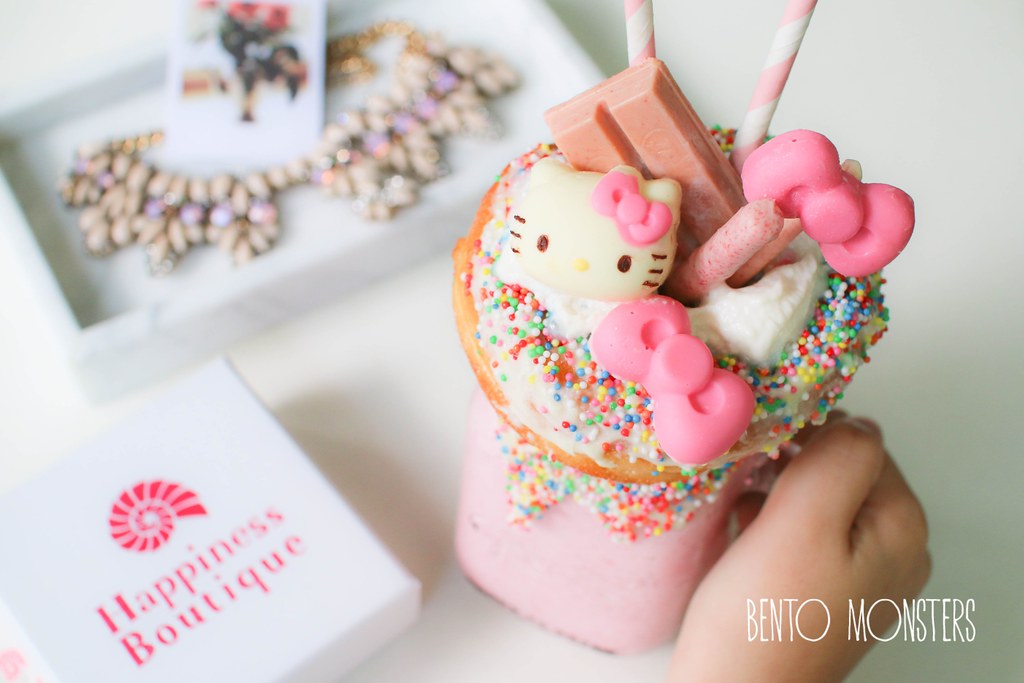
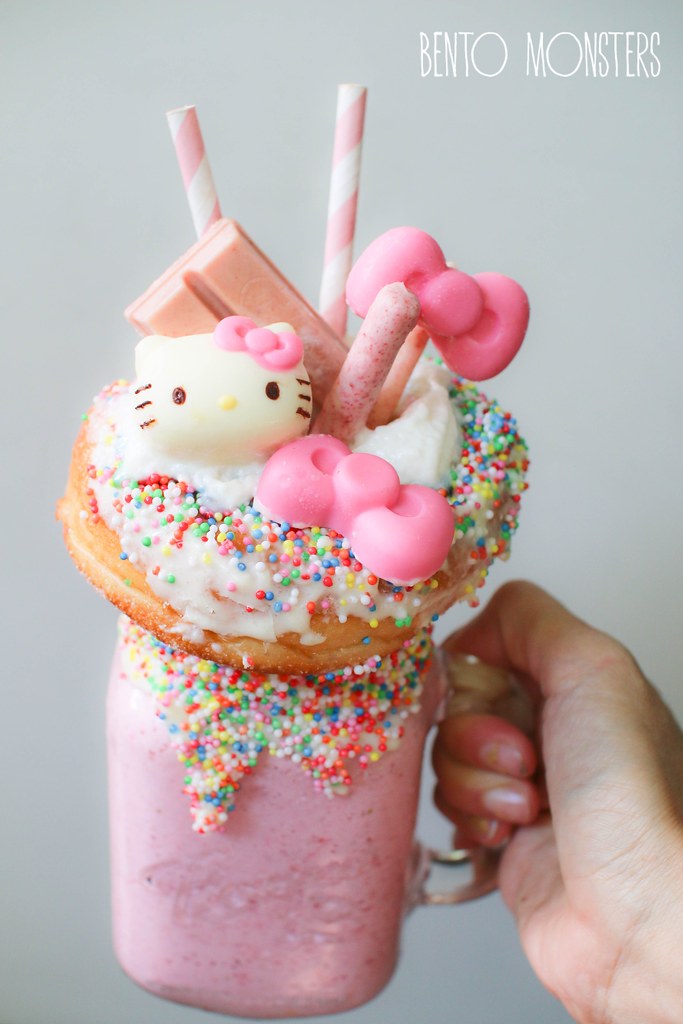
I thought I'll share this Hello Kitty milkshake in this post as well, since there is a donut on it. I made this to share with my boys after their exams. I've seen lots of version of this ultimate milkshake and thought I'll try to recreate it.
IMG_1580
There's strawberries blended with vanilla ice-cream and milk in the glass. I frosted part of the glass with white chocolate and sprinklers. For the layers on top, I added donut, Kit Kat, Pocky, Hello Kitty and bow chocolates. This was quite fun to make and fun to share, definitely would be too much for one person to finish this.
hellokittydonuts
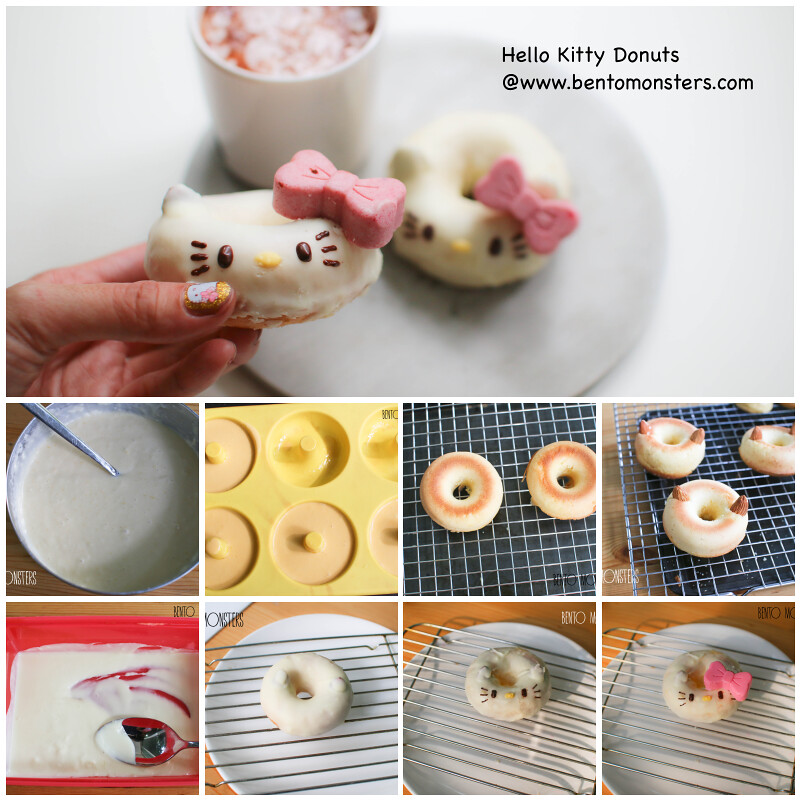
I used the Morinaga pancake mix for this recipe. If you can't get hold of them, you can use this old recipe of mine over here instead.

HELLO KITTY DONUT RECIPE

Ingredients:
150g Monrinaga pancake mix
100ml soya milk/milk
1 egg
3 tbsp honey
10g cold pressed coconut oil/vegetable oil/melted butter
Almonds
White chocolate
Pink chocolate/Wilton pink icing colouring
Chocolate
Yellow Chocolate/Wilton yellow icing colouring

Method:
  1. Put pancake mix, soya milk, egg, honey and coconut oil in a bowl and mix until all the ingredients are evenly distributed. 
  2. IMG_9042
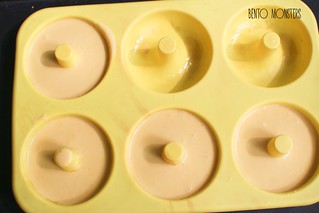
  3. Lightly grease donut pan with vegetable oil. Spoon mixture into donut mould till around 80% full. Bake in preheated oven at 180C for 15 minutes.
  4. IMG_7756
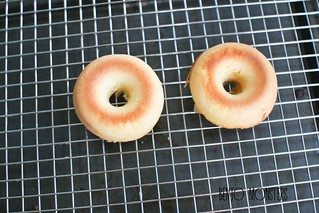
  5. Remove from mould and leave it to cool down fully.
  6. IMG_9411
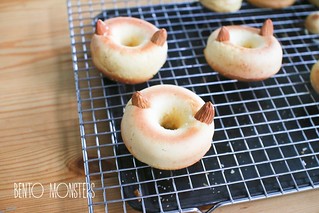
  7. Using a knife, make slits on top of the donut, just enough for you to insert the almonds for the ears.
  8. IMG_9449
  9. Melt white chocolate either over a hot water bath or in a microwave.
  10. IMG_9413
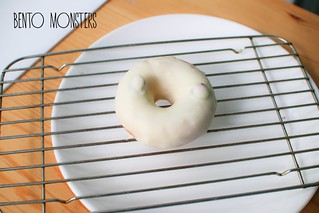
  11. Dip the almonds in white chocolate before placing them back in the slits. Dip the donut in white chocolate. If you find your almonds dropping when you turn over the donut to dip it in the chocolate, you can scoop the chocolate over the donut to coat it instead. 
  12. IMG_1042
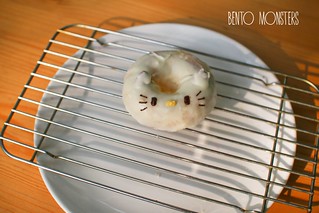
  13. Draw on Hello Kitty's nose using yellow chocolate. If you can't get hold of this, add on a yellow icing colouring to white chocolate to colour it yellow. Draw on the rest of the features using chocolate. 
  14. IMG_1043
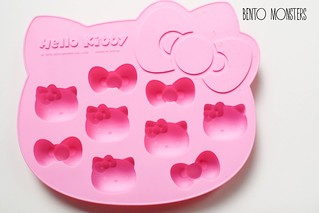
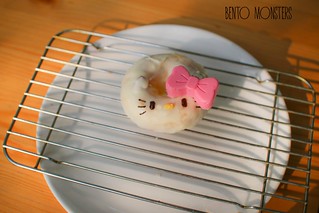
  15. You will need a ribbon mould to make Hello Kitty mould. Alternatively, you can also use two heart shaped sprinklers to form the bow. Melt pink chocolate, pour into the mould and leave it to set in the fridge before removing. If you can't get hold of pink chocolate, add on a pink icing colouring to white chocolate to colour it pink. 
  16. IMG_2198IMG_1044

Tuesday, 11 August 2015

Sanrio Baguette & Somen

If you have been following me on Instagram, you might have seen my post about my bento book, which is coming out on 1 September 2015. My book is now available for pre-order. I've updated a list of links on where you can pre-order the book here. In the post, I've also included a brief about my book writing journey, as well as some sample pages from the book. If you are just looking for the links to order, you can skip what I wrote (It's brief for me but might be a little lengthy for you) and just scroll to the bottom of the post for the links.
IMG_2757
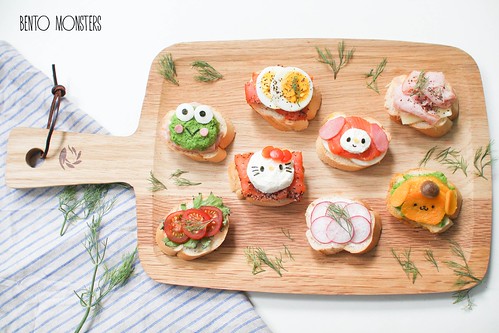
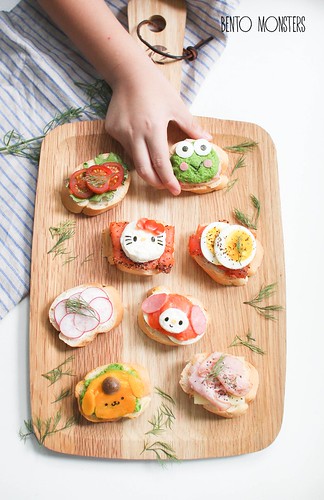
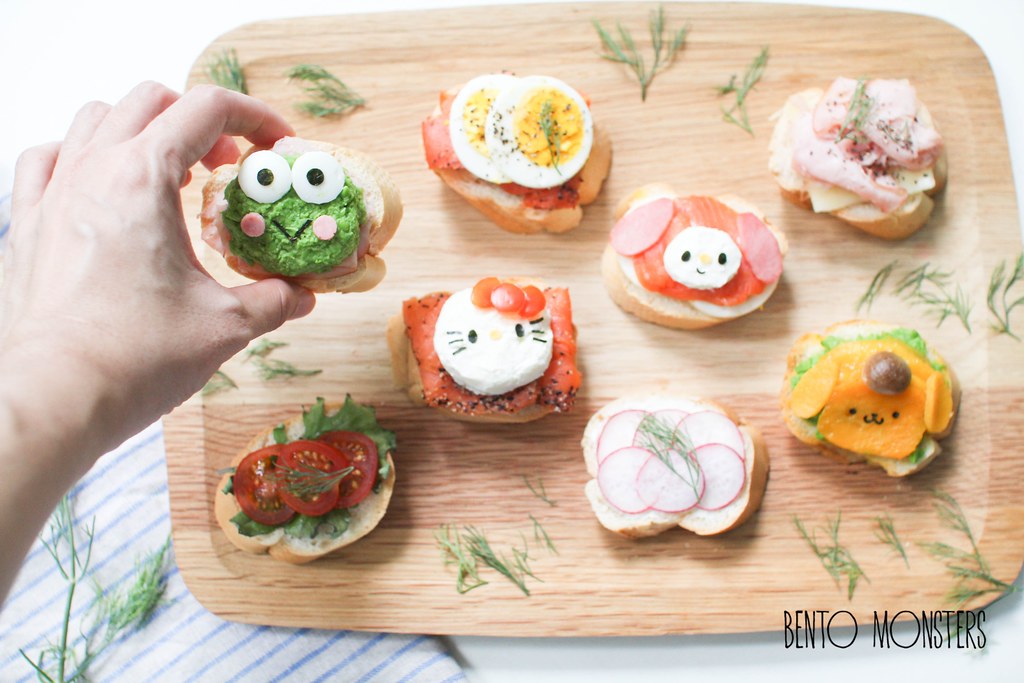
Open-faced sandwiches I made to share with my boys for afternoon snacks during the June school holidays. I used baguette to make these, I sliced and toasted the baguette before topping them with assorted fillings like smoked salmon, lettuce, cheese, ham, eggs, etc.

IMG_2763Can you spot 4 Sanrio characters in there? The four Sanrio characters are Hello Kitty, Keroppi, Pom Pom Purin and My Melody. I used cream cheese, tomato, cheese and nori for Hello Kitty. For Melody, I used smoke salmon, cream cheese, cheese, ham and nori. Ingredients used for Pom Pom Purin were mango, mushroom and nori. Keroppi was made using mashed peas, cheese, nori and ham.

IMG_2759
I allowed my boys to choose the sandwich first and they left the tomato and radish for me, lol. -_-

IMG_4720
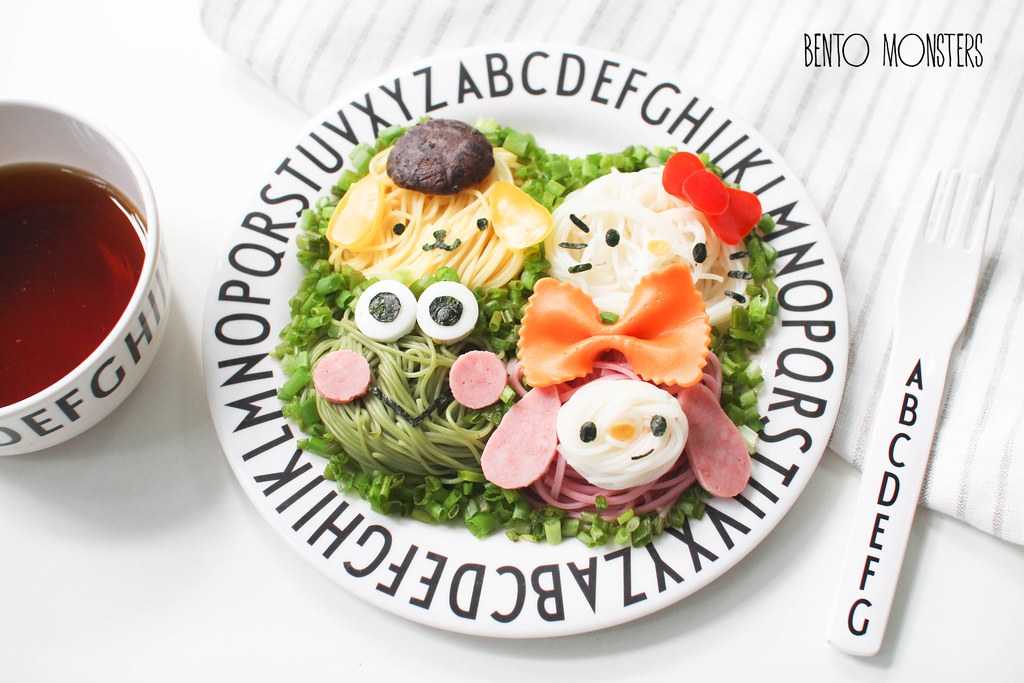
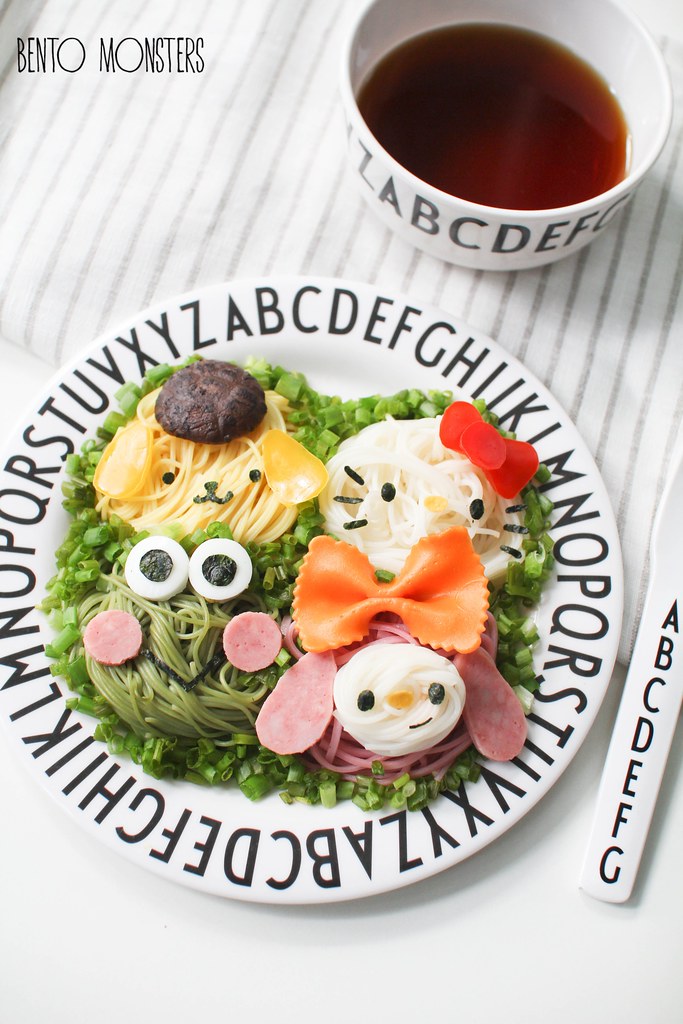
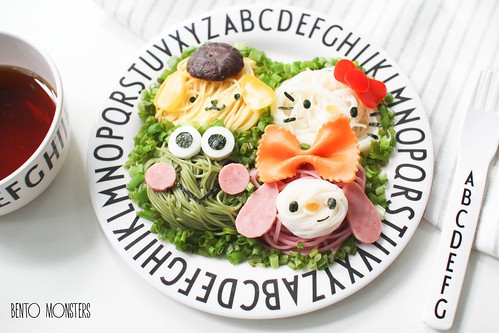
Another version of the four Sanrio characters, this time using coloured somen. I did not colour them, they are available for sale in different colours.

IMG_4724
Ingredients used in the food art, other than the noodles were, cheese, capsicum, nori, ham, mushroom and bow pasta.

IMG_4722
These noodles were served cold with a dipping sauce, quite refreshing to eat these during the hot weather.

Monday, 17 November 2014

My Melody & Piano Bento

Sorry, I've been missing from my blog. I've been busy since the school holidays started, so many activities, and I also have bento work to clear. Just a fast update today, I'll update a longer post at the end of this week, I've a cool product to share with all of you. :)

IMG_3899

Friday, 28 March 2014

Sleeping My Melody Sandwich

Easter is coming in around a month's time. I'm not sharing an Easter bento today. In fact, I've yet to start making one, most likely will start making some after next week, as I already have stuff I want to make for next week. However, if you need some ideas for Easter, you can click HERE to check out my previous posts, I've done quite a number of Easter themed bentos before.

IMG_3158
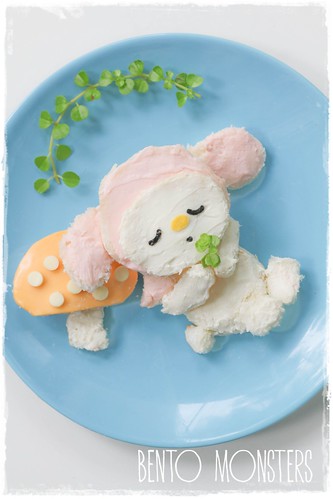
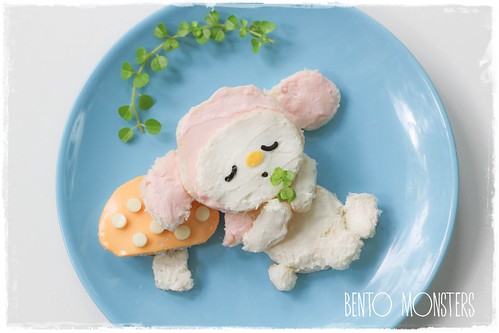
Sharing this My Melody snack I made for IT. My Melody is bread spread with cream cheese. The pink cream cheese is store bought strawberry cream cheese. I've shared previously on how to make your own, you can click HERE to check out that post. IT did mention he prefers the homemade strawberry cream cheese after eating this, I think it's because the homemade version tastes sweet. The mushroom and Melody's nose were made using cheese.

IMG_3157
I need to catch up on my sleep like My Melody this weekend too. Wishing you a relaxing and restful weekend! :)
Bunting---Dots-and-Stripes---Rainbow---11
Where to get same or similar items used in today's post:

Monday, 24 March 2014

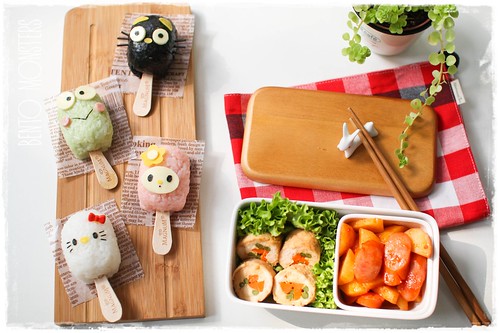
Sanrio Ice Cream Bento

It's back to school again after the one week break. We had a fun week, glad the rain stopped towards the end of the week and we ended the holiday with a trip to Universal Studios and Haw Par Villa. I took a break from foodart last week, I've so many ideas, hopefully I can get started tomorrow.

IMG_2985
Sharing these ice cream onigiri I made around a month back. These onigiri were inspired by Bell's very cute ice cream creations. She made hers using Magnum ice creams! You can check out her Facebook page HERE, she makes really awesome foodart.

IMG_2988
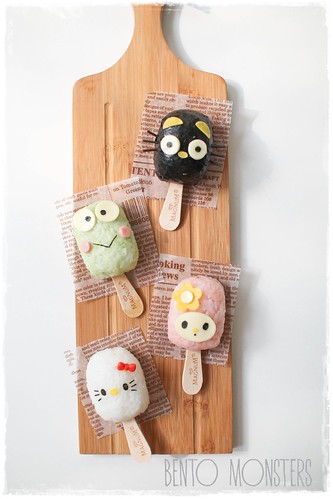
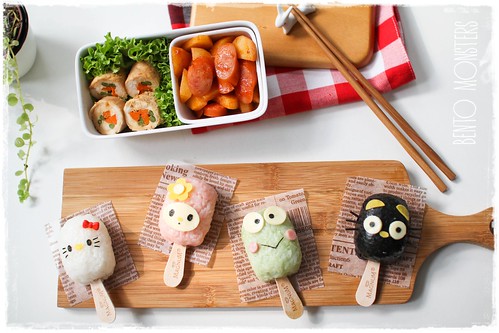
I chose to make Sanrio characters, from top to bottom, Chococat, Keroppi, My Melody and Hello Kitty.

IMG_2972
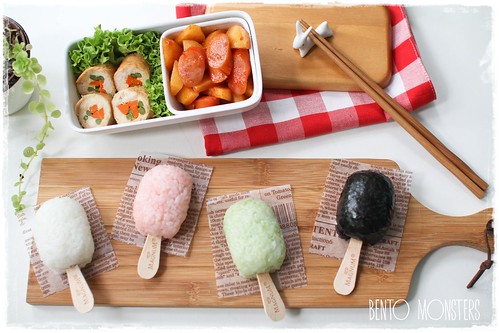
I took a photo of the onigiri before adding on the details, as I thought they look cute even without any decorations too. Pink and green rice were coloured with deco furi. The black one was rice wrapped with seaweed. The rice were all moulded onto ice cream sticks using cling wrap.

IMG_2981
Ingredients used to make these ice cream onigiri were nori, egg sheet, cheese and ham.

IMG_2997
My boys found these quite fun to eat, as they could eat the rice just by holding on to the ice cream sticks. :)
Bunting---Dots-and-Stripes---Rainbow---11
Where to get same or similar items used in today's post:

Wednesday, 13 November 2013

My Melody Somen

Today's post comes with step by step pictures. :) I've received requests to show how to create My Melody somen after I shared it. I remade it again to take photos of the process, it's really not difficult to make.

IMG_9496
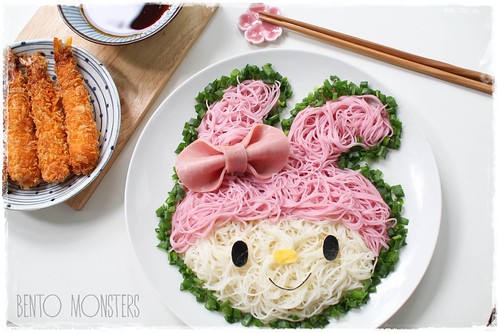
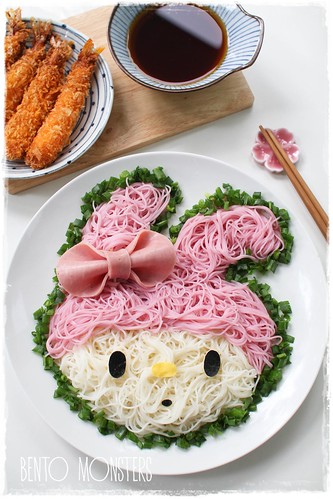
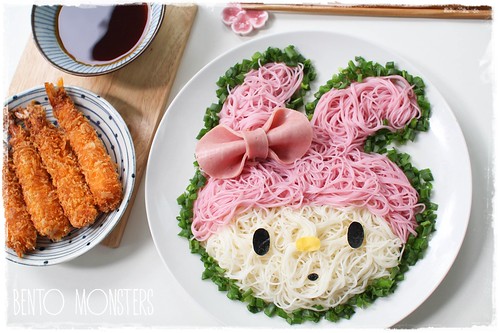
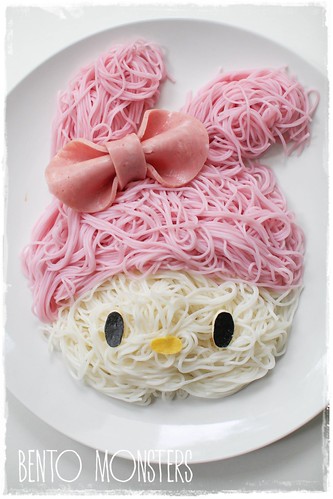
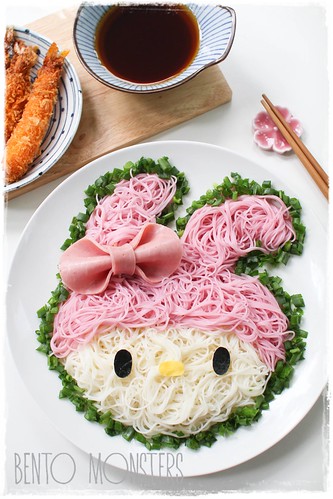
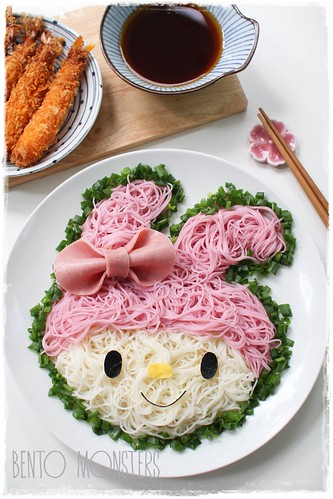
This is the My Melody somen I'm talking about. The white portion is the usual somen, the pink portion is done using ume somen, which are already pink in colour. I am serving it cold, with a dipping sauce.

IMG_9497
This was the same plate of somen, I added on a mouth for My Melody.

IMG_9499
I like happy Melody. :)

IMG_9502
I changed the mouth to create a surprised look for Melody.

IMG_9500
Lol, I was just playing around, my boys chose the smiley version eventually.

IMG_9598
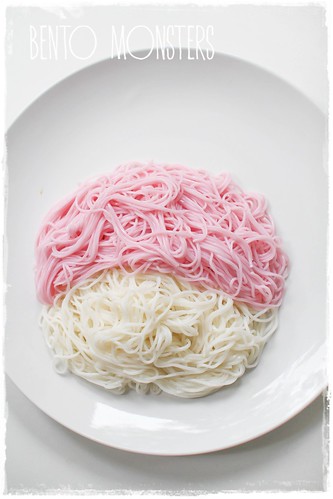
To create your My Melody somen, start off by arranging your cooked somen on the plate in an oval shape. You can do it in a lunchbox, if you prefer.

IMG_9599
Add ume somen on top. If you cannot find ume somen, what you can do is to cook your white somen in water dyed with beetroot or pink colouring.

IMG_9600
Add on Melody ears.

IMG_9601
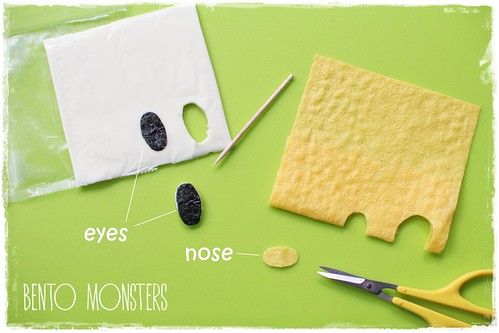
For eyes, cut out ovals from nori, placed it on cheese and cut out using a toothpick. I cut out the nose from an egg sheet. It's easier to fold your nori and egg sheet in half to cut out your ovals.

IMG_9603
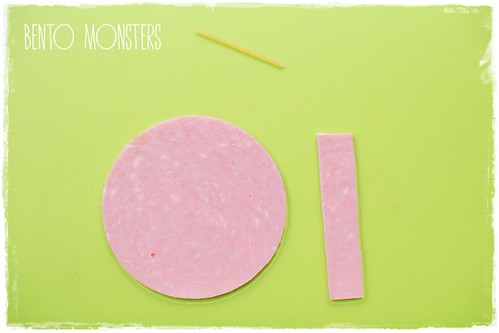
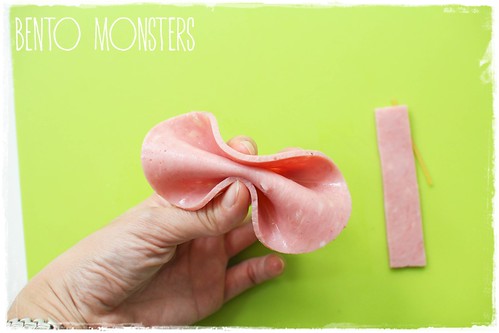
I used ham for Melody's bow. You will need a round slice of ham, another strip of ham and pasta.

IMG_9605
Arrange the round slice of ham as shown in the picture.

IMG_9608
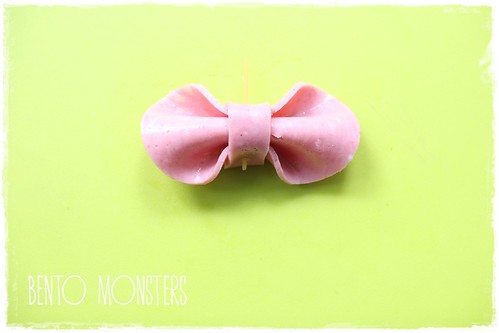
Wrap the strip of ham around it and secure with pasta.

IMG_9611
Assemble all the parts together. Ta-dah, My Melody somen is completed. You can serve it this way, if you like.

IMG_9492
Or you can add on chopped spring onions around Melody, I find this gives it a finishing touch and the spring onion also complements the dipping sauce.
Bunting---Dots-and-Stripes---Rainbow---14
Where to get same or similar item used in today's post: