Showing posts with label gudetama. Show all posts

Friday, 1 April 2016

Gudetama quail eggs & Pizza

Gudetama is still one of my favourite character, so much so that I've bought quite a few items, simply because he is on it. My most recent purchase is two Gudetama kids t-shirts, got one for LT and one for myself, lol. -_- I wanted to buy the adult one for IT but he says no thanks, lol. You might have noticed that Gudetama often appears in my food art, this is because he is so easy to make.
IMG_7527
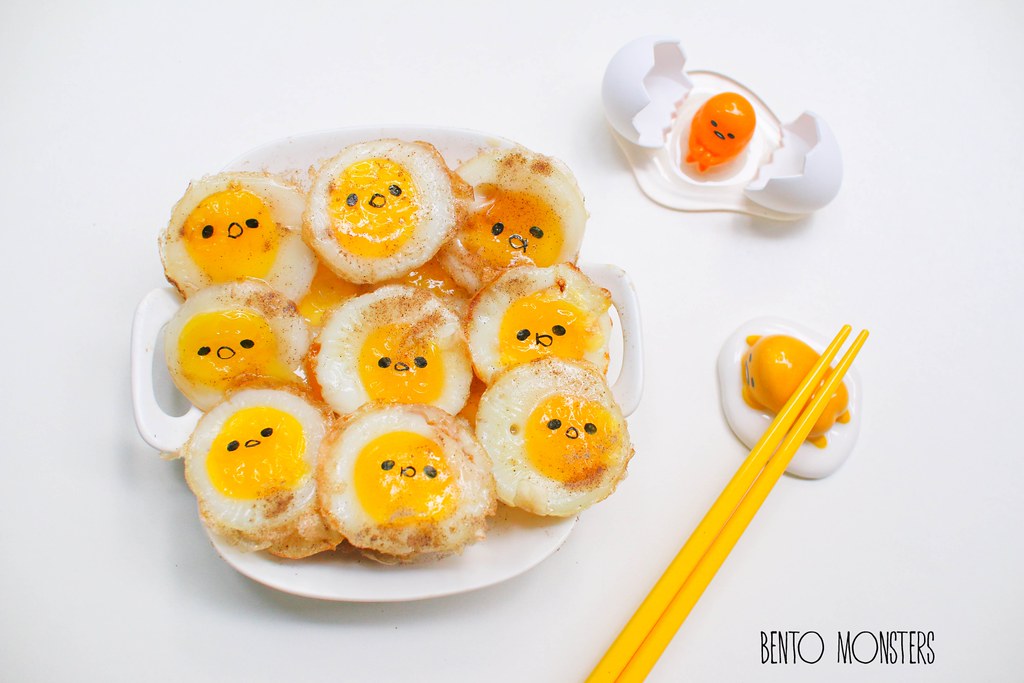
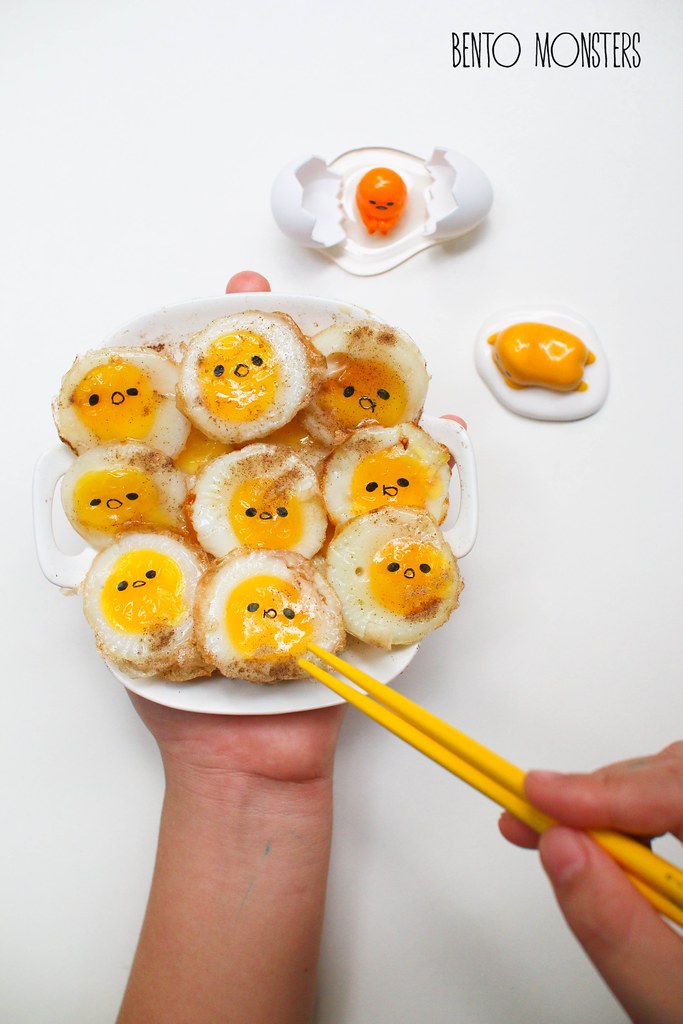
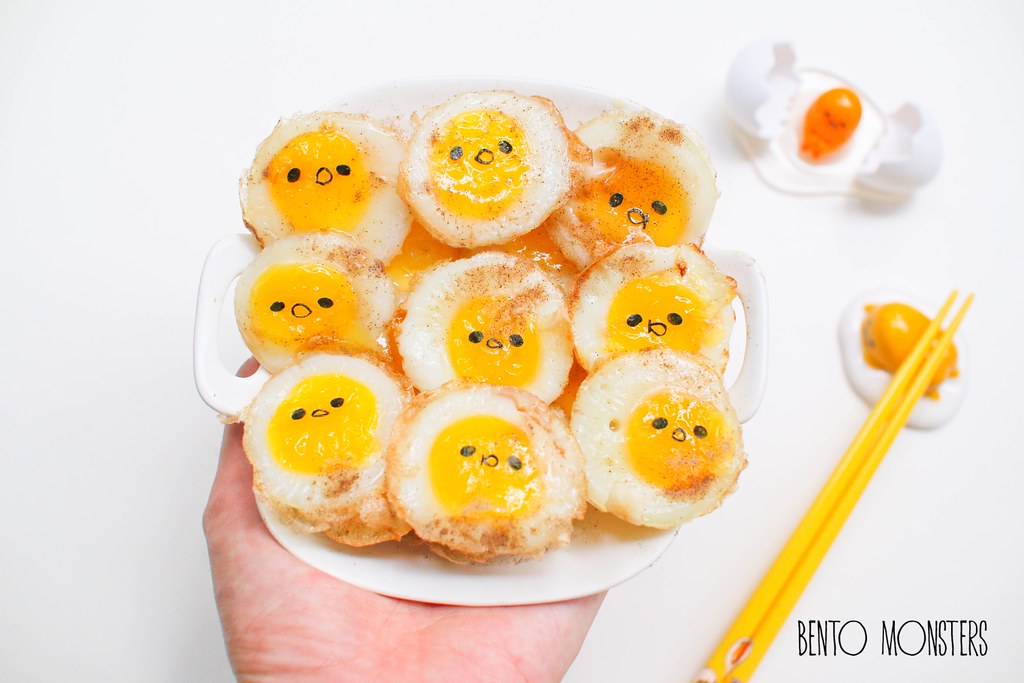
These are fried quail eggs. I came across a photo of fried quail eggs taken in Thailand, I think it's a local street snack over there. I decided to replicate this dish, except my version has nori added on to turn them not Gudetama, lol.
IMG_7532
I used a takoyaki pan to fry the quail eggs, then added on some maggie sauce and pepper. They were pretty good, my boys and I liked them
IMG_7528
I only had two and they finished off everything.
IMG_8496
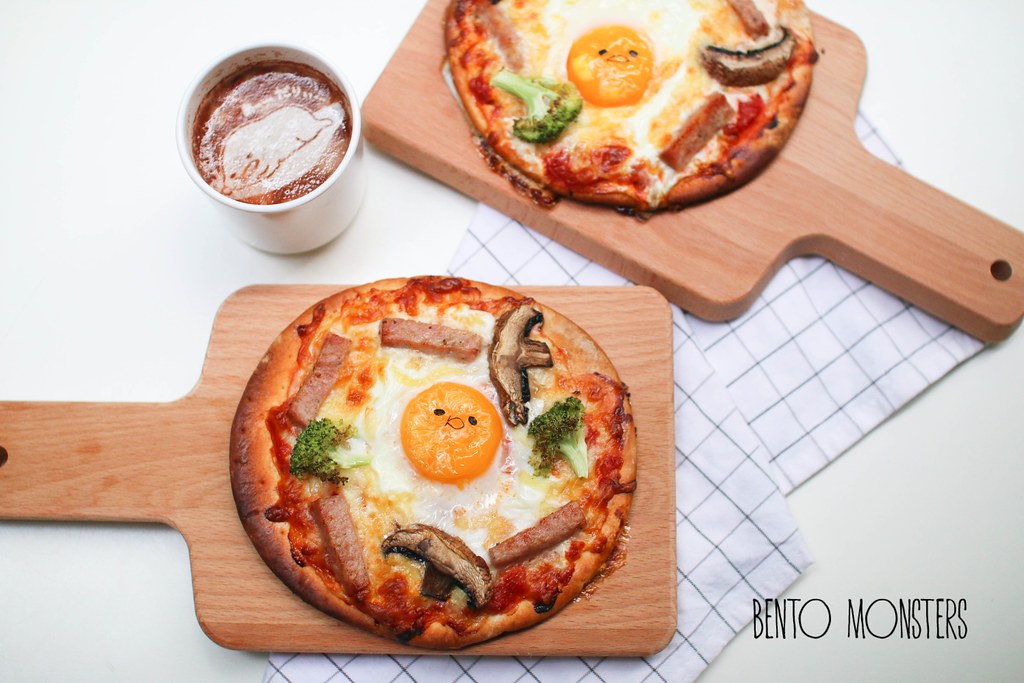
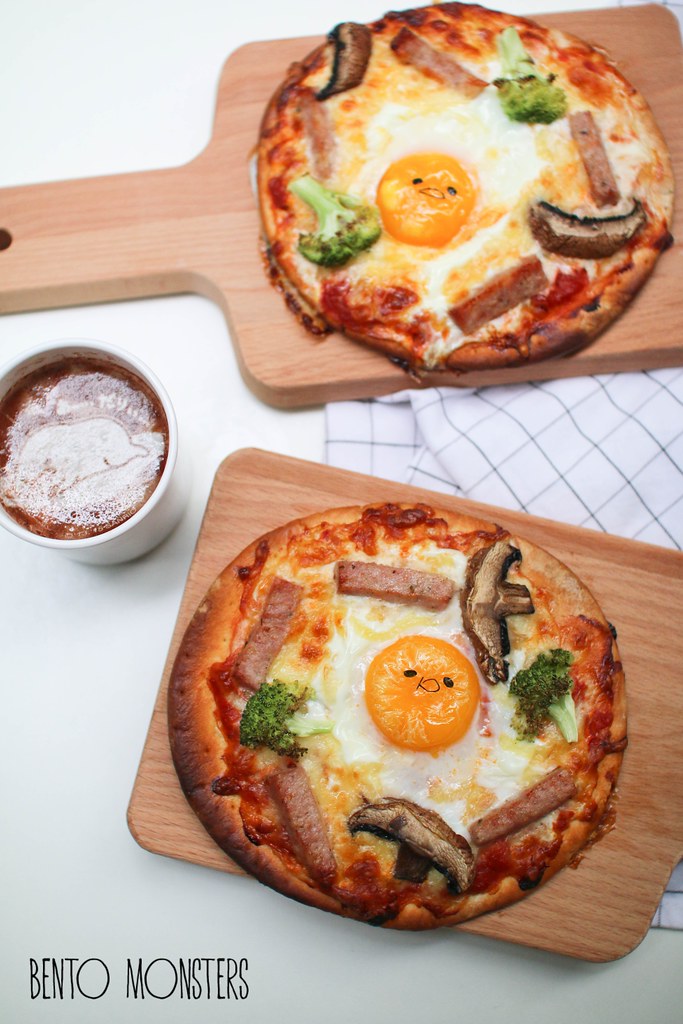
Gudetama pizza, inspired by the ones served in Gudetama cafe. I did think of going to Gudetama cafe last year while on holiday to Japan, but I did not suggest it eventually, because we will have to make a special trip down for it as it does not fit in our itinerary.
IMG_8488
My first time adding a sunny side-up egg to pizza, it's actually a great idea, why didn't I think of doing so earlier, lol?
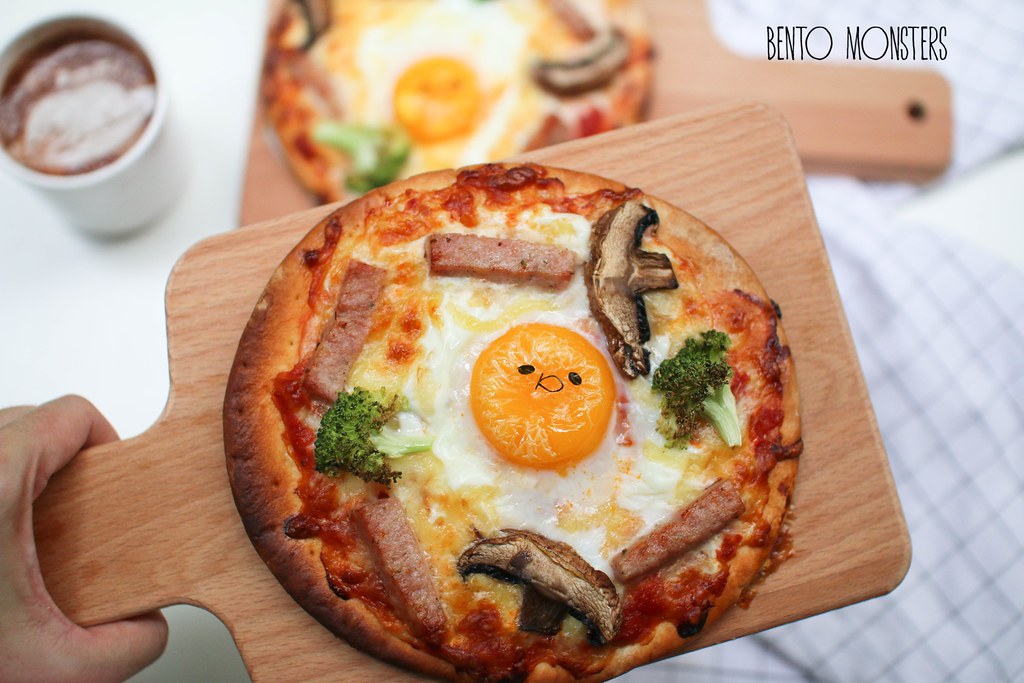
IMG_8492
I baked the pizza for a while first, before adding on the egg, as I was afraid it might be overcooked.
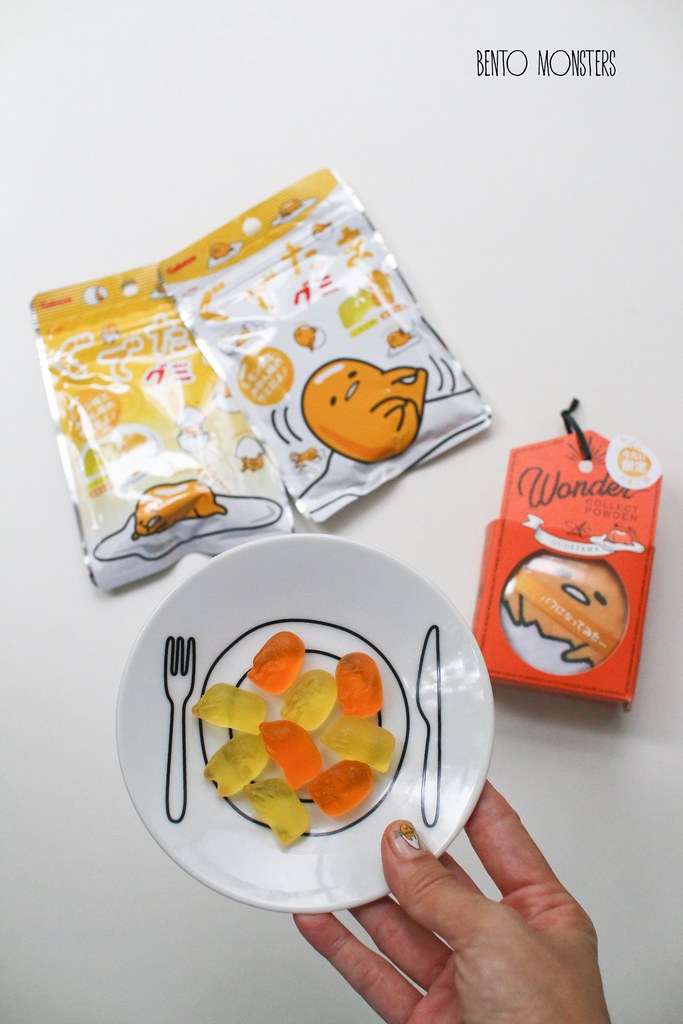
IMG_9655
Sharing some of the Gudetama stuff I bought. These are Gudetama gummy candies I'm holding. The orange box in the background is face powder, comes in other Sanrio characters too like Hello Kitty, My Melody, etc. I still can't bear to use it. -_-
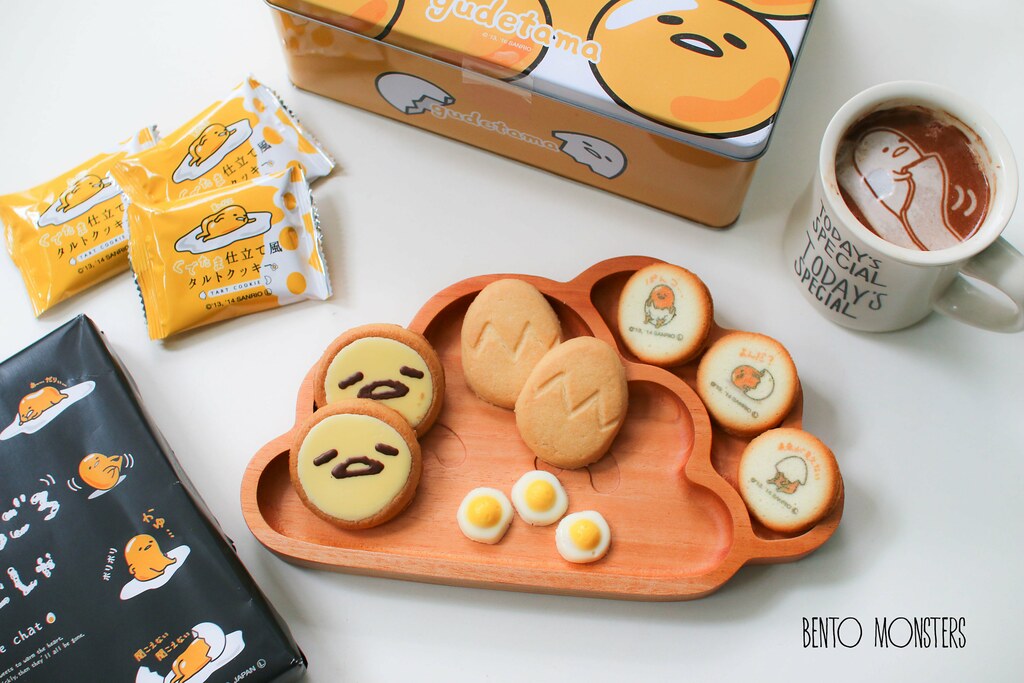
IMG_0907
More Gudetama food items I bought, aren't they cute? They taste good too.
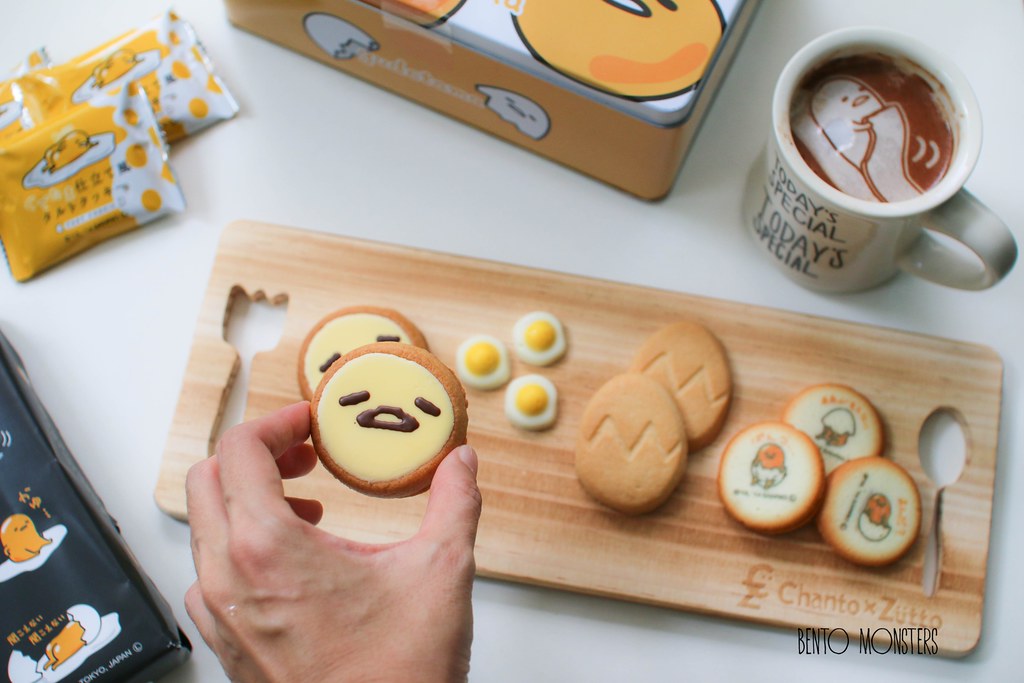
IMG_0906
This one is my favourite, still have lots more Gudetama food to share, but I'll leave that for another post next time.

Saturday, 12 March 2016

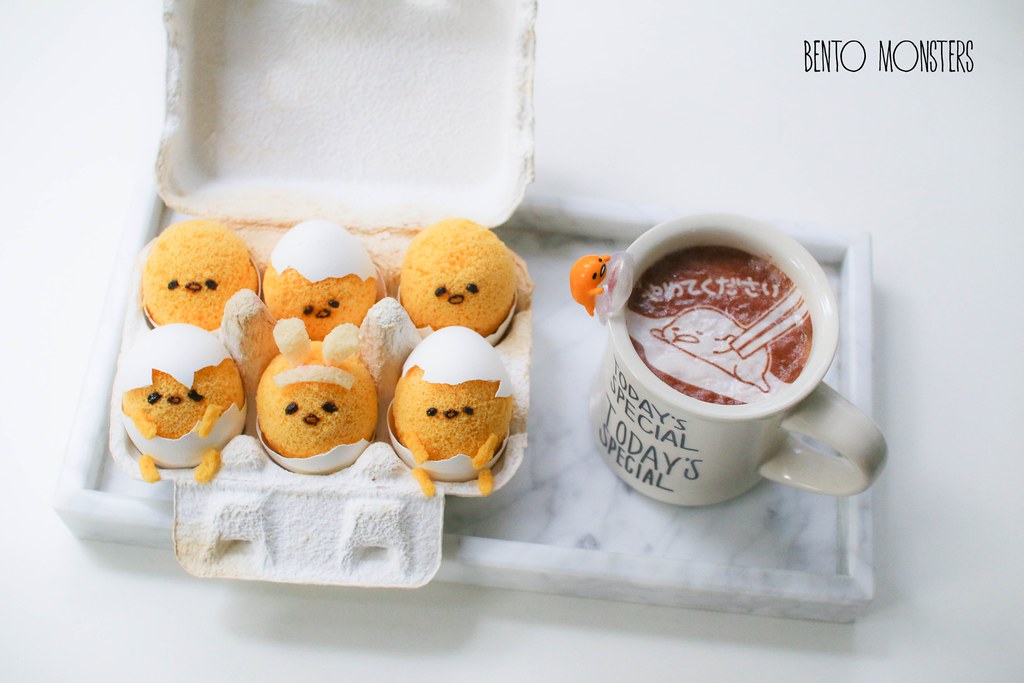
Gudetama Easter Chiffon Cake

We are having a one week school break next week, I'm always happy to turn my alarm off, lol. I probably won't be making much cute food next week, I hope I still have time to make more Easter creations when school starts again, but meanwhile, you can check out my past Easter creations over here.

IMG_0596
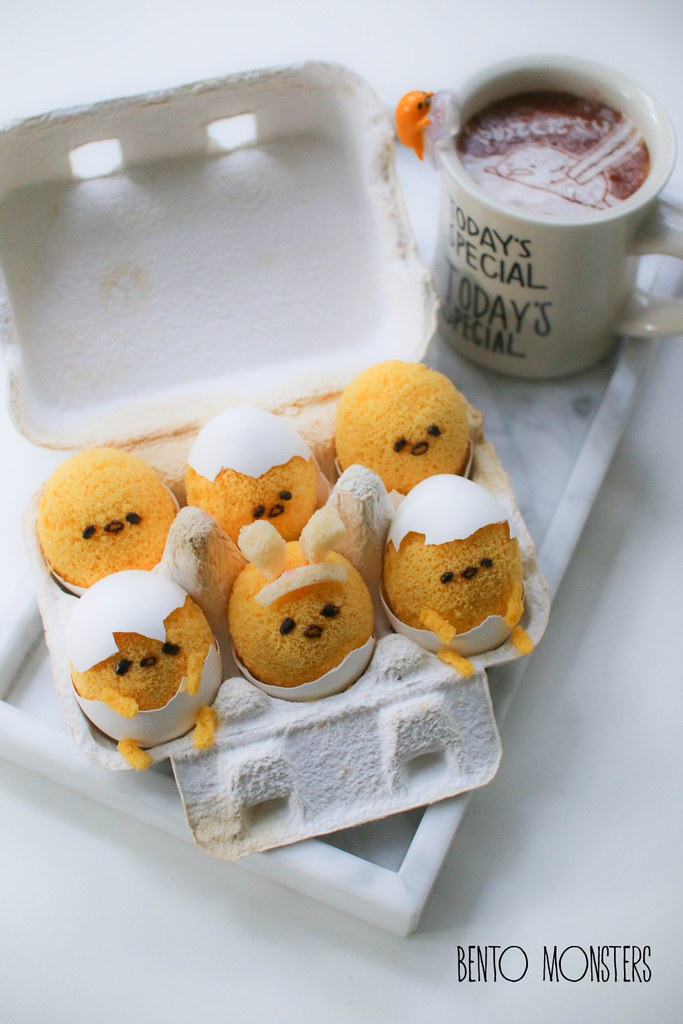
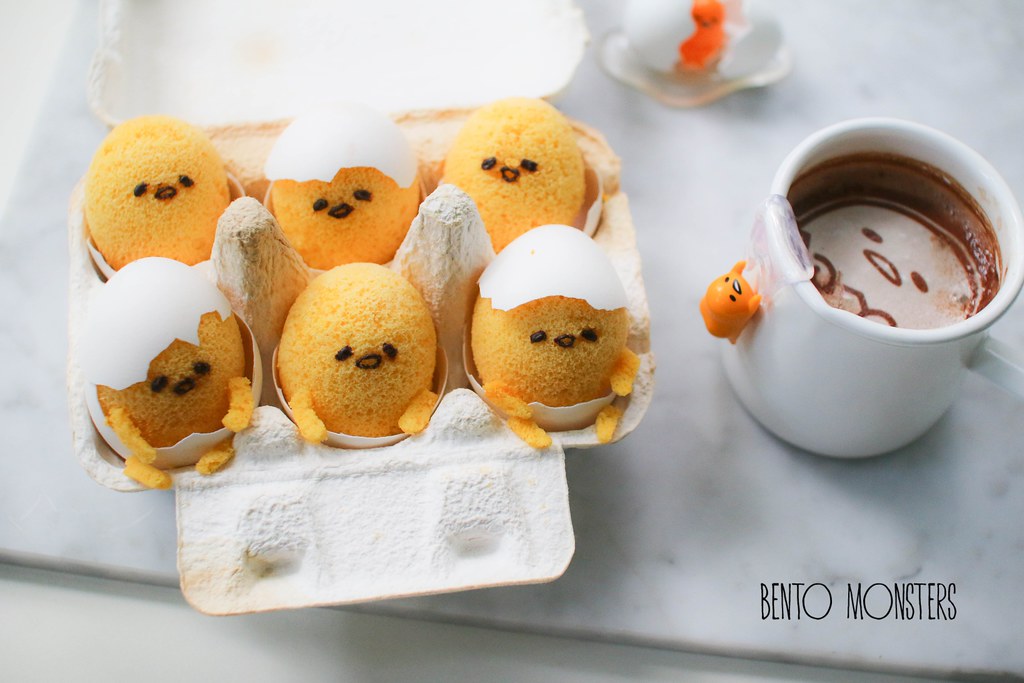
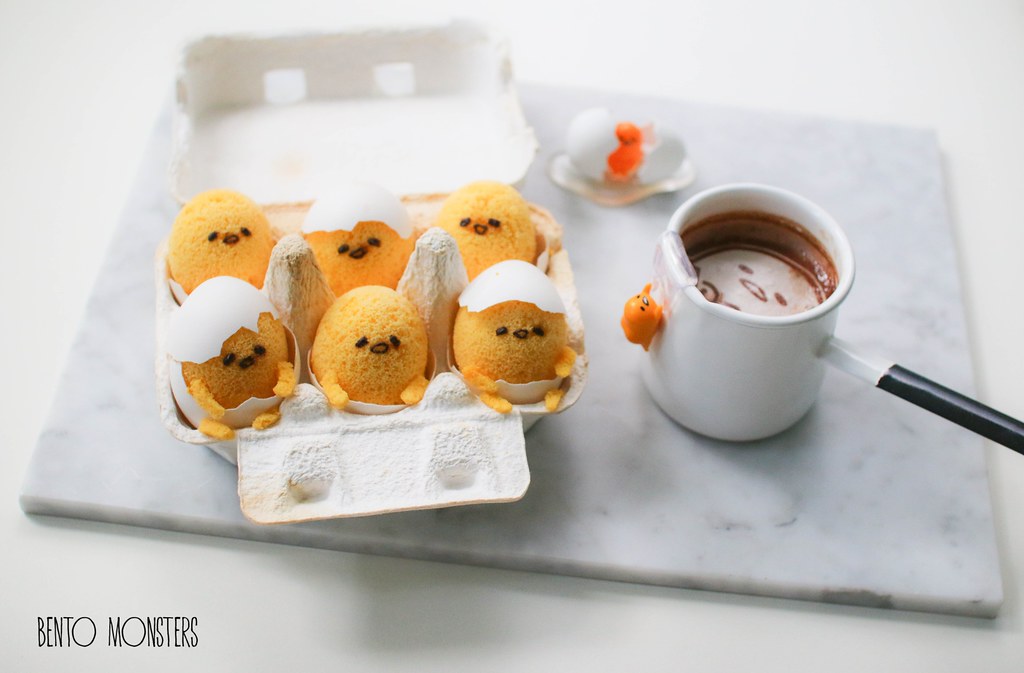
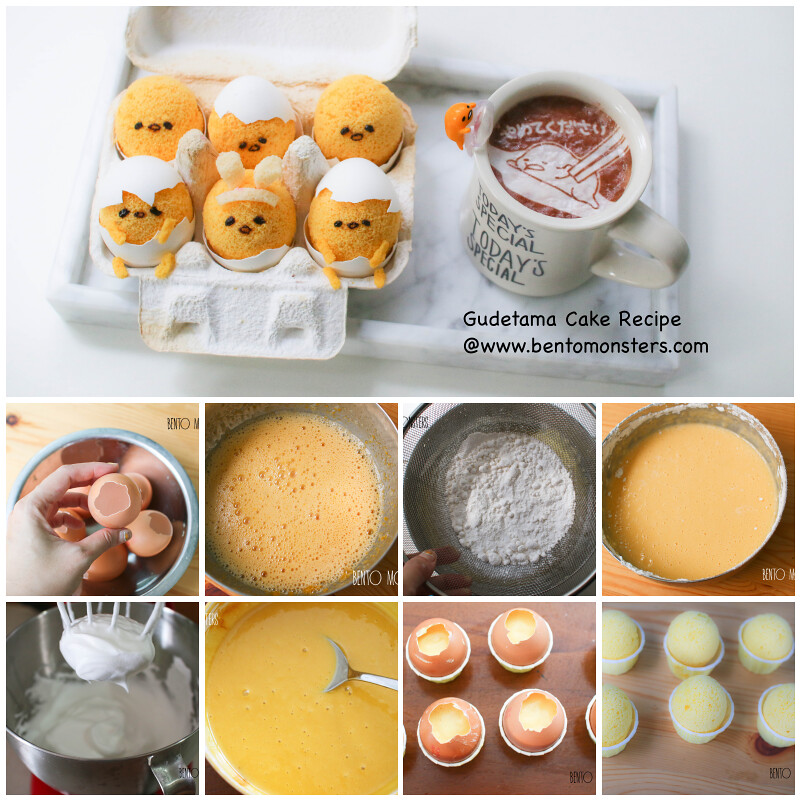
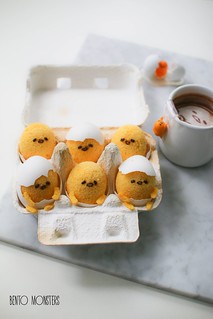
The first Easter creation I made this year are these Gudetama chiffon cakes. This silly egg is still one of my favourite character, lol.

IMG_0603
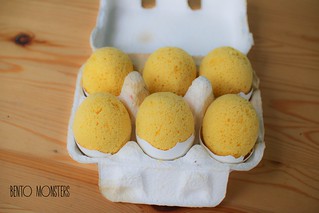
They were baked in egg shells. The troublesome part of this recipe for me is to collect the egg shells, I can only bake these after I've collected enough egg shells.

IMG_0320-1
I like the light airy texture of chiffon cakes, they are also healthier than the usual cakes as well.

IMG_0317-1
These are lemon chiffon cake, if you want to make plain ones, just substitute the lemon juice in my recipe with milk or water, and lemon zest with vanilla extract.

gudetamacake
You will need a little yellow food gel colouring, so that the cakes turn out yellow in the end, else they will turn out white instead. Alternatively, you can replace food gel with lemon or orange emulco, if you prefer.

GUDETAMA LEMON MINI CHIFFON CAKE RECIPE

Ingredients:
(A)
2 egg yolks
30ml lemon juice
30ml canola oil
15g sugar
40g cake flour
pinch of salt
1 tsp lemon zest
yellow food gel colouring

(B)
3 egg whites
1/8 tsp cream of tartar
35g sugar

melted chocolate
12 egg shells

Method:
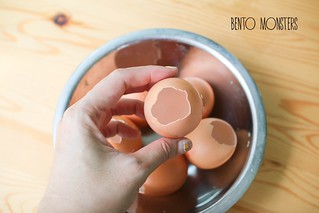
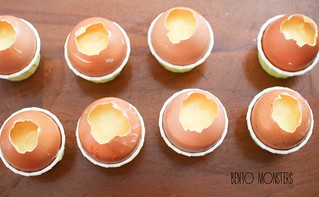
  1. Prepare egg shells by using a spoon to gently crack the narrow end of the egg, make a hole and drain the contents. Remove the white membrane inside the egg. 
  2. IMG_0163
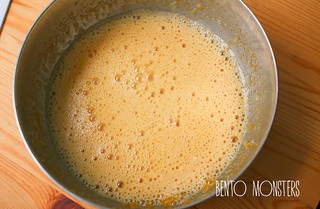
  3. Prepare (A), whisk egg yolk and sugar together till sugar melts.
  4. IMG_0576
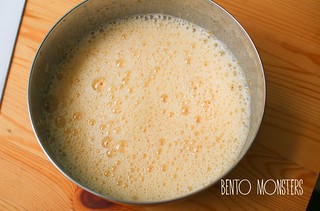
  5. Add in lemon juice, oil, salt and lemon zest and mix well.
  6. IMG_0577
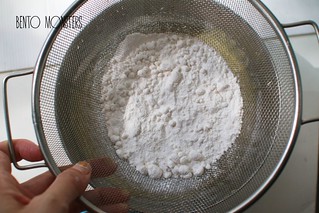
  7. Sift in cake flour and mix well.
  8. IMG_0166IMG_0579
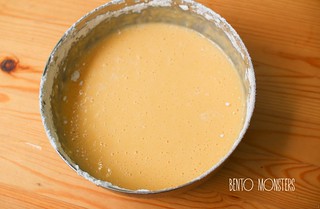
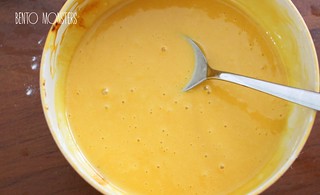
  9. Add in yellow food gel colouring using a toothpick, mix well,  make sure the colour is a shade or two darker than the eventual colour you want, as the batter will be lighter after mixing in (B). Set aside.
  10. IMG_0580
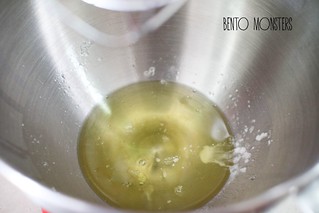
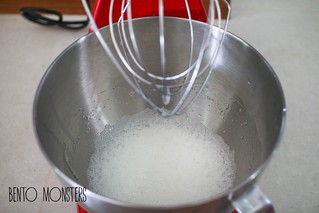
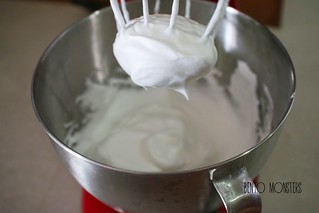
  11. Prepare (B), whisk egg white with cream of tartar for 1 minute, then gradually pour in sugar and continue to whisk till firm peaks.
  12. IMG_0168IMG_0170 IMG_0173
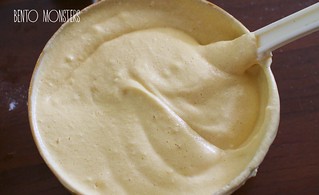
  13. Gently fold mixture (B) into (A) one third at a time. 
  14. IMG_0581
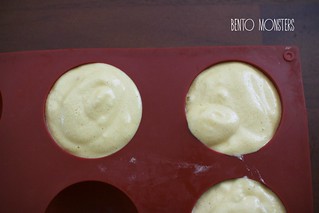
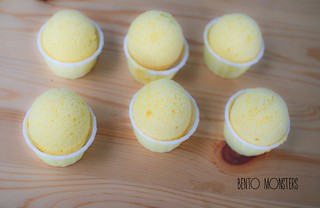
  15. Place egg shells in cupcake cases, so that they can stand upright. Fill 12 egg shells with batter till around 2/3 full. Pour the remaining batter into muffin cups or mould (these will be used to cut out Gudetama limbs). Bake at 150C for 15minutes or when a skewer inserted comes out clean.
  16. IMG_0583IMG_0584
  17. Let cakes cool down completely before cracking and peeling off the egg shell slowly.
  18. IMG_0589
  19. Remove cake from mould and use knife to slice out the cake, then use a pair of scissors to cut out Gudetama limbs and attach on using some melted white chocolate. Use melted dark chocolate to draw on Gudetama's features. 
  20. IMG_0590IMG_0310-1

Monday, 30 November 2015

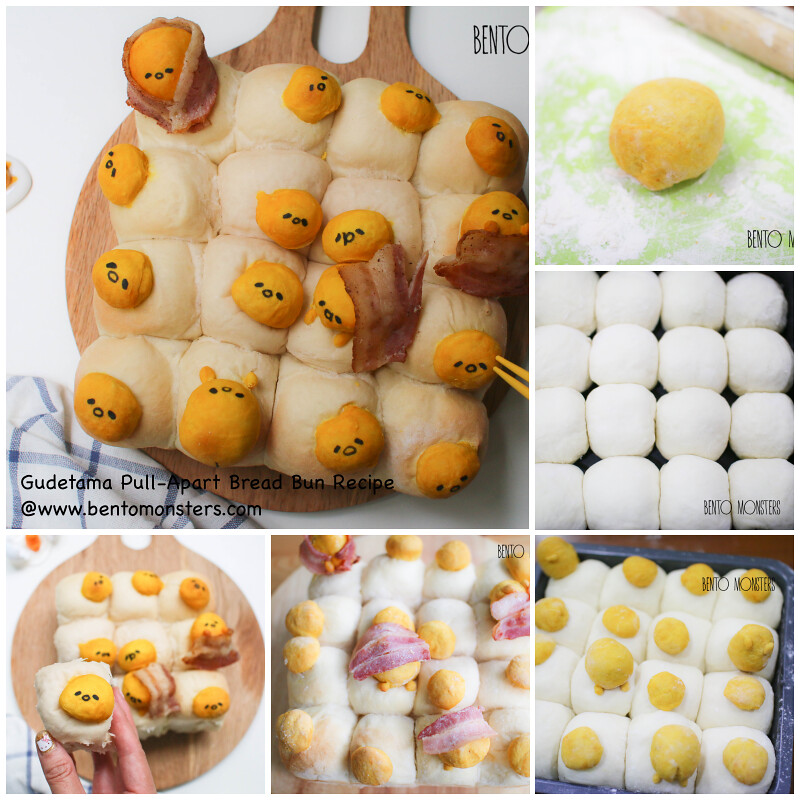
Gudetama Pull-Apart Bread Bun Recipe

I meant to update this last week, but I fell sick again. -_- This time it was a bad cough, had difficulty breathing and could not sleep the entire night, as the breathlessness becomes worse when I lay down. In the end, I gave up and woke up at 4am to iron clothes, very random, lol, there was a huge pile waiting for me to clear anyway, so I thought I might as well make better use of my time since I can't sleep.

I went off to see the doctor after the clinic was open and doctor said it was bronchitis, put me on the nebuliser and sent me home with lots of medicine. Seeing the nebuliser reminded me of my boys when they were babies/toddlers, I remembered carrying my boys and administering it for them and they would always cry without fail. I have never used the nebuliser myself before this, and always wondered why they cried, I guess it was due the noise because there really isn't anything uncomfy about it. And the roles were reversed now, as my hubby instructed my boys to help me hold the mask, I shooed them away after a while because I had no problem handling it myself, lol. I'm a lot better by now, almost recovered,  I don't want to fall sick anymore, my trip is coming soon.

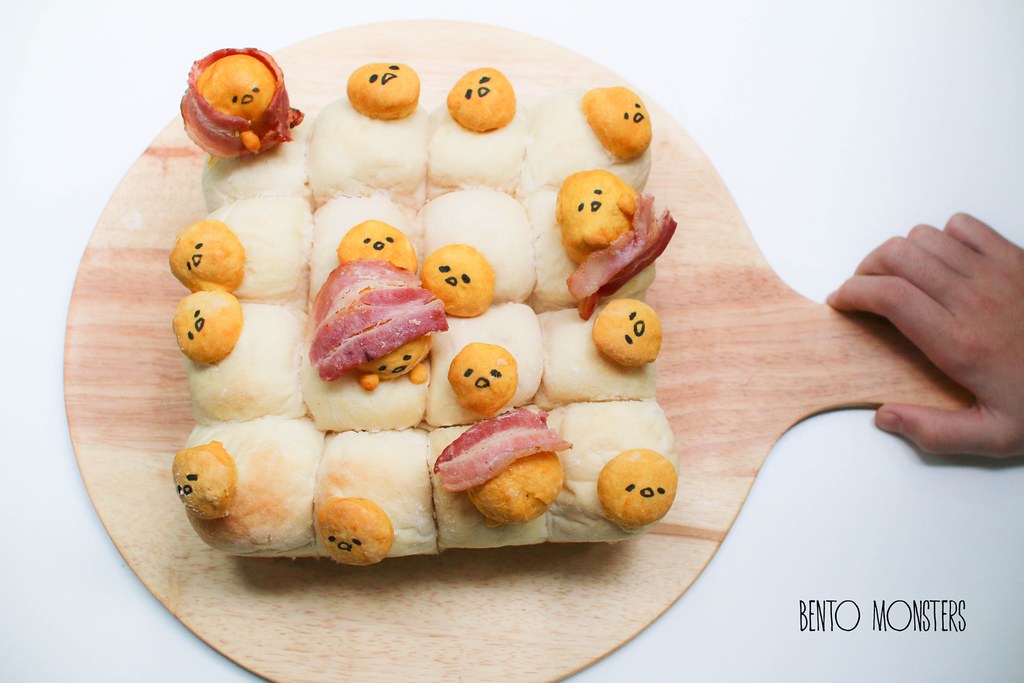
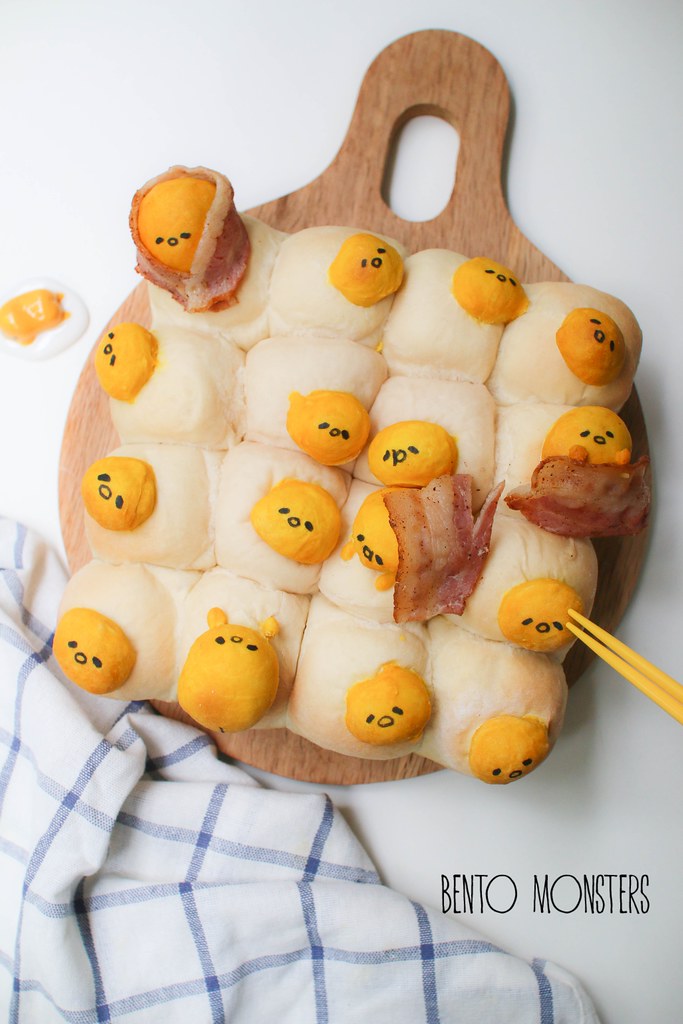
IMG_8113
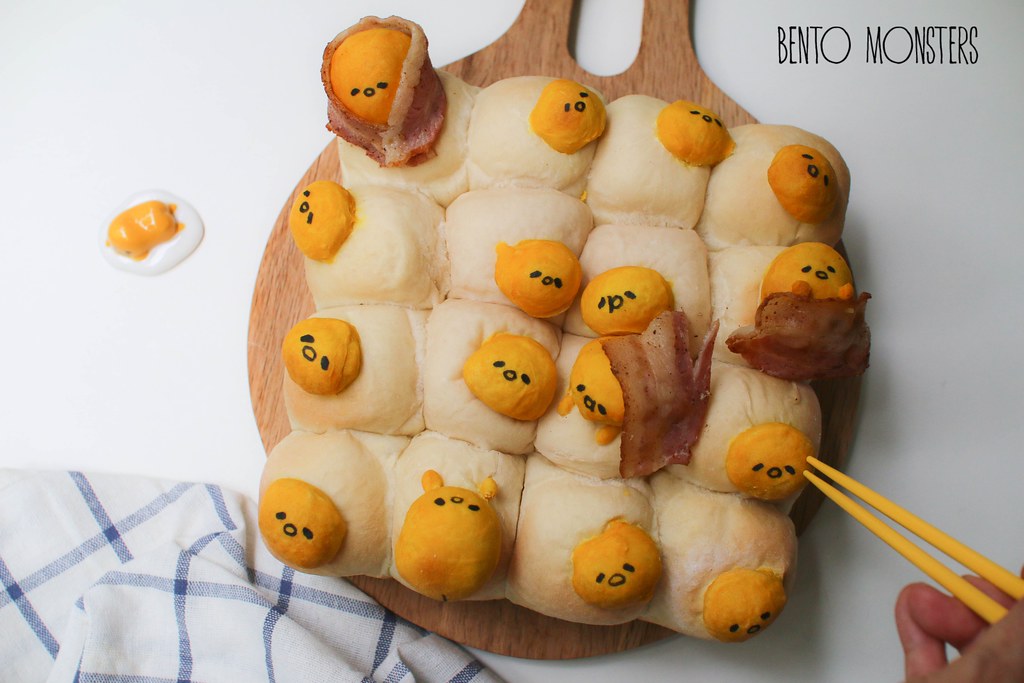
I know some of you are waiting for this recipe. I'm sorry I took so long with the recipe for these Gudetmama pull-apart bread buns, thank you for your patience. The reason was because I was playing around with a new recipe when I made this, and I needed another round to try and take down the measurements and steps.

IMG_7478
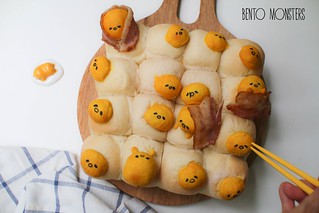
This has got to be one of my favourite pull-apart buns designs, along with the Totoro and Baymax ring ones which I did much earlier.

IMG_7473
The yellow portion is done by mixing in steamed mashed pumpkin. Please choose those with a more yellowish flesh, so the colour of the dough won't turn out too orange.

IMG_7541
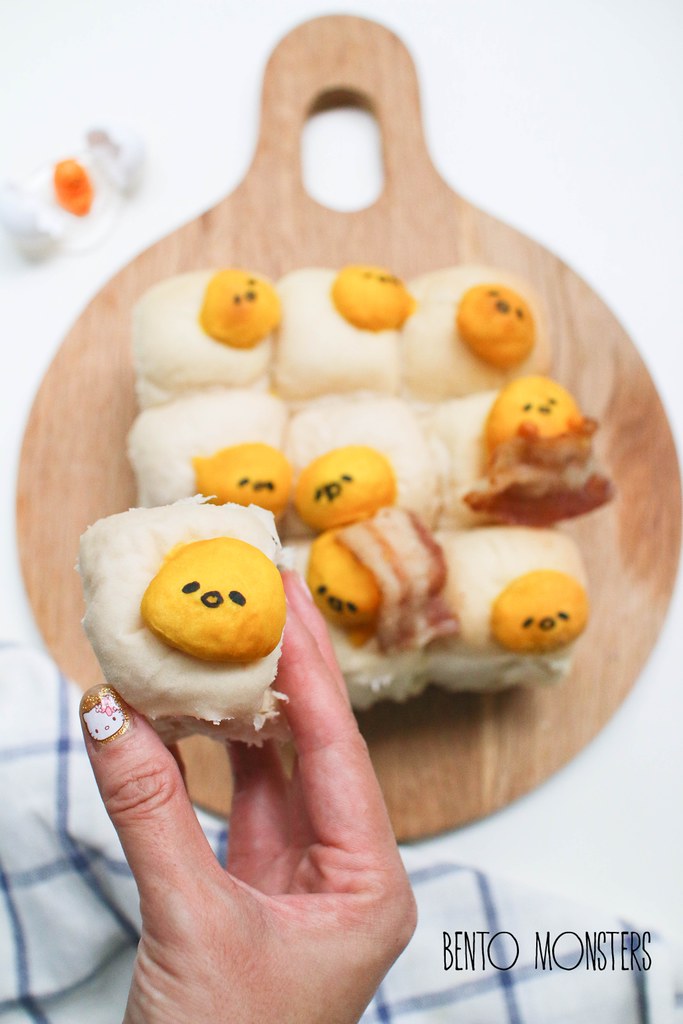
The benefit about pull-apart buns is that they stay soft and fresh longer because there is less exposed surface area.

gudetama bread
This lazy egg is just too cute, hope you have fun making him.

GUDETAMA PULL-APART BREAD BUN RECIPE

Ingredients:
500g bread flour
2 tbsp sugar
1 tsp salt
50g butter, at room temperature
1 tsp instant yeast
375g milk
50g steamed mashed pumpkin
8g butter, at room temperature
Pan-fried bacon
Black food marker

Method:
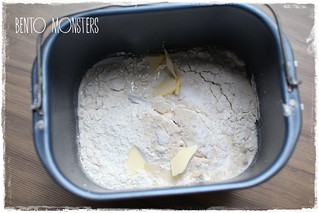
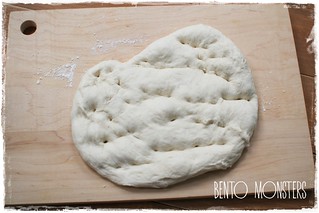
  1. Mix all the ingredients, except butter, in a large bowl to get a dough. Add in butter and knead until dough is springy and soft, this takes around 10 minutes. If you have a bread maker, you can just use the dough function for this step, as well as step 2.
  2. IMG_1925
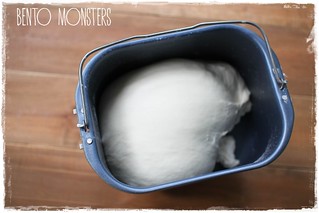
  3. Cover the dough with cling wrap and keep in a warm place for it to rise. This takes around an hour and the dough should double in size. Do a finger test to check if it's ready.
  4. IMG_1792
  5. Take dough out and punch out the air from the dough with your fist. 
  6. IMG_1794
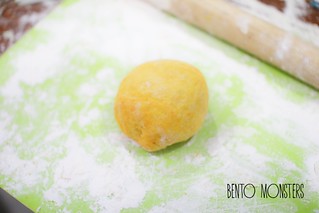
  7. Cut out around 100g of dough and mix with 50g of steamed mashed pumpkin and 8g of butter. Knead till the colours are even, you can add in a little bread flour if it is too sticky while you are working on it. When it's done, roll it out and form into a ball. Cover with a damp cloth or cling wrap and set aside for 15 minutes. 
  8. IMG_8095
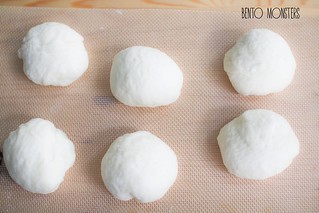
  9. Using the plain dough, roll out the 16 portions of 50g, one at a time and form them into balls. Cover with a damp cloth or cling wrap and set aside for 15 minutes.
  10. IMG_2283
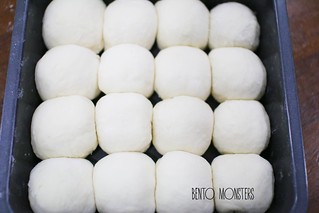
  11. Roll out the white dough of 50g each, one at a time and form them into balls. Grease a 20cm square tin, and place them inside. At this point, there will still be space, as the dough will double in size after proofing. 
  12. IMG_8097
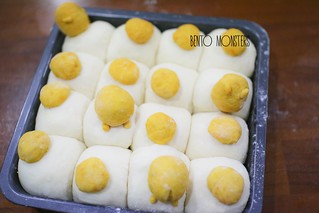
  13. Using the yellow pumpkin dough, shape into 16 Gudetama and place on top of the white dough, use a little water to "stick" if needed.  You can do them in different variations like what  I did. Cover with cling wrap or damp cloth and let the dough proof for 40 minutes. Preheat oven to 190 degrees celcius and turn down to 140 degrees celcius. Place the tray at the middle rack and back for around 15 minutes. After 5 minutes of baking, cover the bread using aluminium foil.
  14. IMG_8101
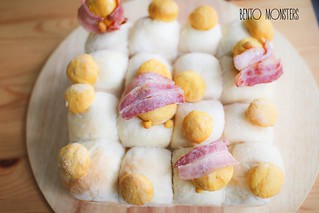
  15. After the bread has cooled down, place bacon blanket on some of the Gudetama, you can use pasta sticks to secure them if needed. Draw on the features using a black food marker.
  16. IMG_8103 IMG_7473

Friday, 13 November 2015

Gudetama Burger & Hotpot

It's been so so long since I last had a fever, I've forgotten how bad it felt. I now remember again because I was down with fever on wednesday, no idea what the cause was, my guess is either a virus or food poisoning. I was practically in bed the entire day, only getting up to cook and send/fetch my boys to/from school. At times like this, I'm happy my boys are no longer babies or toddlers and can look after themselves. IT was fine but LT caught the same virus too, as he had exactly the same symptoms as me. He was feverish at school but did not call for me to pick him up as he wasn't sure if he was running a fever. Silly boy, he must have felt terrible in school, he just laid on the floor once he entered the house, he said he had no more energy to move. We are both fully recovered today, really feels good to be well again, because there are so much stuff at home waiting to be done.

IMG_6036
More Gudetama food art from my archive to share. I can't stop making him, lol. I still have more ideas, which I'm trying to space out, else my whole feed will just be on Gudetama.

IMG_6043
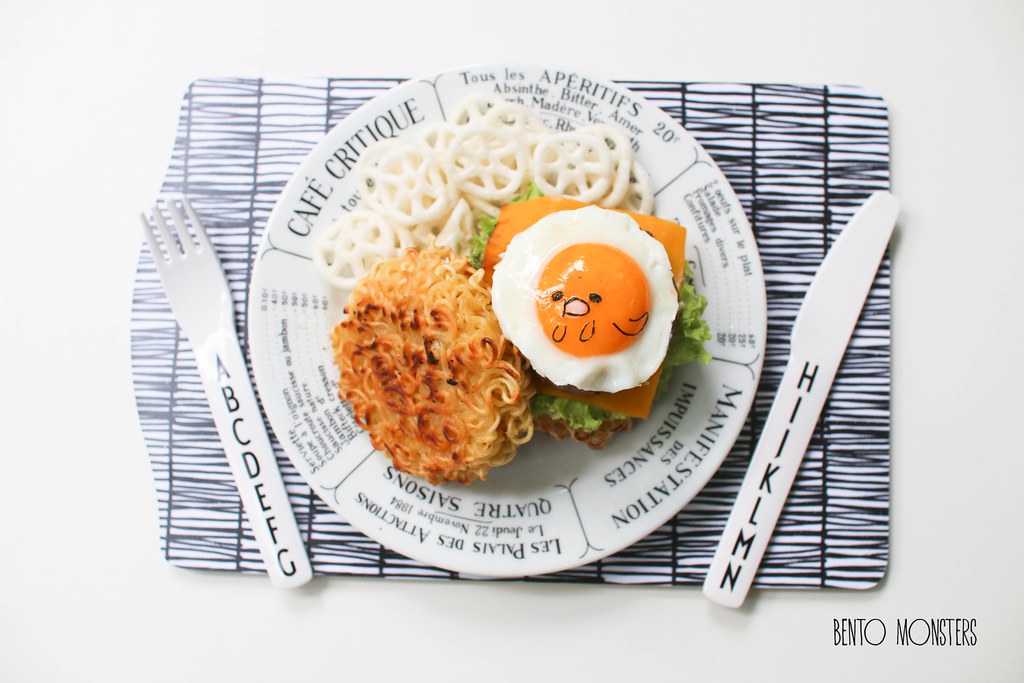
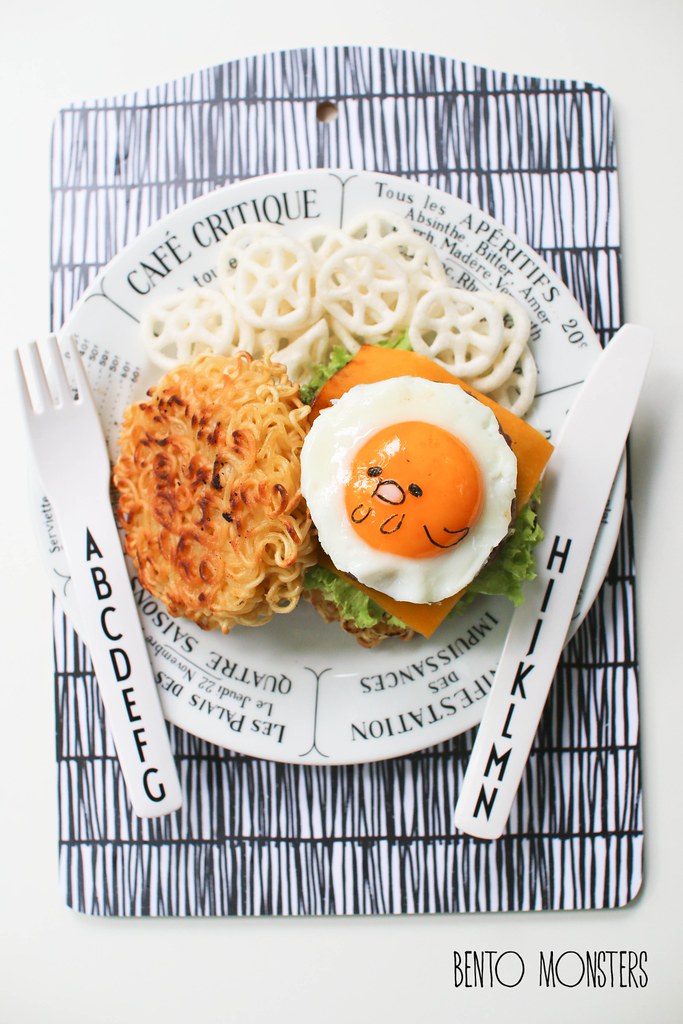
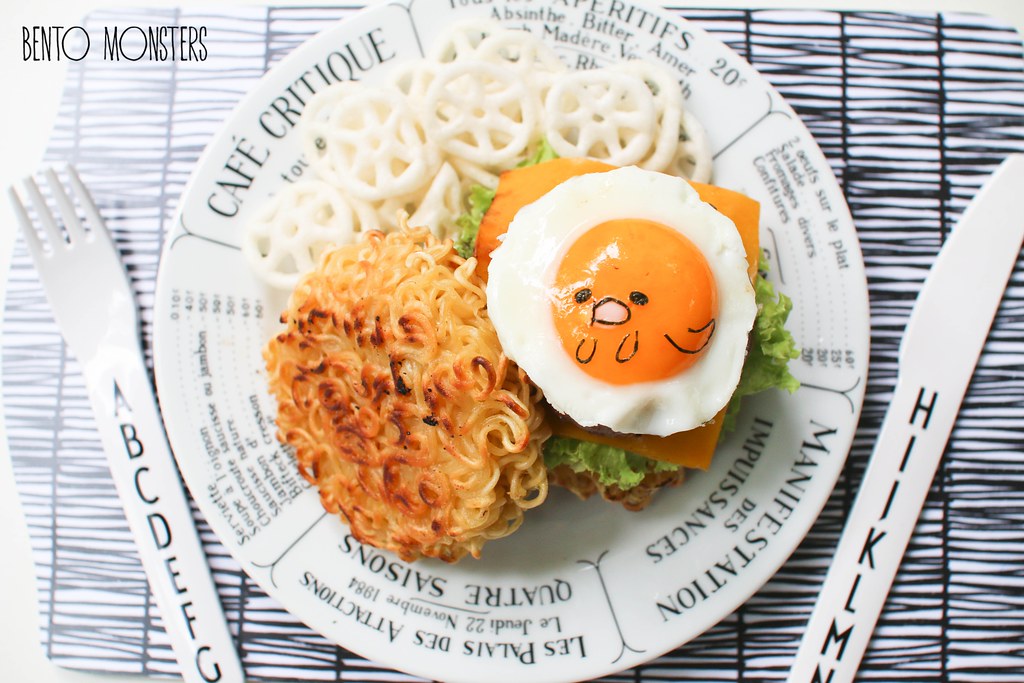
This is a ramen burger, the usual burger buns are replaced by ramen instead. Gudetama is made just by cutting and placing nori on a sunny side-up. The white portion for his mouth is a white blob on the egg yolk, it wasn't intentional, it just happened to be there, so I tried to position the mouth there.

IMG_6037
The only problem with ramen burger is it does not taste good when cold, you have to serve it soon after cooking, so the ramen will be crispy outside and soft inside.

IMG_5531
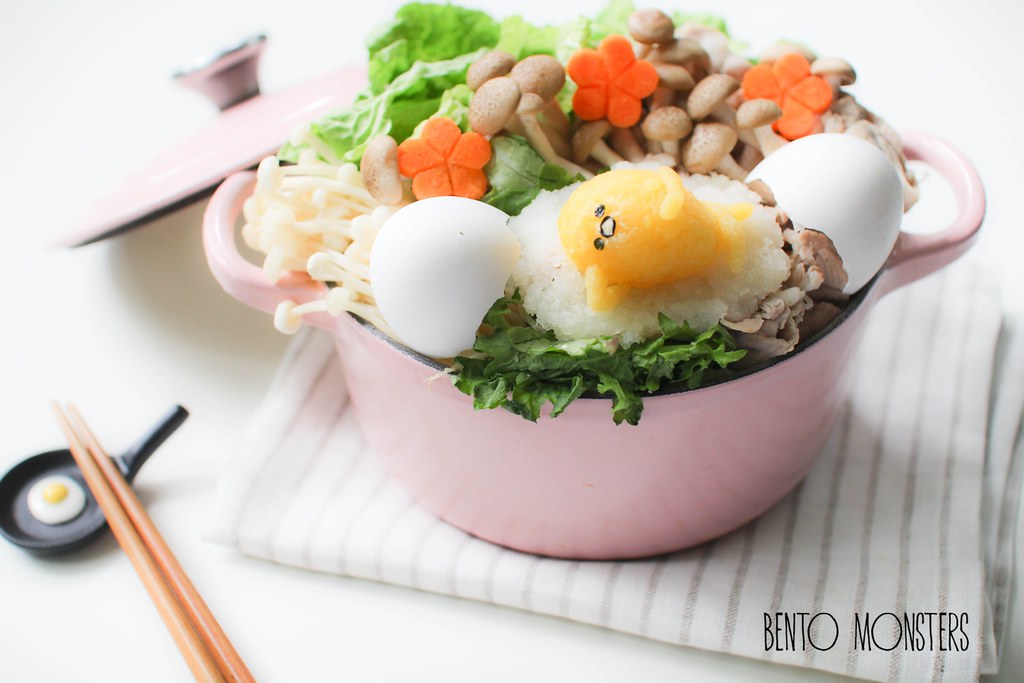
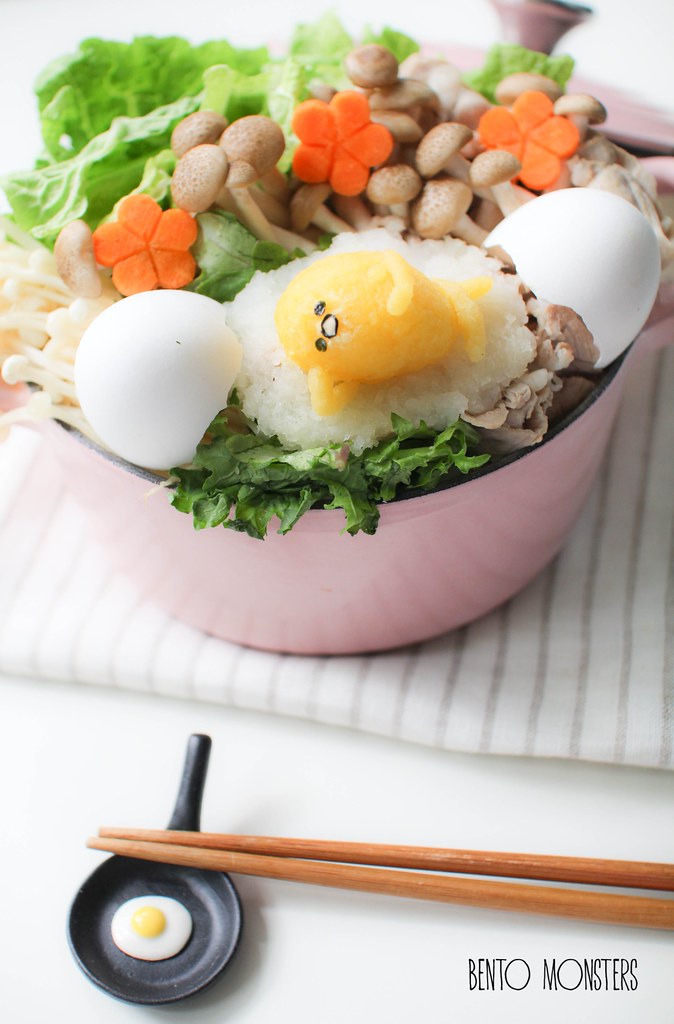
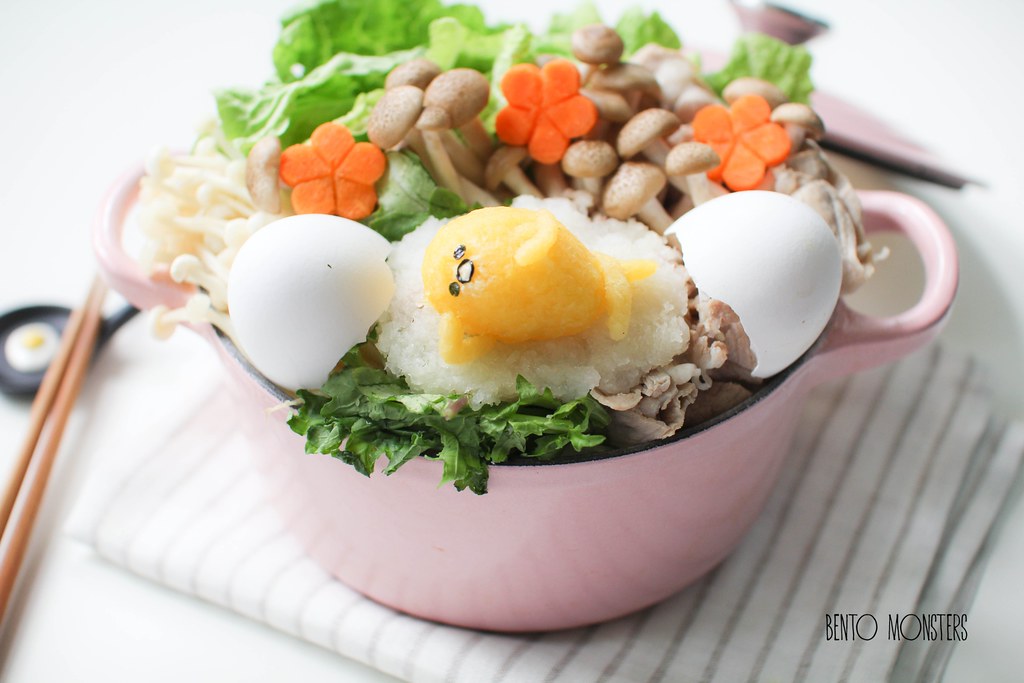
Gudetama in a hotpot, hotpot is one of my favourite one dish meal, just throw everything inside one pot, not much washing up too.

IMG_5535
Gudetama was made from grated radish, the yellow portion is radish mixed with a little mashed egg yolk. The egg shell is just an empty egg shell, which I washed and put it there to take a photo, I removed it before boiling the hotpot.

IMG_5547
Yay, Gudetama will be happy it's weekends again. Time for me to catch up on my sleep. And I hope you have a great weekend!

Friday, 9 October 2015

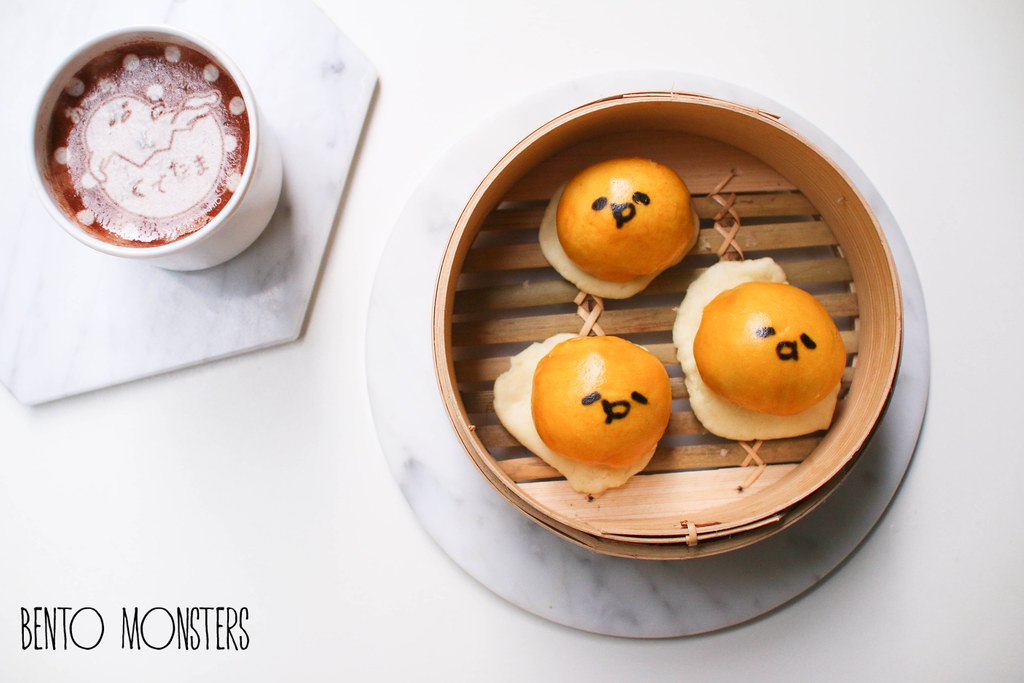
Gudetama Pumpkin Custard Bun

Yet another post about Gudetama, I did try to space it out a little, and try not to keep making him all the time. But he's such an easy character to craft and yet so hilariously adorable, I end up making him more often than I want, lol.
IMG_7046
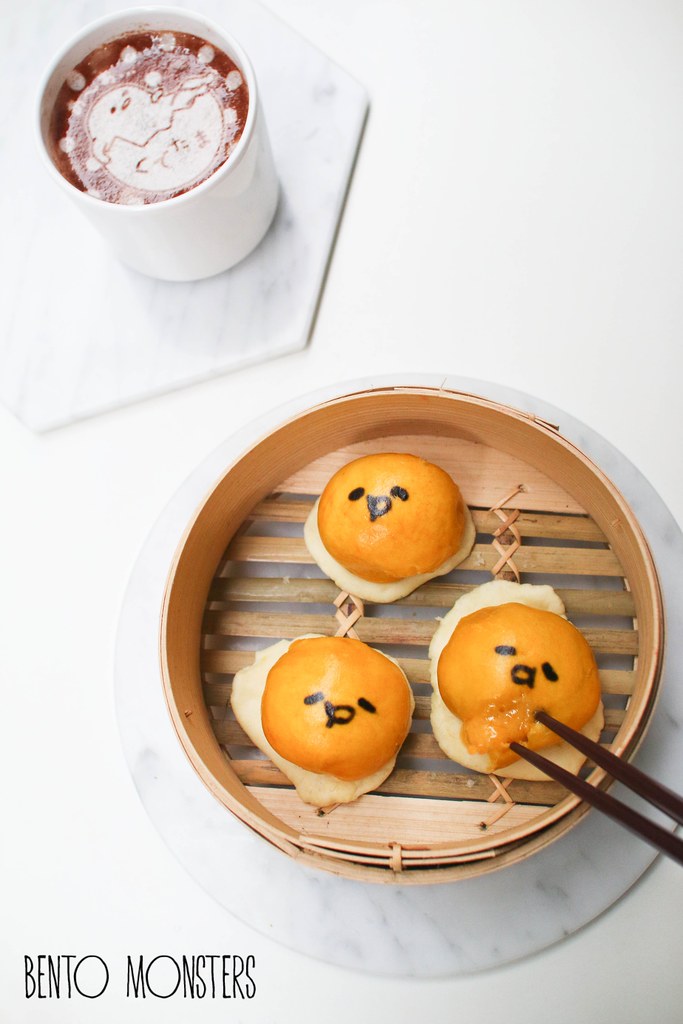
This time it's Gudetama in the form of salted egg yolk custard buns, known as Liu Sha Bao. I got this idea from a Gudetama Dim Sum restaurant in Hong Kong. I so want to visit Hong Kong so I can go check out this restaurant and all the interesting new restaurants like the Hello Kitty Dim Sum one, etc, but my husband is not keen to go. He thinks we have seen enough of Hong Kong. :( Oh well, so I decided to attempt to make some Gudetama custard buns myself instead.

IMG_7049
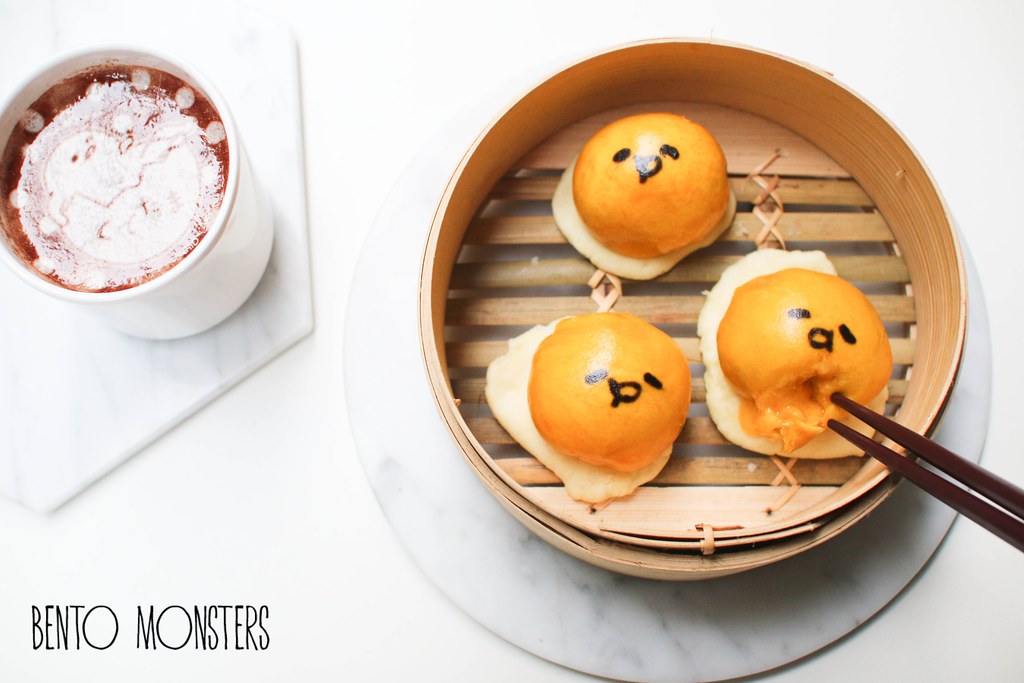
I'm sharing the recipe for the custard buns in this post, I quite like it but I'm not sure if the taste is authentic. This is because I've never actually tried these custard buns in a Dim Sum restaurant before in my life, lol. (I should definitely do so the next time I go for Dim Sum!) The closest I've tried was a frozen one from the supermarket, and the custard was not exactly flowy. -_-

IMG_7054
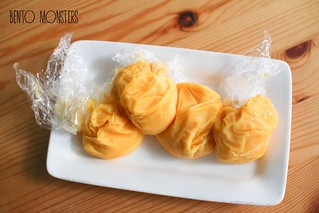
The buns have to be served hot, if you want to get the flowy custard effect. There are also a few tips to take note of, which I've included in the notes at the end of the recipe. To make thing easier, I used mashed steamed pumpkin to prepare the orange dough, and I used pancake mix to prepare the white dough underneath. The pancake mix dough does not need proofing. I will update the recipe again tonight with an alternative recipe for the white dough that does not require pancake mix
gudetamabun
You need to leave the custard fillings in the fridge for around 6 hours, so I would suggest that you prepare the custard fillings a day earlier and keep it in the fridge till you are ready to wrap the buns.

GUDETAMA PUMPKIN CUSTARD BUN

Ingredients:
Custard fillings:
35g salted egg yolk
50g icing sugar
50g custard powder
40g milk powder
75g butter, room temperature
1 tbsp evaporated milk

Pumpkin Dough:
240g plain flour
45g cornflour
3g yeast
30g sugar
100ml water
50g mashed steamed pumpkin
10g salad oil

Plain Dough:
100g morinaga pancake mix
1/2 tbsp salad oil
30ml water

Method:
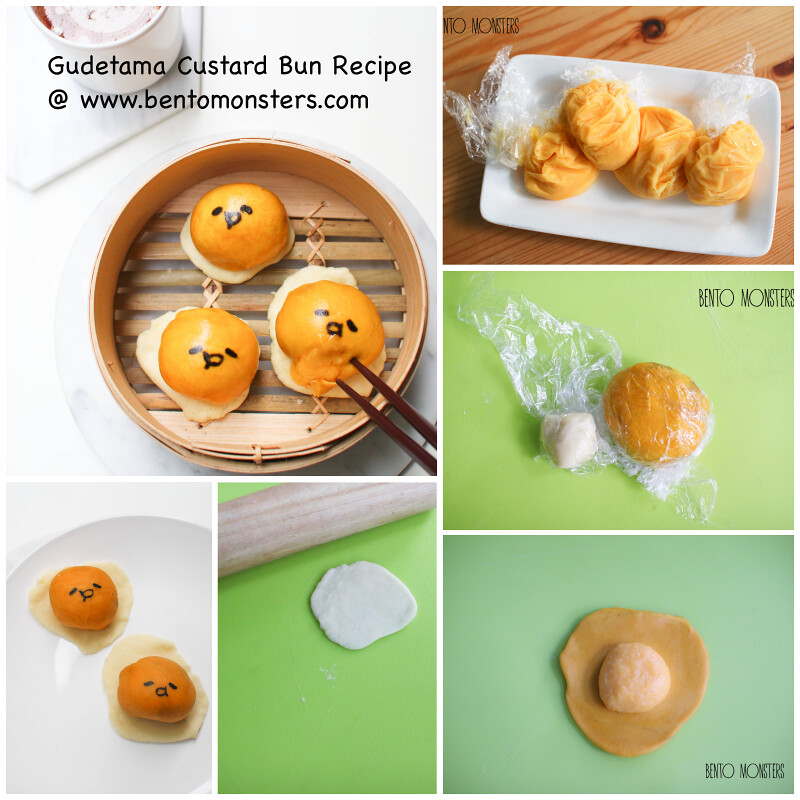
  1. Steam the egg yolks for around 8 minutes. Let cool and mash it up.
  2. Cream butter with sugar, before adding in the rest of the ingredients, including mashed egg yolk. Cover the bowl with cling wrap and refrigerate for 6 hours. 
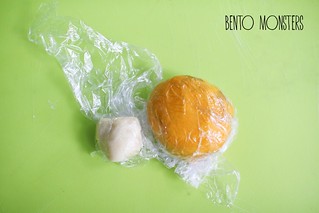
  3. Just before preparing the dough, take out the custard and portion into balls of around 15g each. Wrap with cling wrap and keep in the freezer as you proceed to prepare the dough for the buns.
  4. IMG_7178
  5. To make the pumpkin dough, sift plain flour and corn flour. Add in the rest of the ingredients, use your hands to knead into a smooth dough. 
  6. Cover with a damp cloth and let the dough proof for half an hour. 
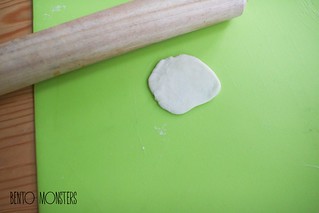
  7. To make the white dough, sift pancake mix and add in salad oil.
  8. Add in water gradually, use your hands to keep mixing till the dough comes together.
  9. Dust work surface with some flour, use your hands to knead till the dough becomes soft and smooth. 
  10. Divide the pumpkin dough into 15 portions of 30g each. I did not weigh the white dough, as I find it easier to just split it up into 15 portions.
  11. IMG_7039
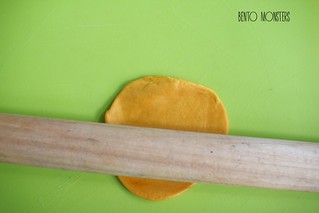
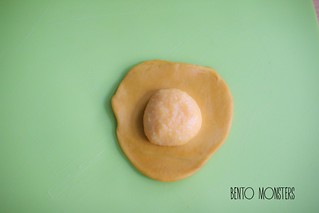
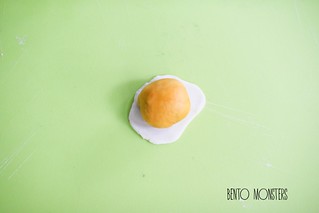
  12. Roll out the pumpkin dough, make sure the centre is thicker, roll out the edges thinner. Place a custard ball in the middle and seal it up.
  13. IMG_7076IMG_7077
  14. Roll out white dough, place the pumpkin one on top of it.
  15. IMG_7037IMG_7038
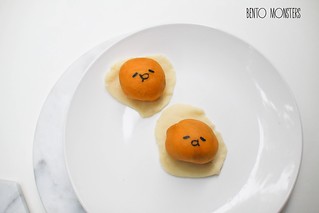
  16. Use a food marker to draw on Gudetama features before steaming on medium heat for around 6  minutes. You can steam one to test out the timing first. Wrap a cloth around the cover to prevent water from dripping onto your buns and spoiling the design. After 6 minutes, open the cover just a little to let out excess steam for a minute. Serve hot.
  17. IMG_7035
Notes:
  • Wrap the filling evenly making sure it is sealed properly. 
  • Do not oversteam.
  • Do not be greedy and put too much filling 
  • Buns have to be served hot in order to get the flowy custard effect.
  • If you can’t get hold of Morinage pancake mix. You can also use 135g plain flour and 1tsp baking powder to 70ml water. You need to add in 1 tbsp of sugar and a pinch of salt as well. Sift flour and baking powder, add in the rest of the ingredients and mix till the dough comes together. Cover the dough and leave it for half an hour before you start rolling out.