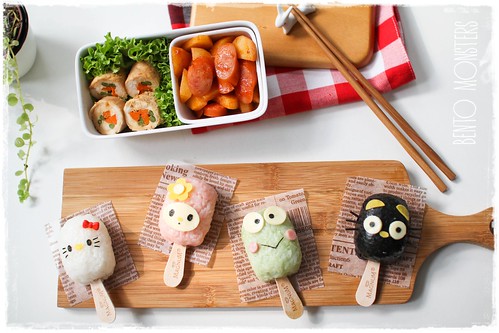
Breakfast is the most important meal of the day and in today's post, I will be collaborating with Magnolia, to share with you a kawaii animals themed breakfast set.
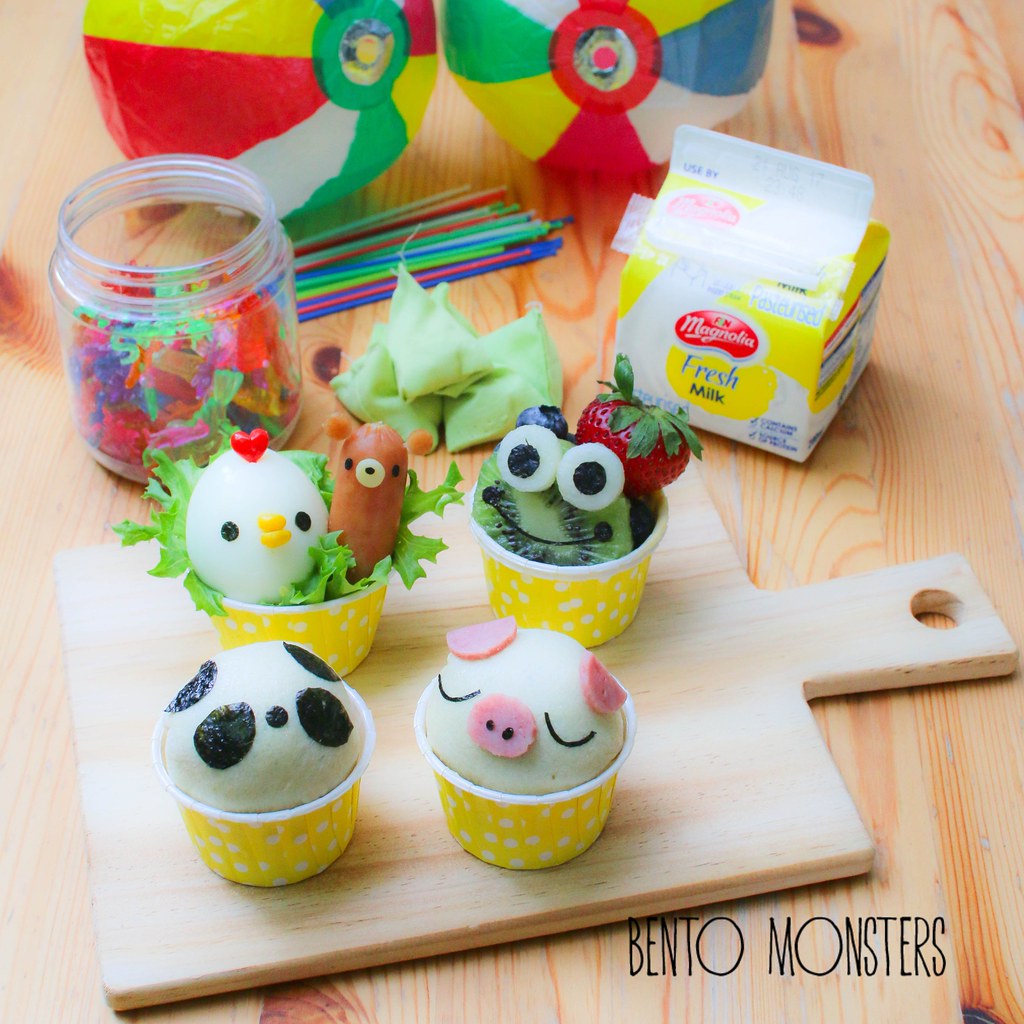
This the breakfast set I came up with, the Panda and Piggy are bread balls which I filled with kaya and red bean. The chicken is made from a hard boiled egg, the bear is made from sausage and the frog is made from kiwi.
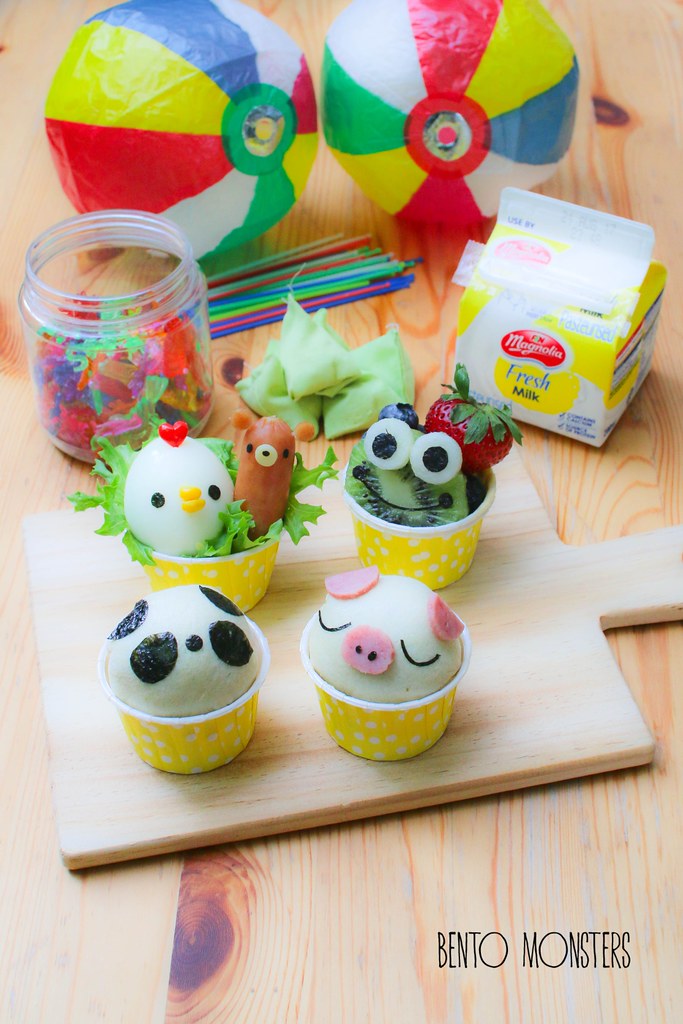
I've paired this breakfast set with Magnolia's fresh milk in a 200ml pack. I love this size, I always buy this for my boys, as it's conveniently packed and just nice for one serving.
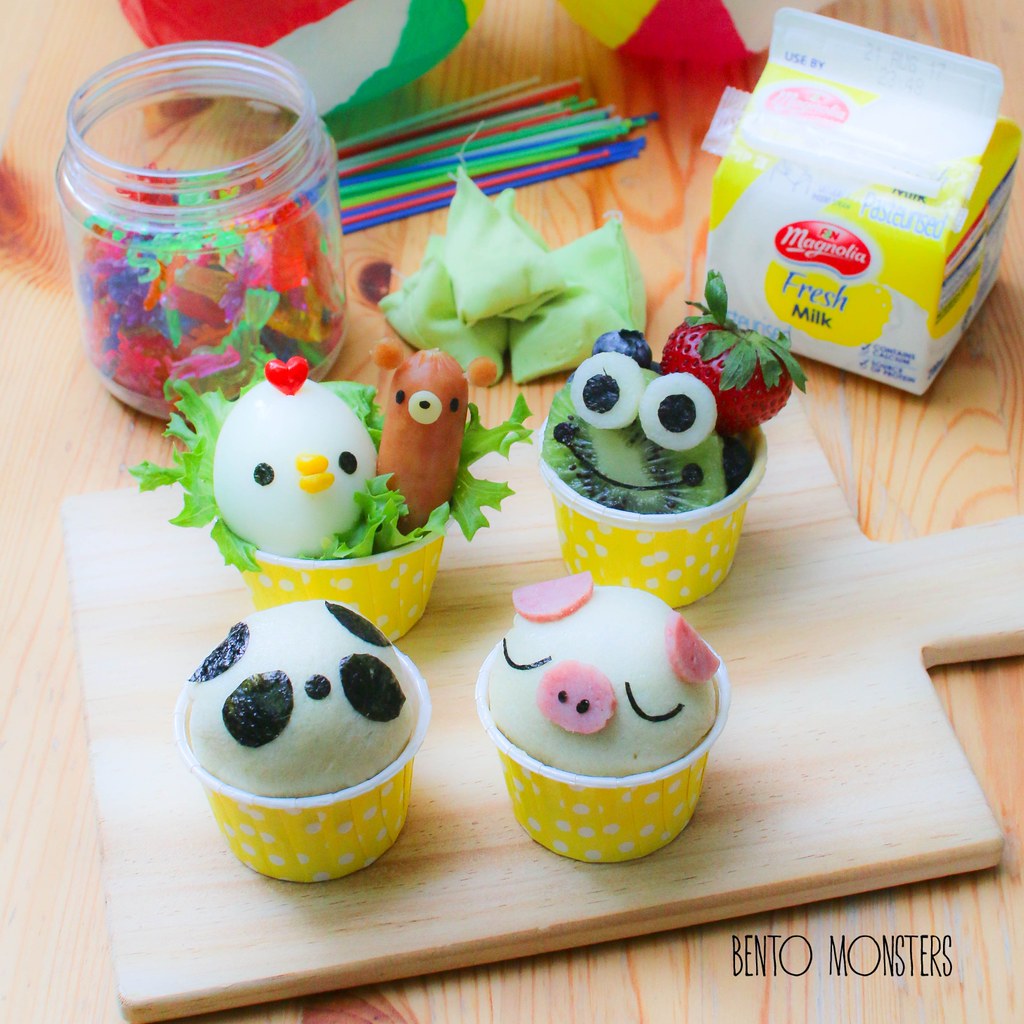
I'm going to share the step-by-step photos, so you can create your own animals themed breakfast set too. Let's begin!
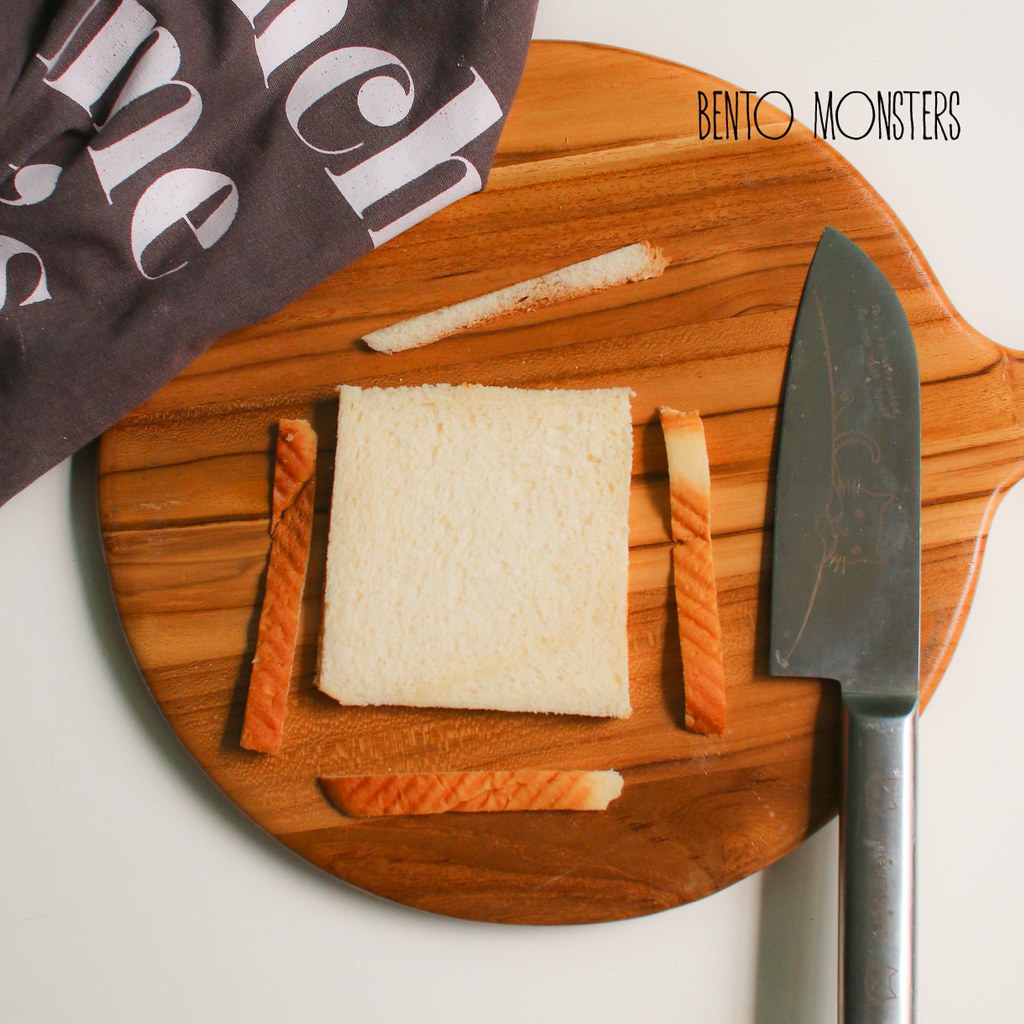
Slice off bread crust.
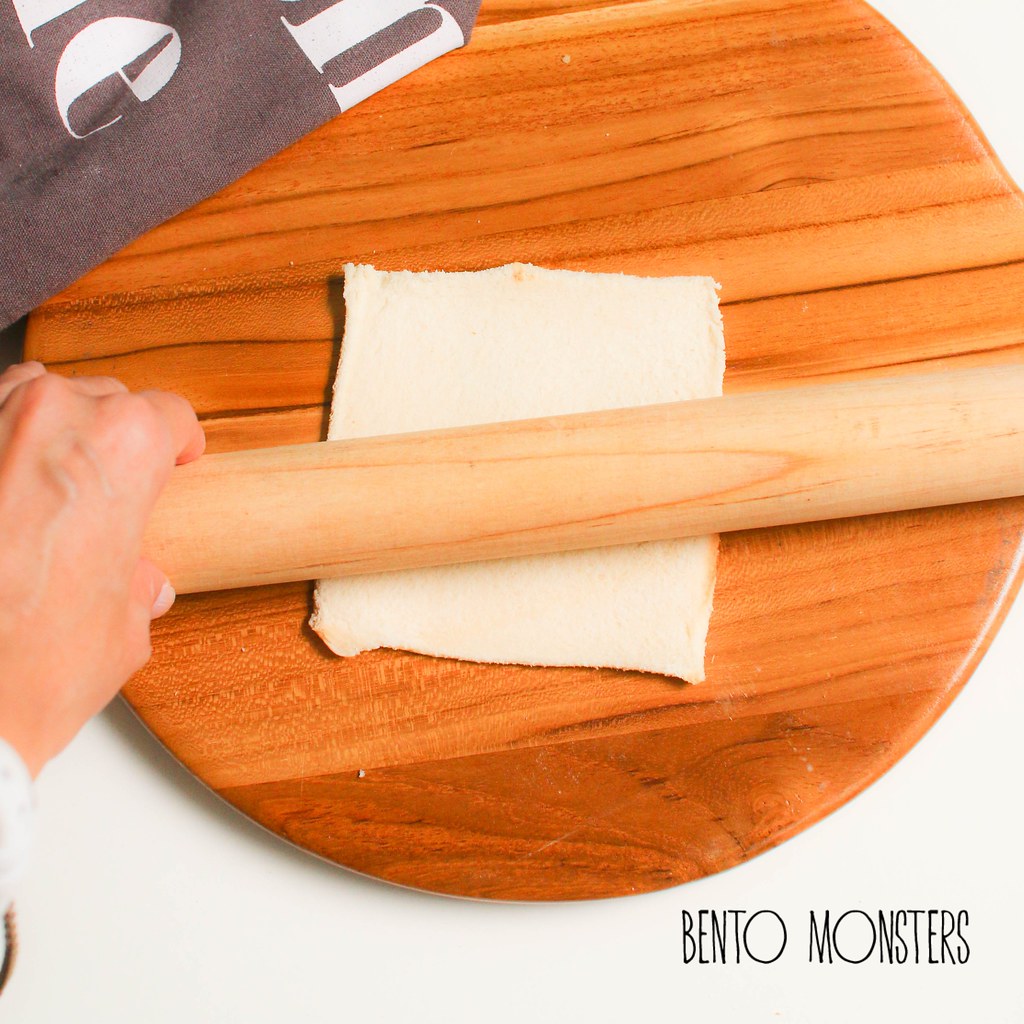
Flatten bread with a rolling pin.
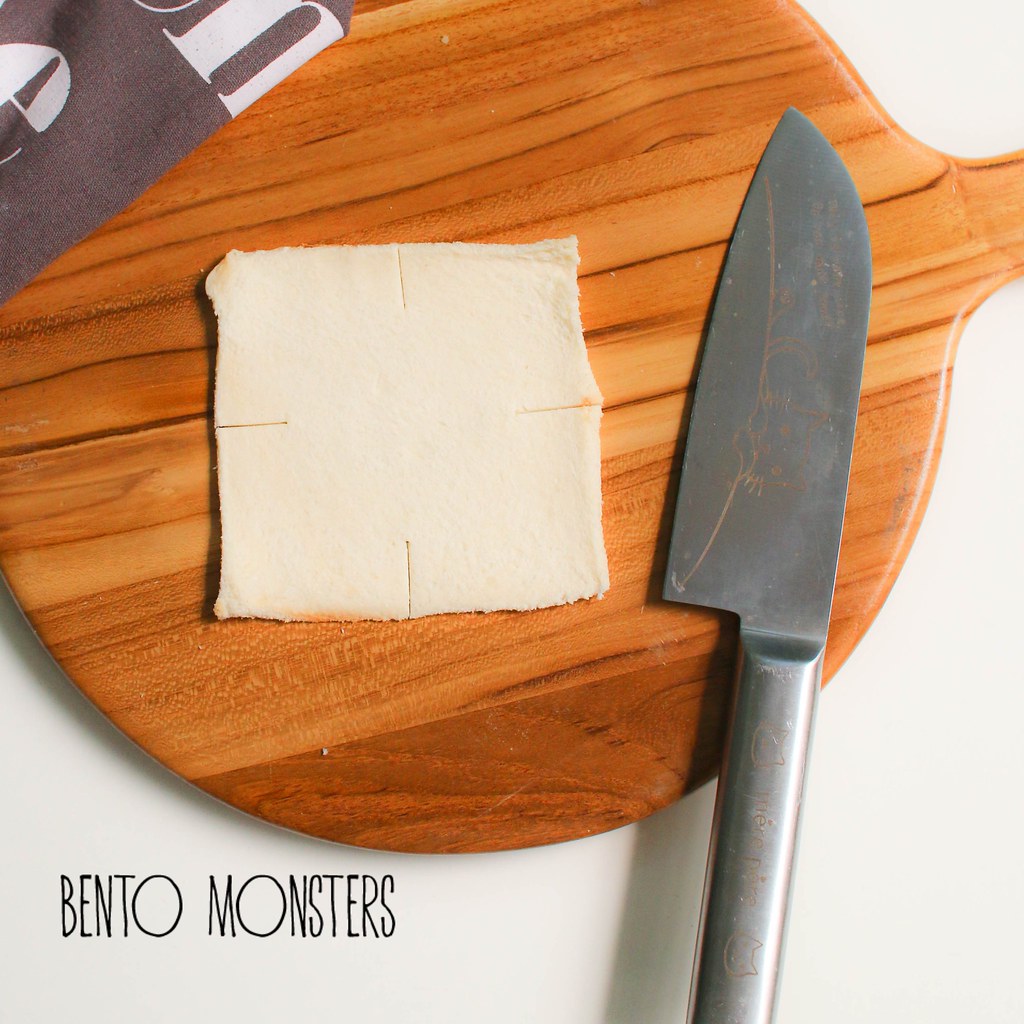
Cut a slit on four sides of bread.
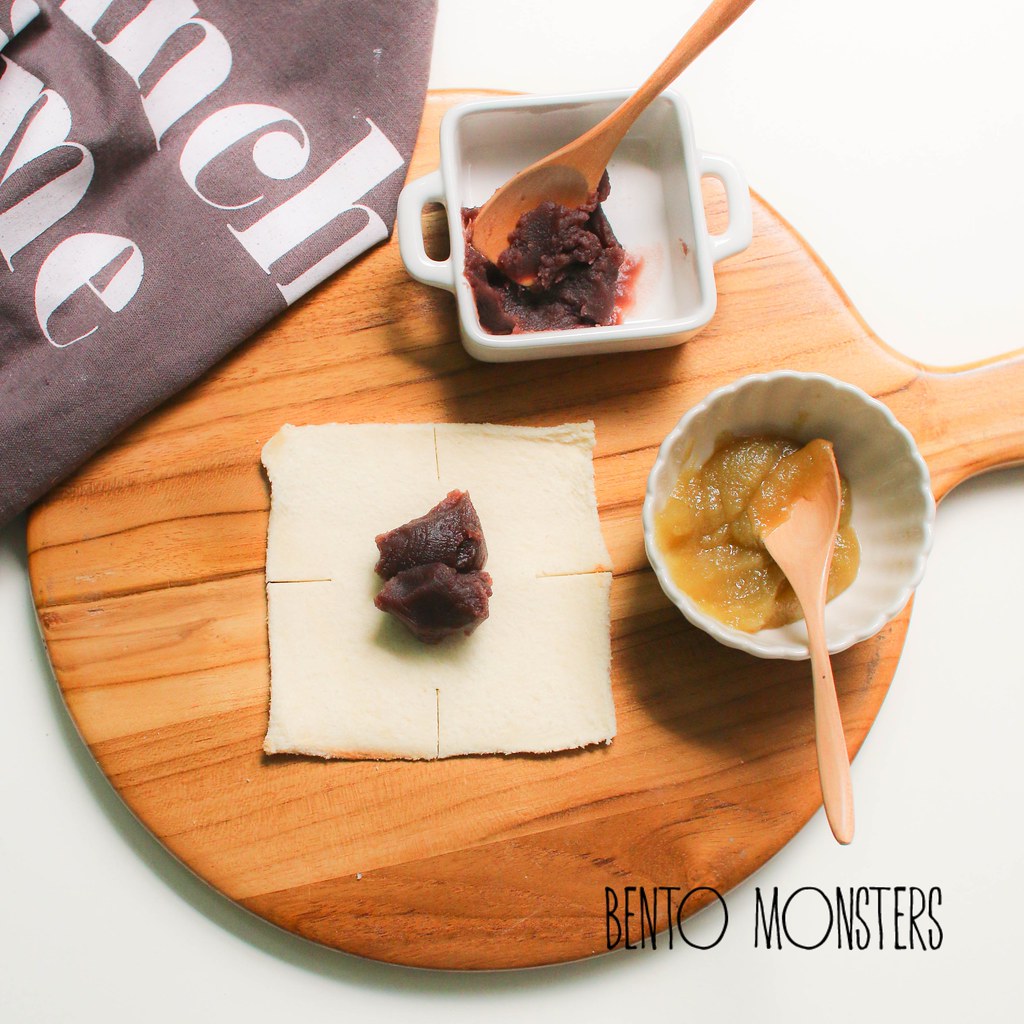
Add in fillings in the middle. (I'm using red bean and kaya.)
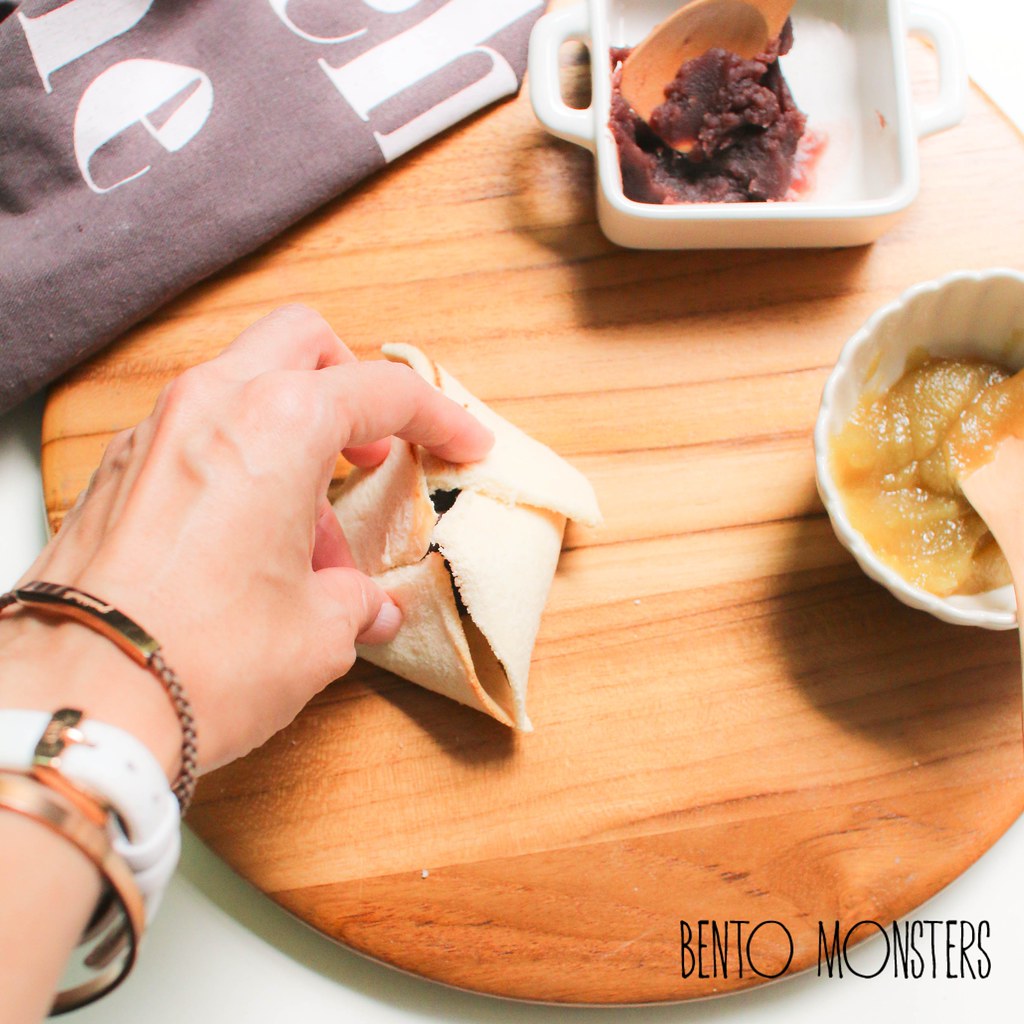
Bring four corners together and wrap up in cling wrap.
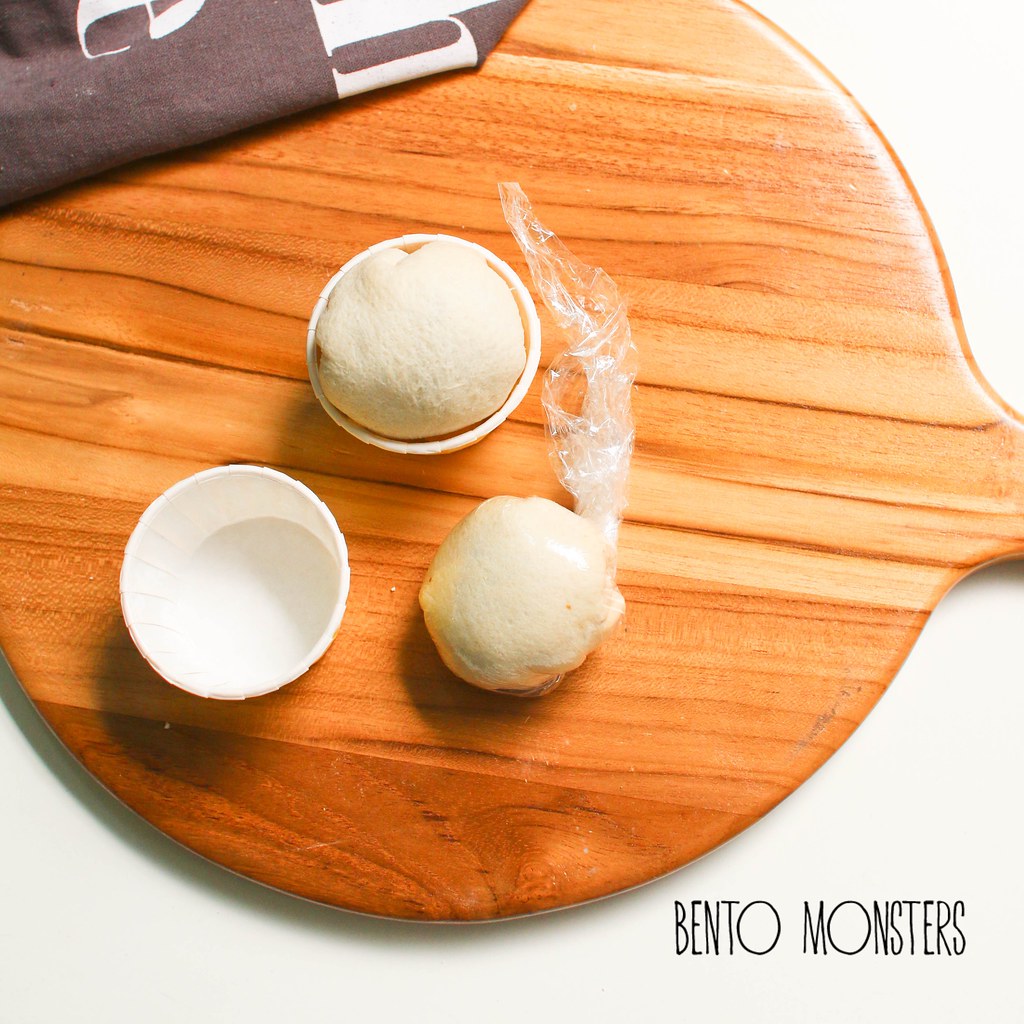
Tighten cling wrap and mould the bread ball into a round shape.
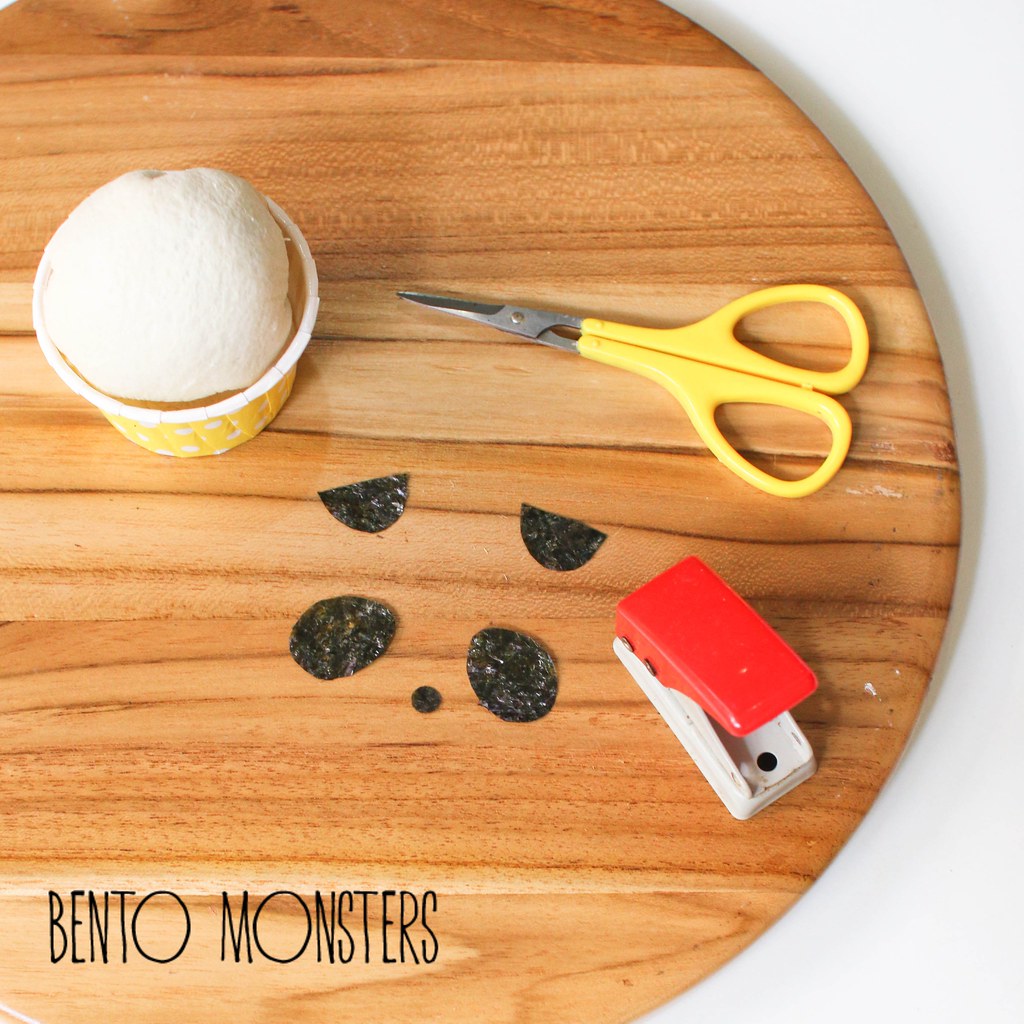
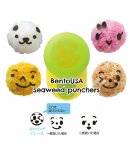
To make Panda, cut out Panda's nose from nori using a hole punch; followed by cutting Panda's eyes and ears from nori using a pair of scissors.
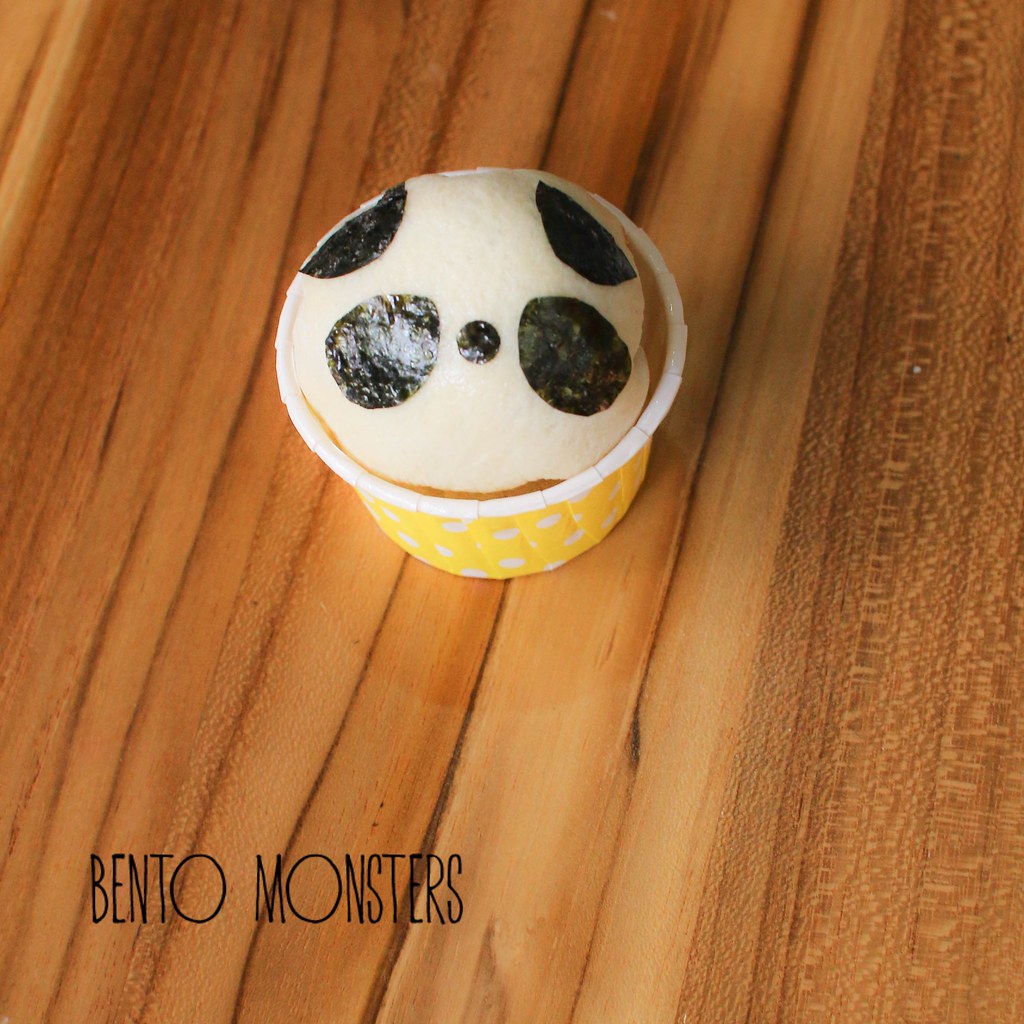
Stick nori onto bread balls with a little mayonnaise.
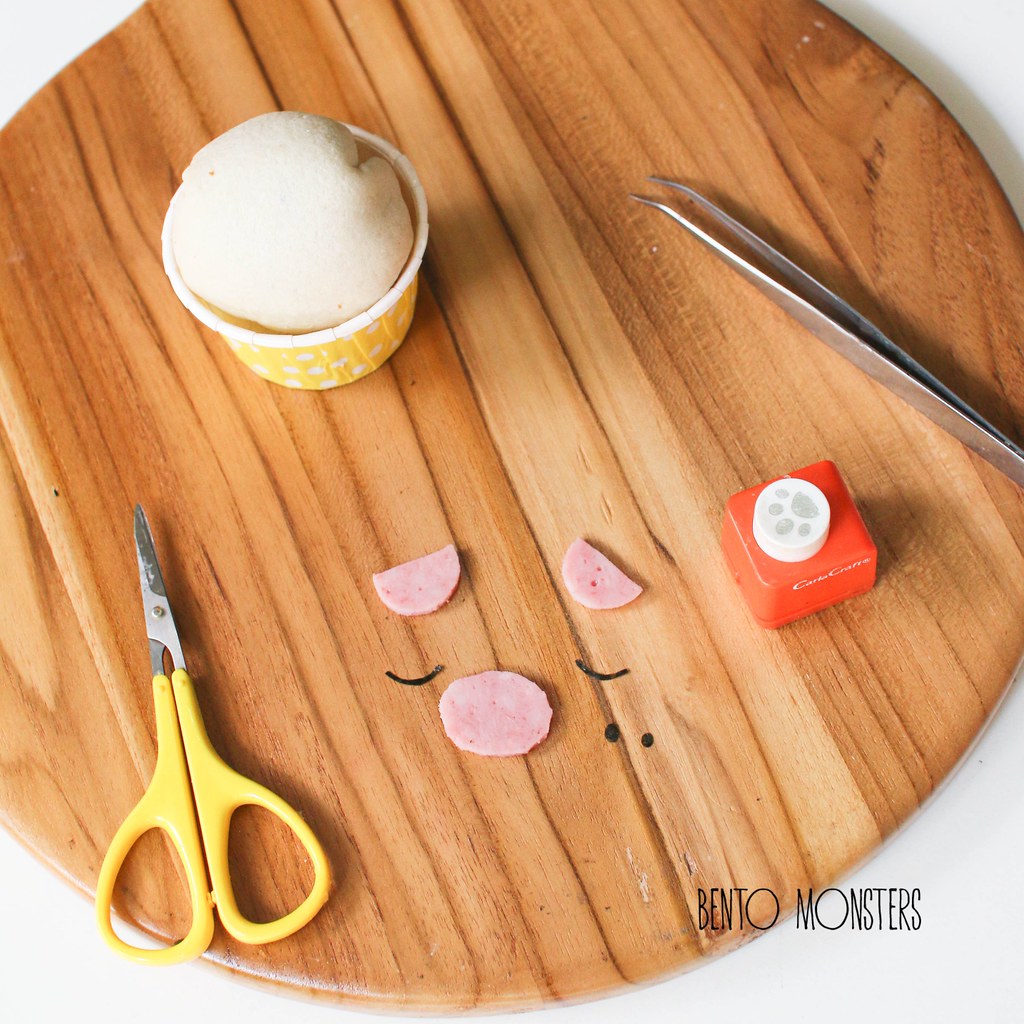
To make Piggy, cut out ears and snout from ham with a pair of scissors.
For snout, make holes from nori using a paw craft punch. Then, cut out Piggy's eyes from nori using a pair of scissors.
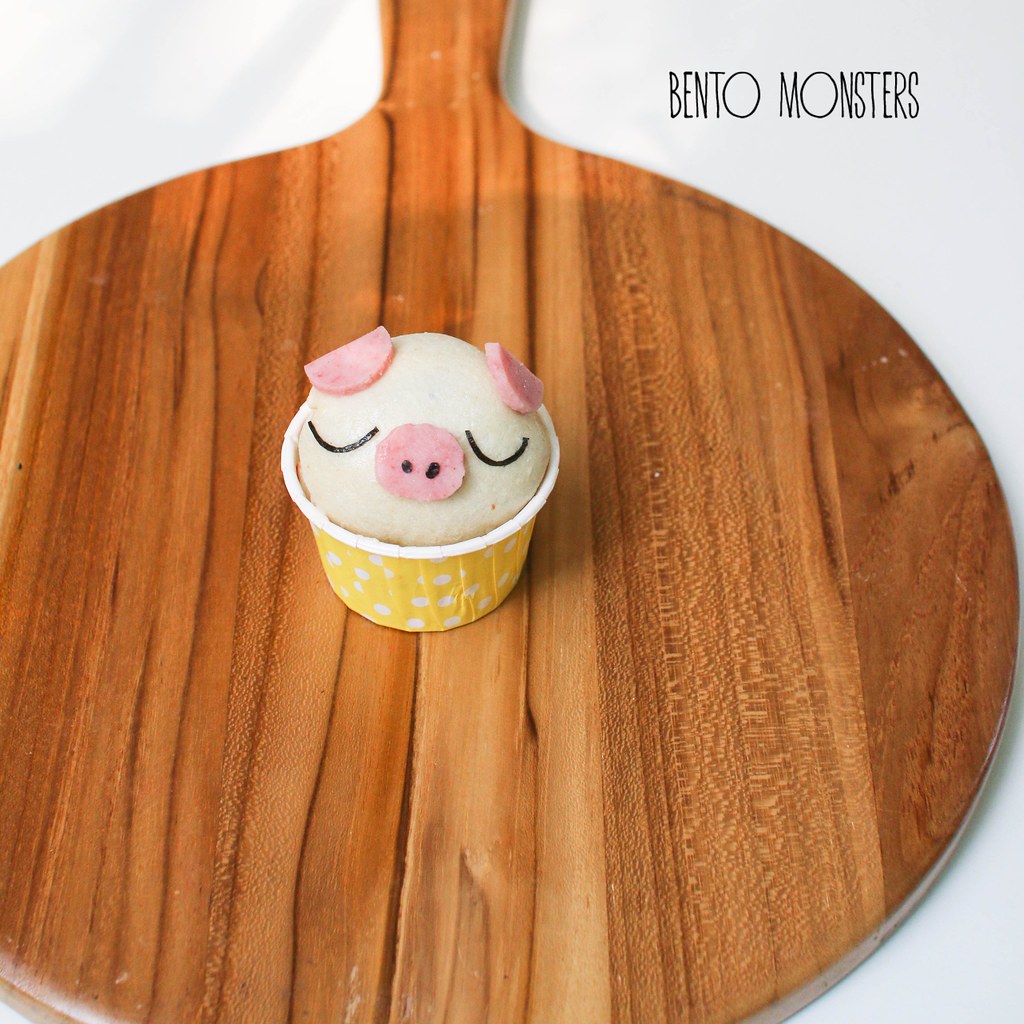
Stick ham and nor pieces onto bread ball with a little mayonnaise.
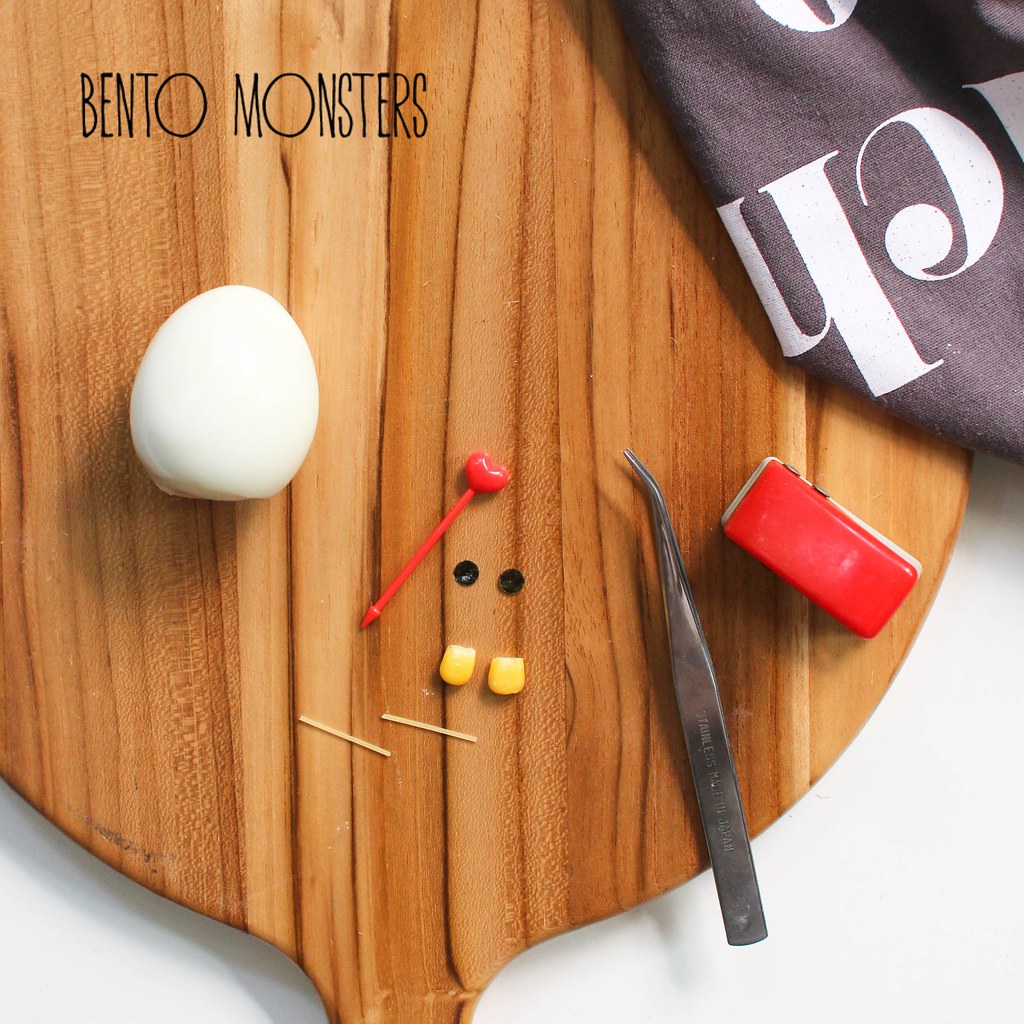
To make chicken, firstly use pasta sticks to attach corn (as chicken's beak) onto the hard boiled egg.
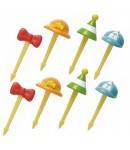
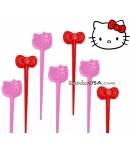
For chicken's eyes, cut out nori using a hole punch. For chicken's comb, use a heart shaped food pick. (Alternatively, you can also cut from red bell peppers and attach them on using pasta sticks. )
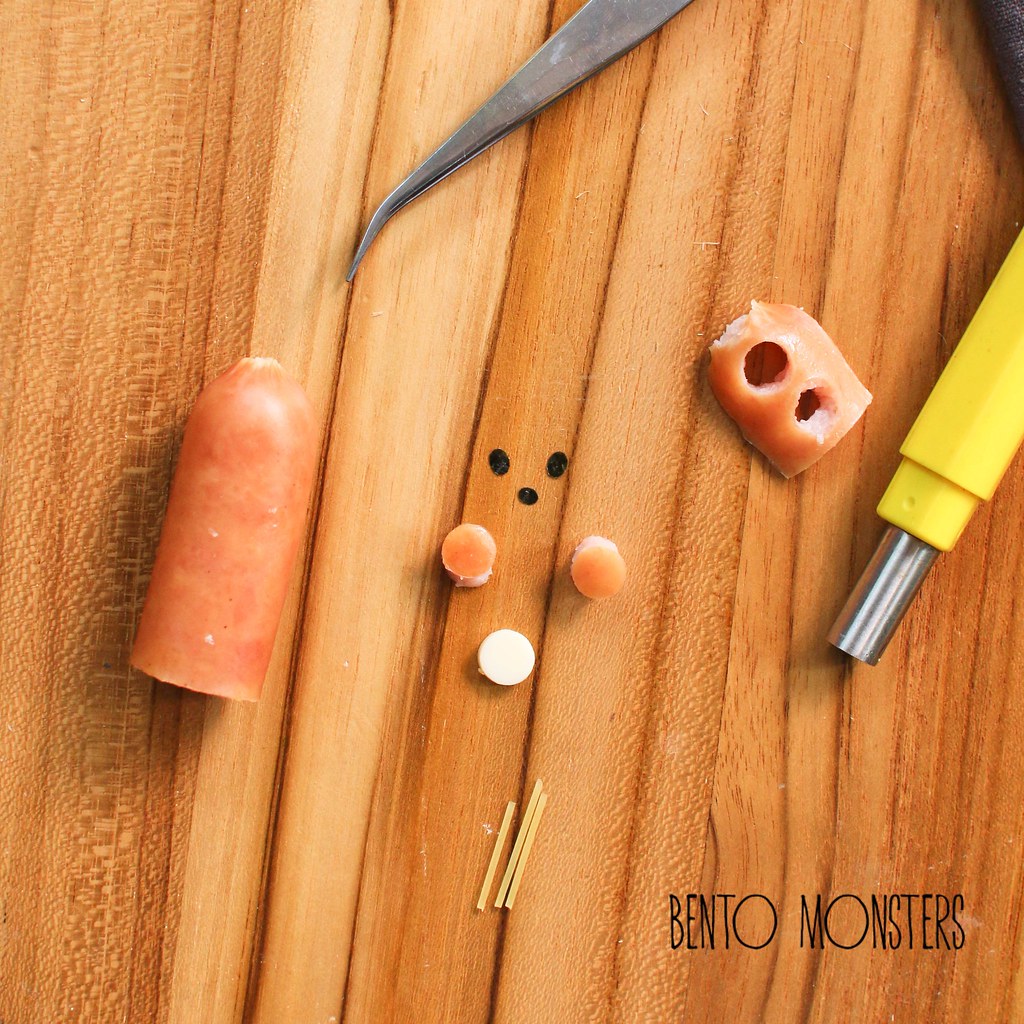
To make bear, firstly slice a little off the sausage's bottom, and use a round cutter or straw to cut out as bear's ears. Attach the ears using pasta sticks. Using nori, cut out a round shape for the muzzle, and create eyes using a paw craft punch.
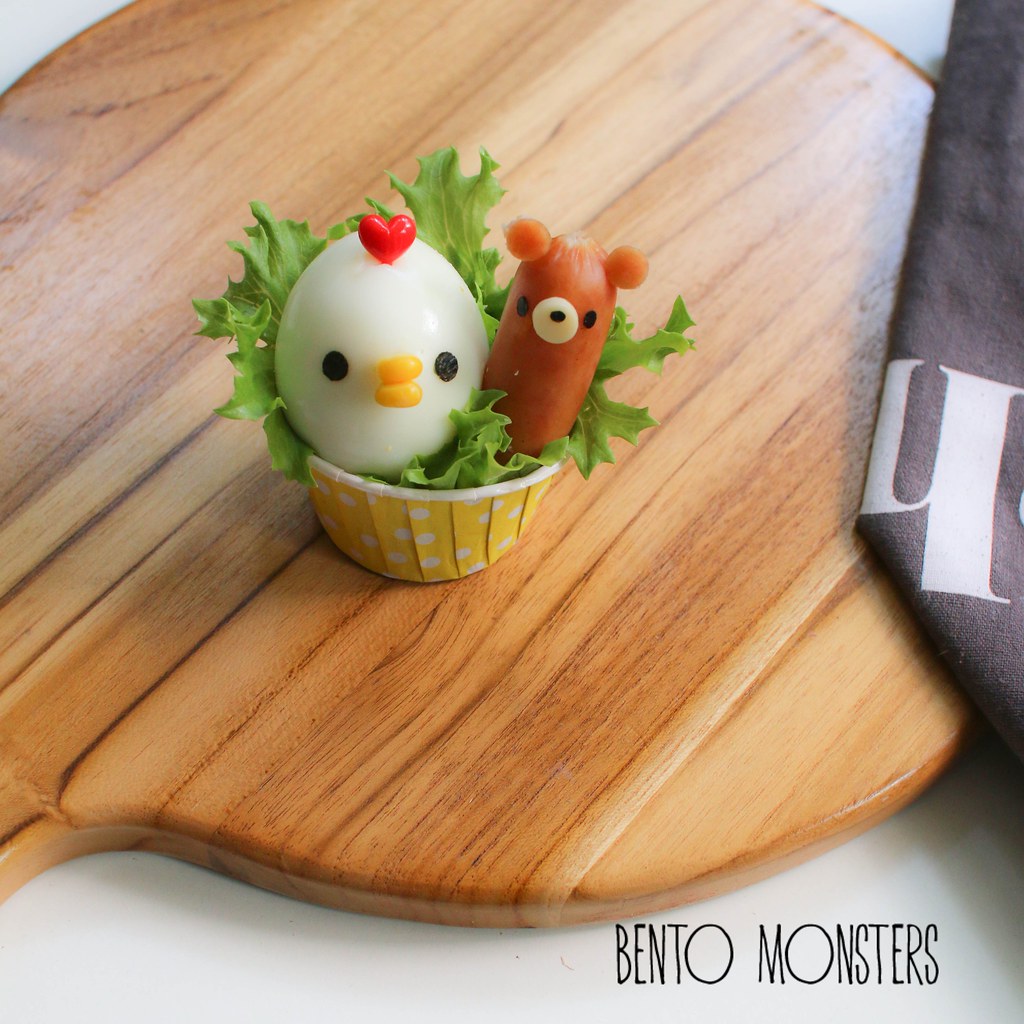
Place chicken and bear into a container, arrange accordingly with some lettuce as backdrop.
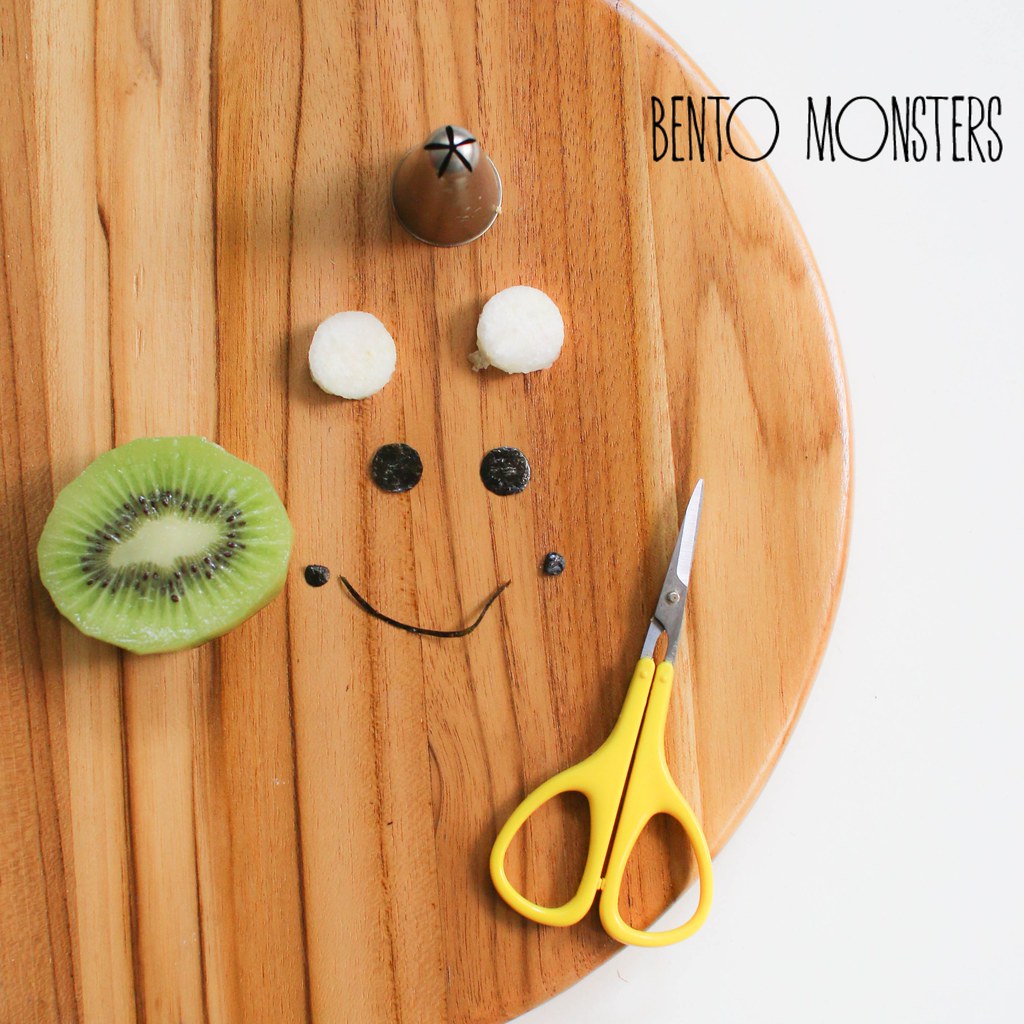
To make frog, use a round cutter to cut out two circles from guava, place it onto a slice of kiwi. Cut out eyes and mouth from nori, using a pair of scissors.
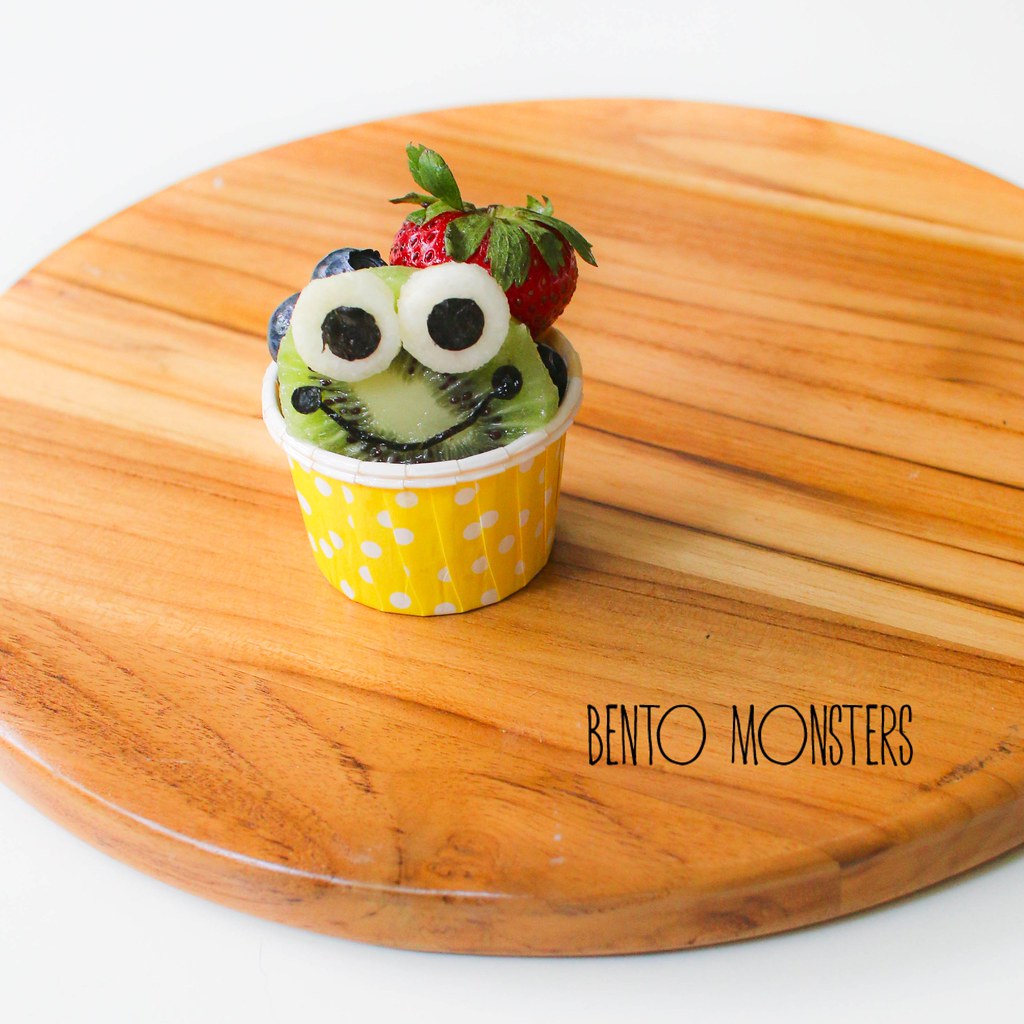
Place frog into a container, arrange accordingly with fruits like strawberries and blueberries.
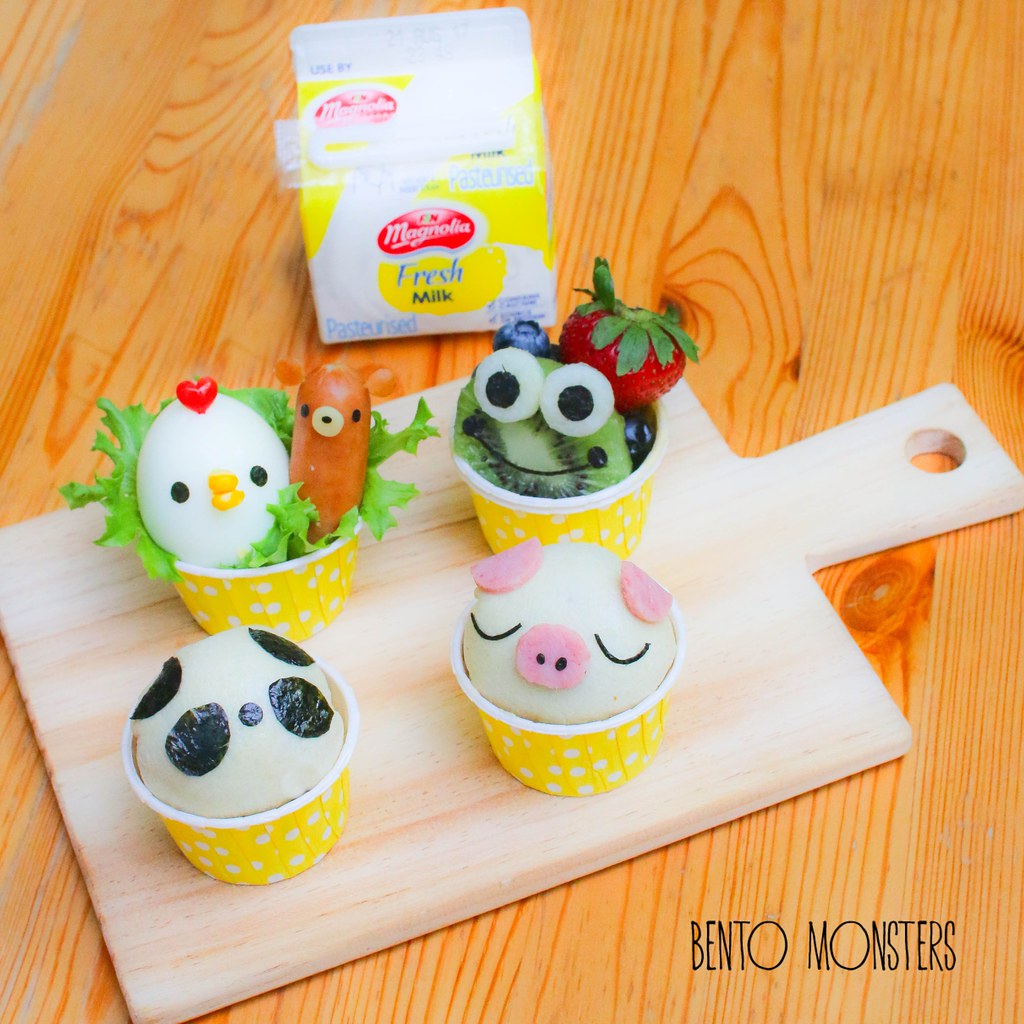
Assemble and serve.
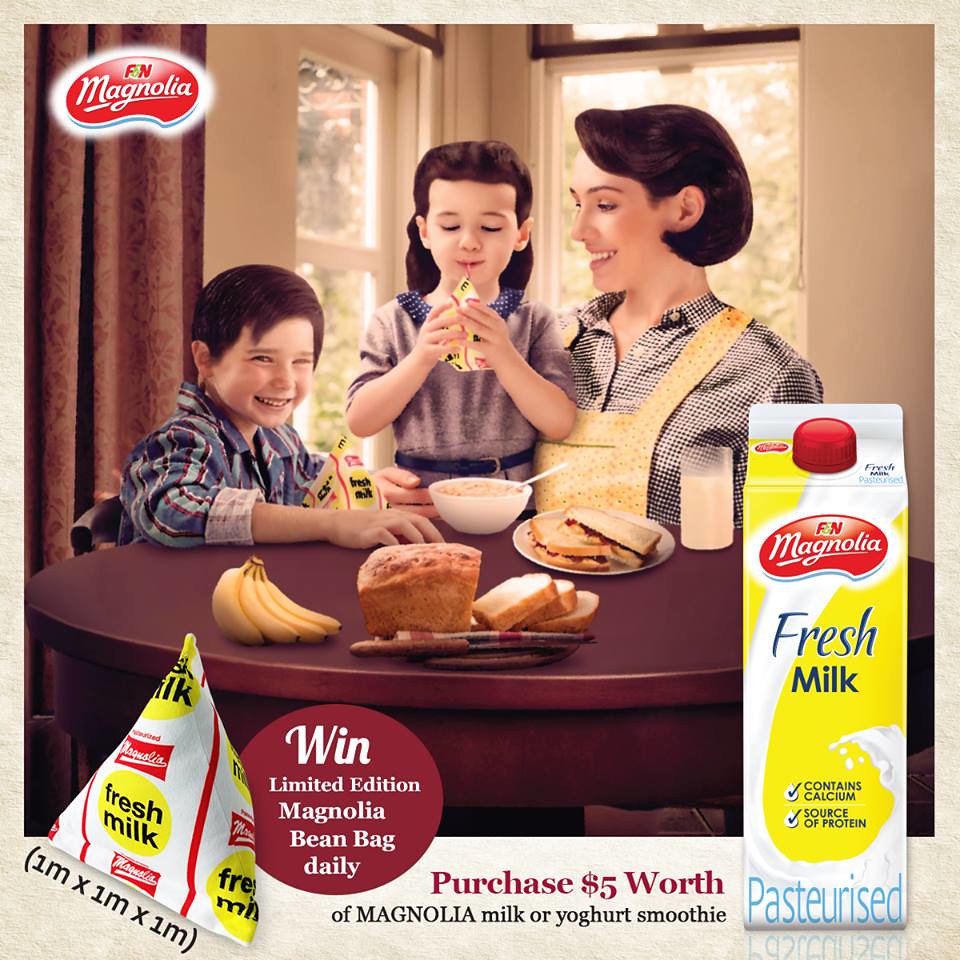 Did you know: F&N Magnolia is currently giving out exciting prizes like a limited-edition pyramid pack-shaped Magnolia Bean Bag worth $200? Find out more here: bit.ly/MagnoliaLuckyDraw

This the breakfast set I came up with, the Panda and Piggy are bread balls which I filled with kaya and red bean. The chicken is made from a hard boiled egg, the bear is made from sausage and the frog is made from kiwi.

I've paired this breakfast set with Magnolia's fresh milk in a 200ml pack. I love this size, I always buy this for my boys, as it's conveniently packed and just nice for one serving.

I'm going to share the step-by-step photos, so you can create your own animals themed breakfast set too. Let's begin!

Slice off bread crust.

Flatten bread with a rolling pin.

Cut a slit on four sides of bread.

Add in fillings in the middle. (I'm using red bean and kaya.)

Bring four corners together and wrap up in cling wrap.

Tighten cling wrap and mould the bread ball into a round shape.

To make Panda, cut out Panda's nose from nori using a hole punch; followed by cutting Panda's eyes and ears from nori using a pair of scissors.

Stick nori onto bread balls with a little mayonnaise.

To make Piggy, cut out ears and snout from ham with a pair of scissors.
For snout, make holes from nori using a paw craft punch. Then, cut out Piggy's eyes from nori using a pair of scissors.

Stick ham and nor pieces onto bread ball with a little mayonnaise.

To make chicken, firstly use pasta sticks to attach corn (as chicken's beak) onto the hard boiled egg.
For chicken's eyes, cut out nori using a hole punch. For chicken's comb, use a heart shaped food pick. (Alternatively, you can also cut from red bell peppers and attach them on using pasta sticks. )

To make bear, firstly slice a little off the sausage's bottom, and use a round cutter or straw to cut out as bear's ears. Attach the ears using pasta sticks. Using nori, cut out a round shape for the muzzle, and create eyes using a paw craft punch.

Place chicken and bear into a container, arrange accordingly with some lettuce as backdrop.

To make frog, use a round cutter to cut out two circles from guava, place it onto a slice of kiwi. Cut out eyes and mouth from nori, using a pair of scissors.

Place frog into a container, arrange accordingly with fruits like strawberries and blueberries.

Assemble and serve.
 Did you know: F&N Magnolia is currently giving out exciting prizes like a limited-edition pyramid pack-shaped Magnolia Bean Bag worth $200? Find out more here: bit.ly/MagnoliaLuckyDraw


