Showing posts with label cat. Show all posts

Friday, 5 February 2016

Cat Marshmallow

Happy Chinese New Year! It's still two days away, but thanks to the long weekend, I feel that it's already here, lol. I'm trying to get two recipes updated during these few days, the first one is going to be updated today and it's the recipe for cat marshmallows.
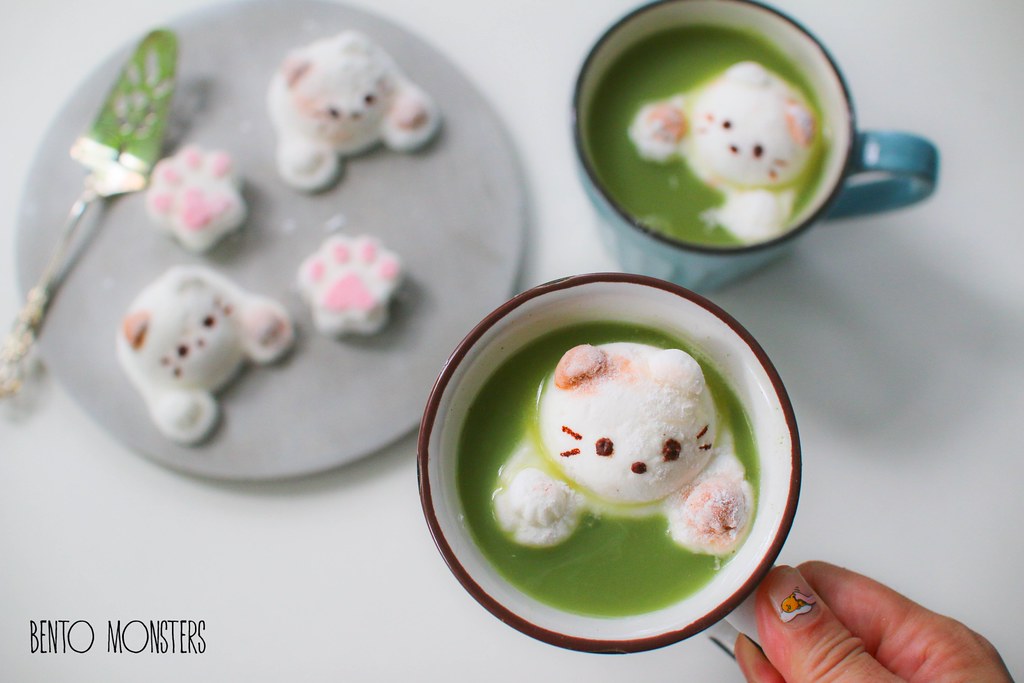
IMG_9880
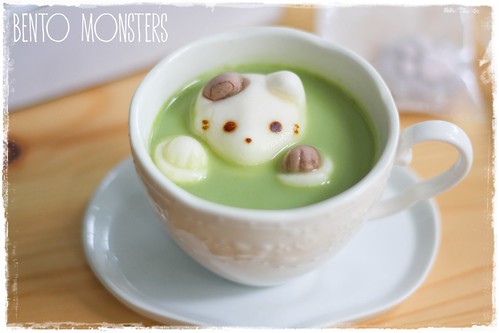
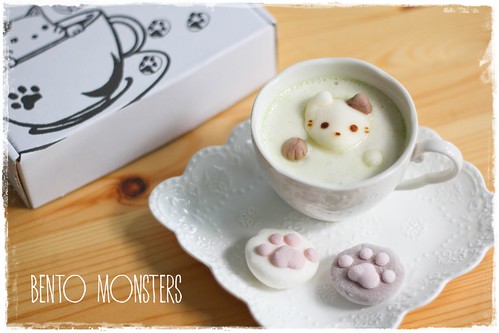
Do these cat marshmallows look familiar to you? They were inspired by the ones from Cafe Cat & Paw. I've shared about those before, you can see them in my post here.
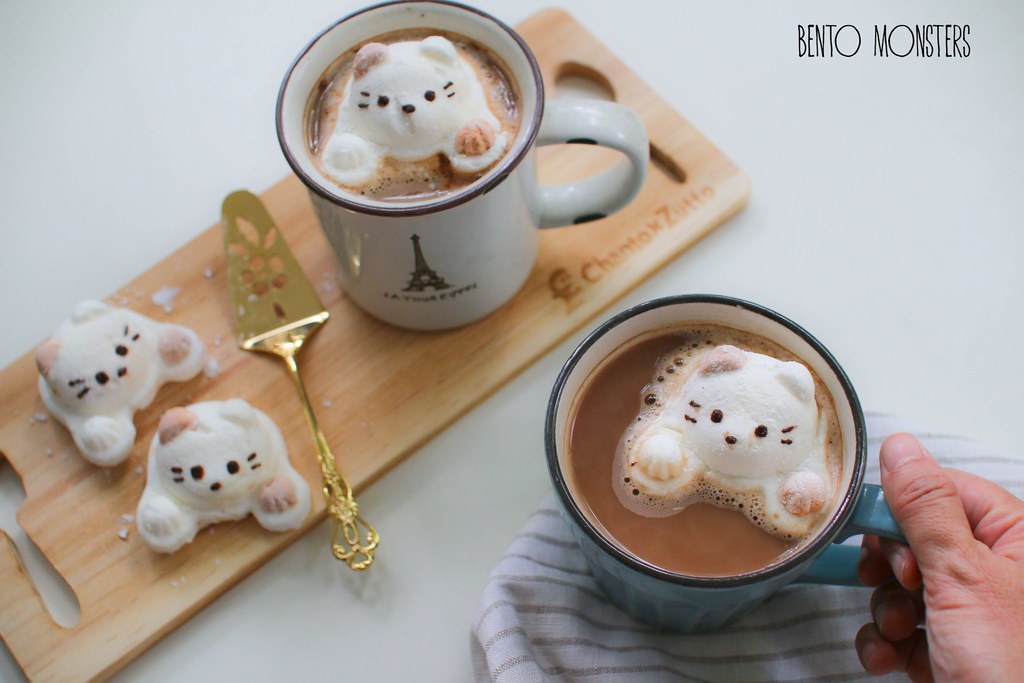
IMG_9028
I first shared about these marshmallows last December on my Instagram, and I've been receiving requests for the recipe.
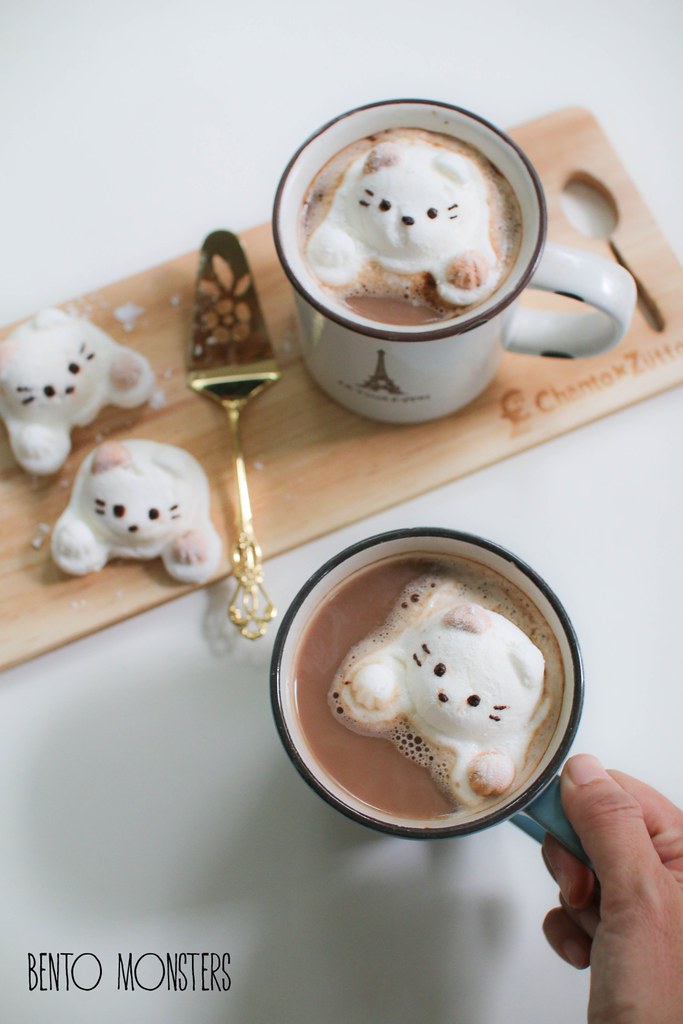
IMG_9039
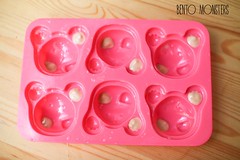
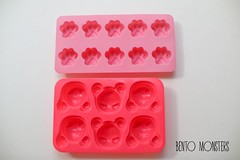
The delay in sharing was mainly due to two factors. I needed to test the recipe another time to confirm the measurements of the ingredients. I have no idea where you can buy the cat mould, which is essential to create these. I do not know where to get it in Japan or online. I happened to chance upon the mould in Japan, I am not even sure of the shop I bought it. -_- Thanks to a reader for the heads up, you can find a similar mould on Amazon. It's a single mould, so you can only make one at a time or you have to purchase more. If you have come across the mould that is the same as mine, kindly leave me a comment or email, so I can update this post for the benefit of anyone who might be interested.
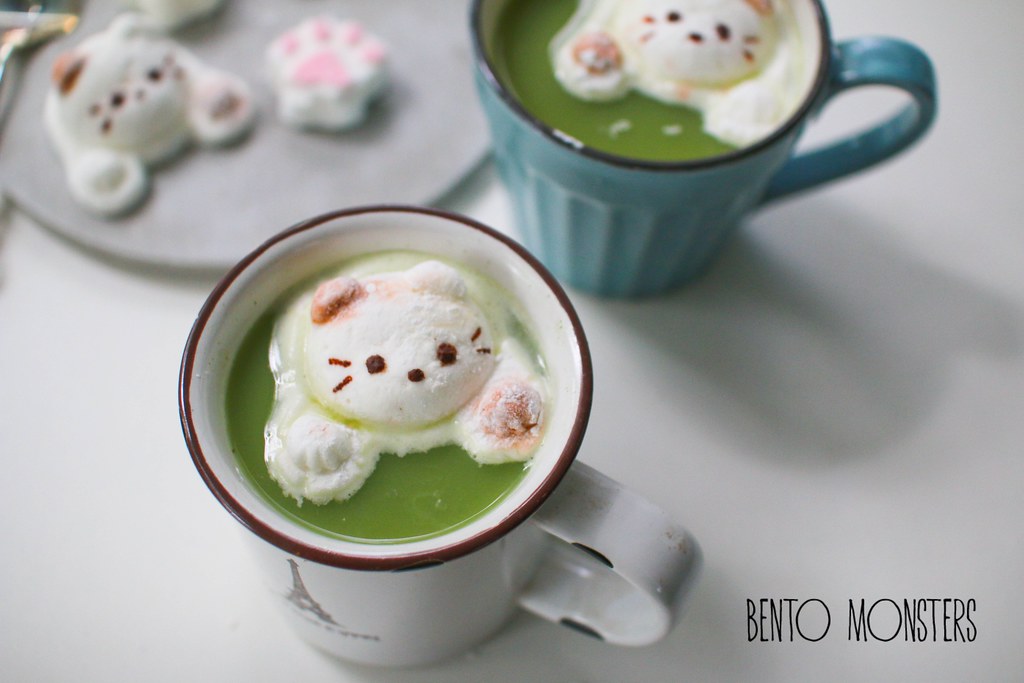
IMG_9888
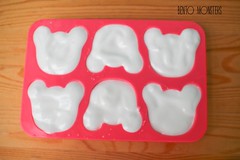
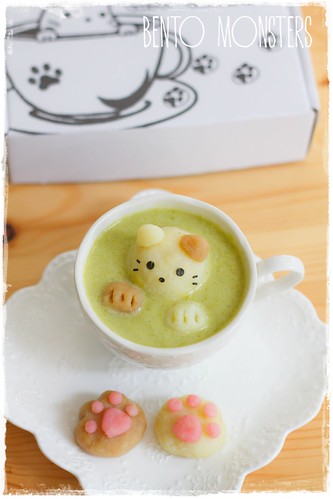
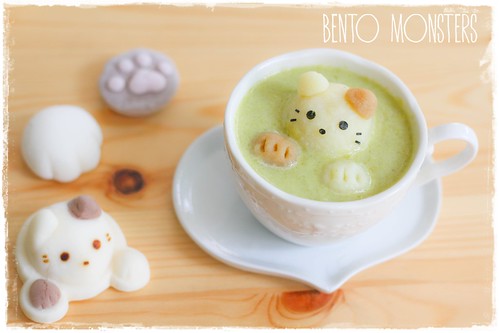
If you can't get the cat mould, you might want to try out this recipe using other moulds. I tried it out on a Hello Kitty mould and a cat paw mould and it works too.

marshmallowcat
I've experimented with both food markers and melted chocolate to draw the features, they both work, so I'll leave you to choose which one you prefer to use.

KITTY MARSHMALLOW RECIPE

Ingredients:
94g icing sugar
54g egg white
100g corn flour
42g water
94g corn syrup
4 gelatine sheets
1 tsp lemon juice
Non-stick spray
Melted chocolate/food marker
Brown food colouring

Method:
  1. Coat the silicon mould with non-stick spray, make sure you coat the small corners and edges well, else you will have difficulty removing the marshmallow from the mould later.
  2. IMG_9851
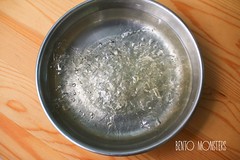
  3. Soak gelatine sheets in water. Once soft, drain water away and set aside.
  4. IMG_9852
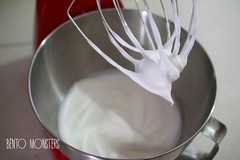
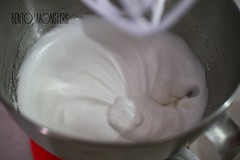
  5. Add 20g icing sugar to egg white, beat till peaks are formed. Add in lemon juice and set aside. Don't remove from mixer.
  6. IMG_9855
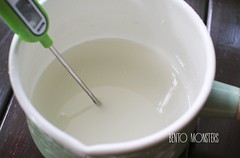
  7. Add 74g icing sugar, 94g corn syrup and 54g water to a pot. Cook and keep stirring till the temperature reaches 118C. This step is important, make sure you measure using a thermometer.
  8. IMG_9853
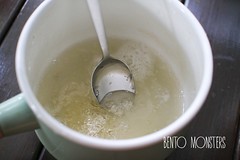
  9. Remove from stove and add in gelatine. Mix well till there are no lumps.
  10. IMG_9856
  11. Add the mixture from step 5 to the egg white at step 3. Turn on the mixer and stop once everything is well mixed.
  12. IMG_9857
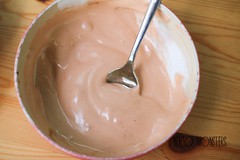
  13. Scoop out a small portion and add in brown colouring.
  14. IMG_9858
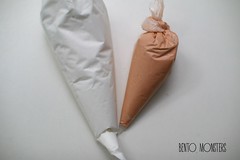
  15. Fill the mixture into pipping bags.
  16. IMG_9861
  17. Snip off ends of pipping bags, pipe out one of the cat's ears and paws using brown mixture.
  18. IMG_9863
  19. Use white mixture to fill up. Leave in the fridge for 2 hours.
  20. IMG_9864
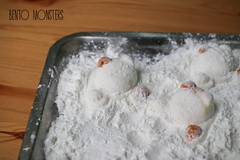
  21. While the mould is in the fridge, pan-fry cornflour over a small fire. When it's done, spread it out on a tray. Remove marshmallow from mould after 2 hours, and dust on cornflour.
  22. IMG_9865
  23. Add on details using food marker or melted chocolate.
  24. IMG_9033

Tuesday, 25 August 2015

Cat Onigiri & Quail Egg

A new routine for me starting this week, an additional commitment so I'm busier in the morning. I'm trying to sleep earlier at night, so I'm finding it a little tough to update the blog, since I usually update at night after my boys have slept. Never mind, I'm sure I'll find another timing to do it after I settle down in the routine.

IMG_2663
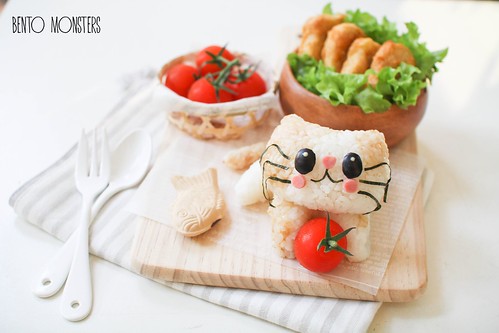
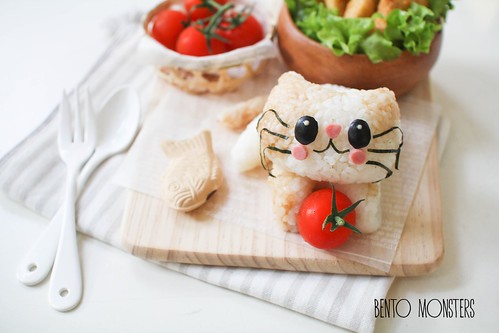
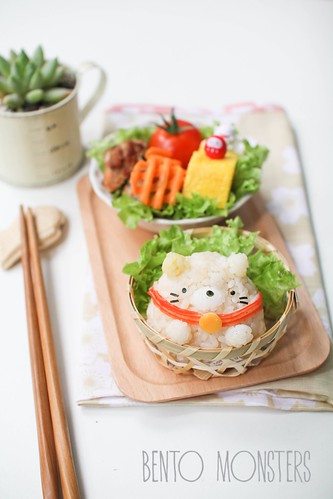
Since I already have these photos in my draft folder, I thought I'll do up a post before I sleep. This cat onigiri turned out totally different from what I had in mind. I came across pictures of this cat with gravity defying whiskers, attempted to craft it out of rice, but it turned out disastrous. In the end, I just changed it to the one you see in my picture above.

IMG_2667
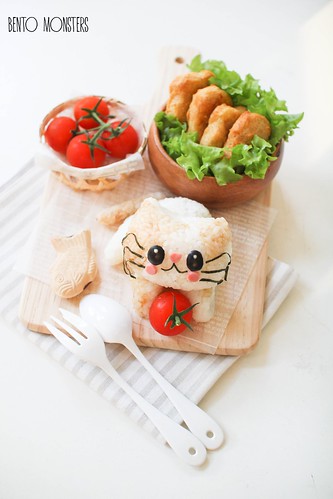
Made this for lunch with a quick side dish of nuggets, lettuce and cherry tomatoes.

IMG_2657
The cat was made out of rice, I coloured parts of it with dark soy sauce. Other ingredients used were nori, olives and ham. The fish you see in the picture is a chopstick rest.

IMG_0499
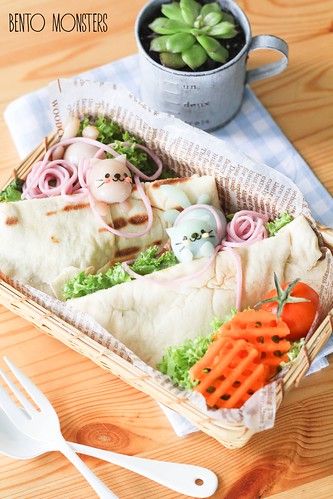
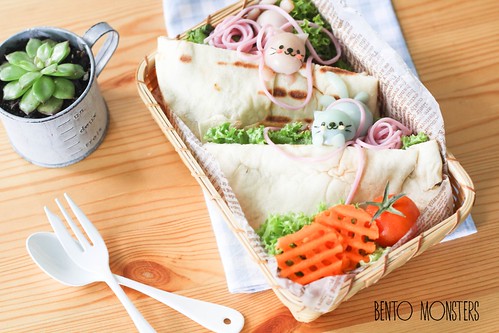
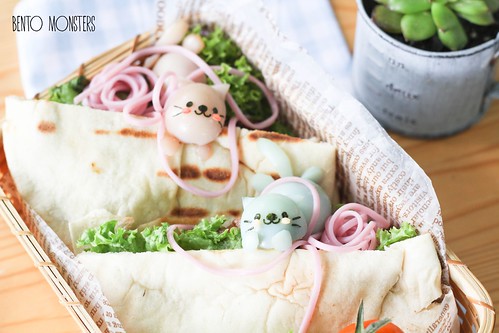
Another cat creation, this time the cats were made out of quail eggs. I dyed the quail eggs pink and blue in beetroot and red cabbage respectively.

IMG_0501
Cats are lying on teriyaki chicken pitas.

IMG_0506
I also dyed some noodles in beetroot and used them as yarn for the cats to play with. :)

Friday, 21 August 2015

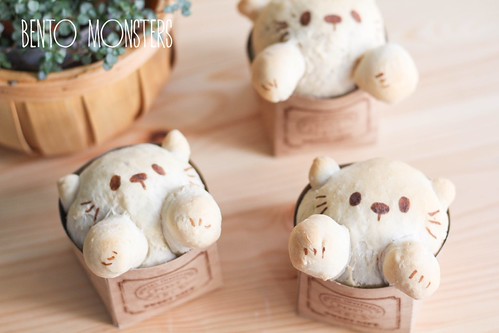
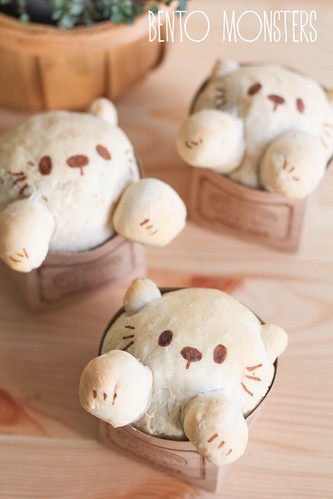
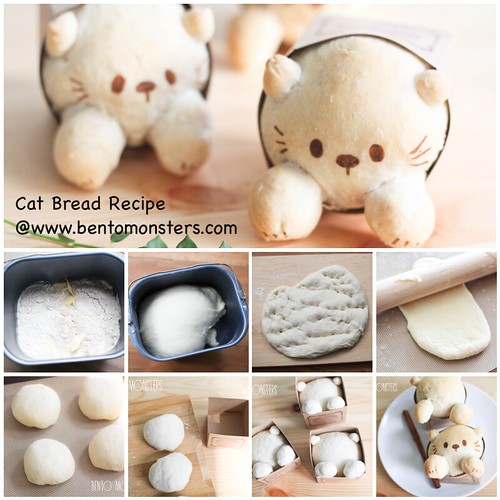
Cat Bread Bun

This recipe is a rather back dated one, I think I made these cat bread buns around a year back. I had the intention to update the recipe then, hence I took some step-by-step photos, but somehow I forgot to blog about them, lol.

IMG_0153
These kitty cat buns were filled with Japanese curry. The cat buns were actually a combination of two of my recipes, I used the white milk bun bread recipe from here and the Japanese curry fillings recipe from here. So which bread bun recipe goes better with the Japanese curry chicken fillings? I've not conclusion, they both are good.

IMG_0169
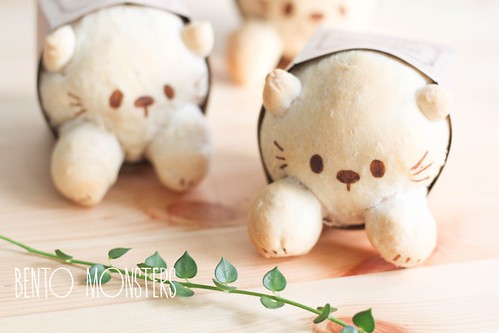
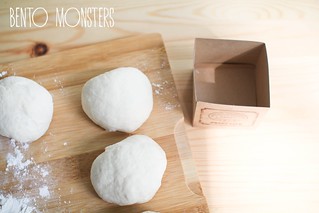
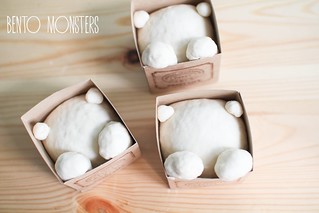
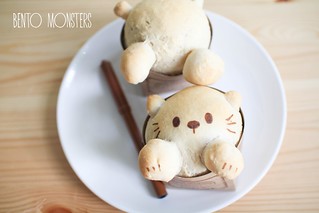
I shaped the dough in these cupcake boxes and allow them to proof in them. They are then baked in the oven in the boxes.

IMG_0143
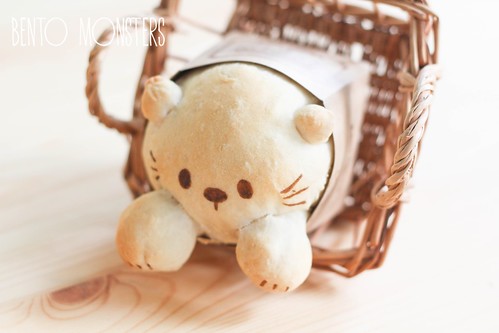
The kitty cats look like they are stuck and trying to get out, lol.

IMG_0165
Just another picture, because I took too many. -_-

catbread
Sharing the recipe to make these below.

CAT BREAD BUN RECIPE

Ingredients:
Bread Dough:
250g bread flour
3g instant yeast
200g milk
10g sugar
10g butter
3g salt

Japanese Curry Fillings:
½ yellow onion, cut into small cubes
½ carrot, cut into small cubes
300g chicken, thinly sliced
75g Japanese curry roux
400g water
40g butter
40g plain flour


Method:

Japanese Curry Fillings:
  1. In a frying pan, pan fry chicken till they are no longer pink.
  2. Heat up cooking oil in a small pot, sauté onion and carrot till aroma, add in water. 
  3. Add cooked chicken slices into the pot, continue to cook over medium low heat for about 15mins. 
  4. Add in curry roux and mix well.
  5. In another frying pan, melt butter over low heat, then add in plain flour, stir to combine well. Add into curry mixture. When the mixture started to turn thick, dish out and cool it completely.
  6. Roll into balls and set aside.
  7. IMG_5626
Bread Dough:
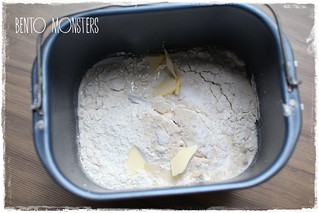
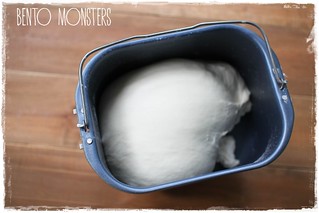
  1. Mix all the ingredients, except butter, in a large bowl to get a dough. Add in butter and knead until dough is springy and soft, this takes around 10 minutes. If you have a bread maker, you can just use the dough function for this step, as well as step 2.
  2. IMG_1925
  3. Cover the dough with cling wrap and keep in a warm place for it to rise. This takes around an hour and the dough should double in size. Do a finger test to check if it's ready.
  4. IMG_1792
  5. Take dough out and punch out the air from the dough with your fist. 
  6. IMG_1794
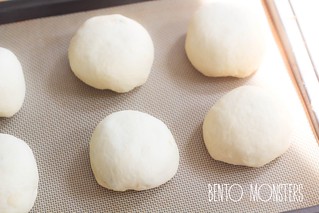
  7. Divide the dough into 9 portions. Roll them out and form them into balls. Cover with cling wrap and let the dough rest for 15 minutes. 
  8. IMG_5629
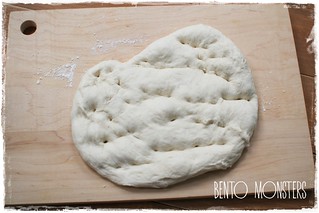
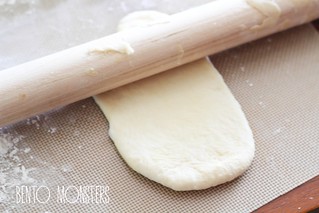
  9. Set aside one ball of dough. Roll out the rest using a rolling pin.
  10. IMG_5631
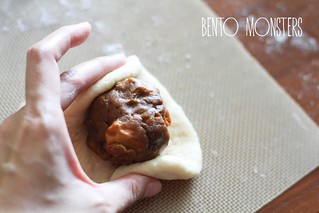
  11. Wrap dough around curry fillings and seal, place them in cupcake boxes. They should be around half the size of the boxes, as they will double in size after proofing.
  12. IMG_5633IMG_0128
  13. Using the ball of dough set aside, shape into cat's ears and hands. Cover with cling wrap and let the dough proof for 40 minutes.
  14. IMG_0132
  15. Preheat oven to 190 degrees celcius, turn it down to 140 degrees before placing in the bread at middle rack. Bake for around 15 minutes. If you want the bread to remain white, you can dust on some flour before baking and use an aluminium to cover halfway through baking. I did not do so, as I wanted the buns to be lightly browned. Draw on details using a food marker.
  16. IMG_0134

Monday, 30 March 2015

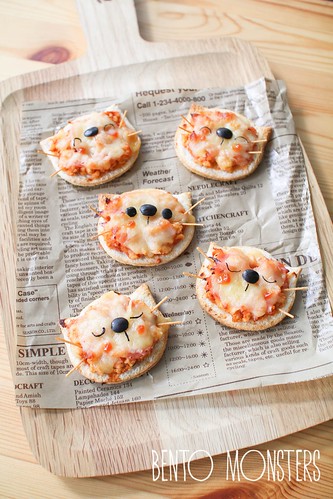
Cat Pizza

I'm moving the part I wrote about our founding father to the previous post HERE instead, I think it's more appropriate for that part to be over there. I was not in the mood to update the blog last week, spent whatever free time I had following news and updates about our founding father, as well as catching old videos I missed out about him. Today is a new week and a new start. I'm finally updating my blog today with these cat pizzas I  made for my boys a few weeks ago.

IMG_0356

Wednesday, 25 February 2015

Summikko Gurashi & Fortune Cat Bento

Today is the 7th day of the Chinese New Year and the day is called Renri, which literally means Human Day. So, Happy Birthday to you and me. :)

IT is at his school camp today, it's a 3 days 2 nights camp, so he'll be back again on friday. Missing him at home, 2 nights seems a little long since we can't contact him, the only good thing is I get to wake up late for the next two days, lol.

IMG_9211

Friday, 19 September 2014

Cafe Cat and Paw

Have you seen this cute 3D latte art of a floating kitty from Cafe Cat and Paw online?

IMG_0967
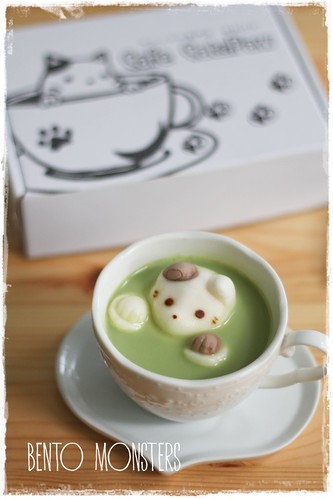
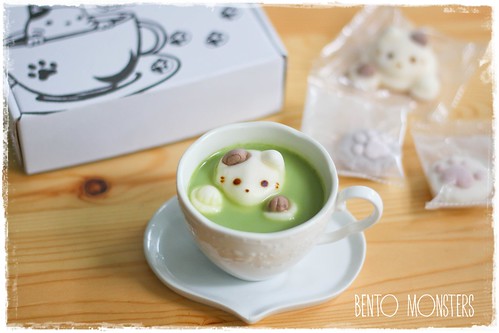
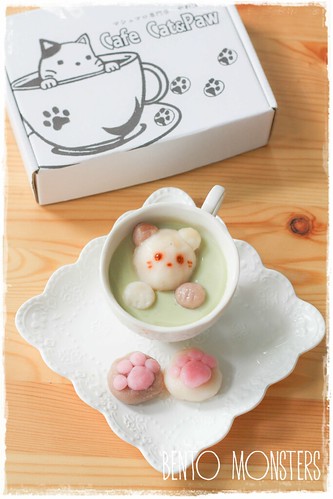
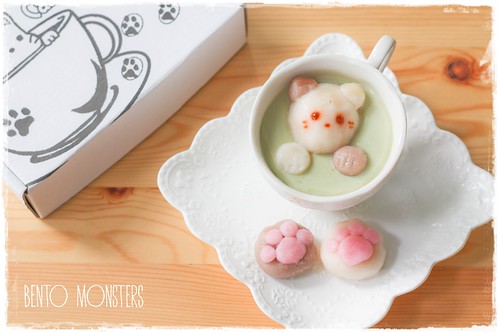
If you have no idea what I'm referring to, here's what the marshmallow kitty looks like. I don't drink coffee, so he's floating in a cup of green tea latte. So, so adorable!
IMG_0965
Each box comes with 2 kitties and 4 cat paws. Even the packaging is so cute.
IMG_0966
Japanese always comes up with the cutest stuff!

IMG_1089
The marshmallow will slowly melt into your drink. Want to get a pack? Click HERE for the website to purchase them.
IMG_1014
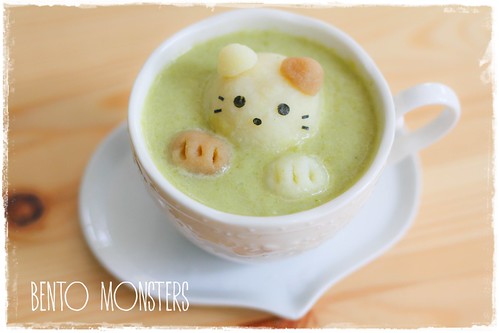
Here's my version of the kitty latte art.

IMG_1025
This is a savoury version, my kitty is made using mashed potato, and he's floating in a bowl of asparagus soup.

IMG_1022
I've not forgotten that I owe some of you a tutorial on how to create characters using mashed potato. I will take step-by-step pictures the next time I'm making mashed potato characters and get it updated.

IMG_2049
I also made another version using shiratama and green tea pudding.

IMG_2048
This did not turned out too well, the brown details on the kitty shiratama were a perfect shade when they were just cooked. But as the pudding was still setting in the fridge, I left them in a bowl of ice water in the fridge and went to take a nap. When I woke up and wanted to assemble them, I realised the brown details had smudged a little and turned more reddish. Hiaz. :(
Bunting---Dots-and-Stripes---Rainbow---13

Where to get same or similar items used in today's post: