Hola!! It's been a while again. When I was blogging regularly, I used to think it would be so hard for me to stop this routine of mine, it was the norm for me to turn on my computer then after my boys have gone to bed. I don't know why exactly I stopped doing so, I guess I just got lazy along the way. The me now find it hard to imagine why I can find the energy to stay up to blog then, I would now much rather go to bed early or do other stuff instead. And once I stopped this routine, it's so difficult to blog again. I doubt I will ever go back to blogging regularly again, but I do hope I can drop by at times to share some recipes. Meanwhile, I'm still sharing my creations over at Instagram, not as active as I used to be too, but I still update there weekly. And please don't ask me questions using comments on the blog, I don't check that anymore. -_- You can email me instead, I'll reply (sometimes a little slow) unless it ends up in the junk mail.
Just some updates that I've been meaning to jot down on the blog at the beginning of the year, they are more for myself, I guess. The last week of 2016 actually ended very badly for me. :( Something I dreaded/hate had to come true, it's something I won't be able to forget for the rest of my life, the many doubts I have won't ever be cleared up. I'm not going into any more details, but I am trying to move on, much as I want to, I know I won't be able to forget the hurt and pain, but I will move on, and I have to move on.
2016 also marks the end of a chapter in making bentos for IT, he has moved on to secondary school this year, and I finally stopped packing bentos for him. He was the reason I started on making charabens, it has been a good 6 years of packing bentos for him. I never expected to last that long, since bringing bentos is not common here, I'm really grateful he has never asked to stop and rejected bringing them all these years. He has been doing well in secondary school so far, it's not the school he thought he would be going initially, but I guess it turns out to be a blessing in disguise. He is happy at the school, and since hours are so much longer now, he is thankful for the close proximity. He even gets to come home for lunch on some days before going for CCA.
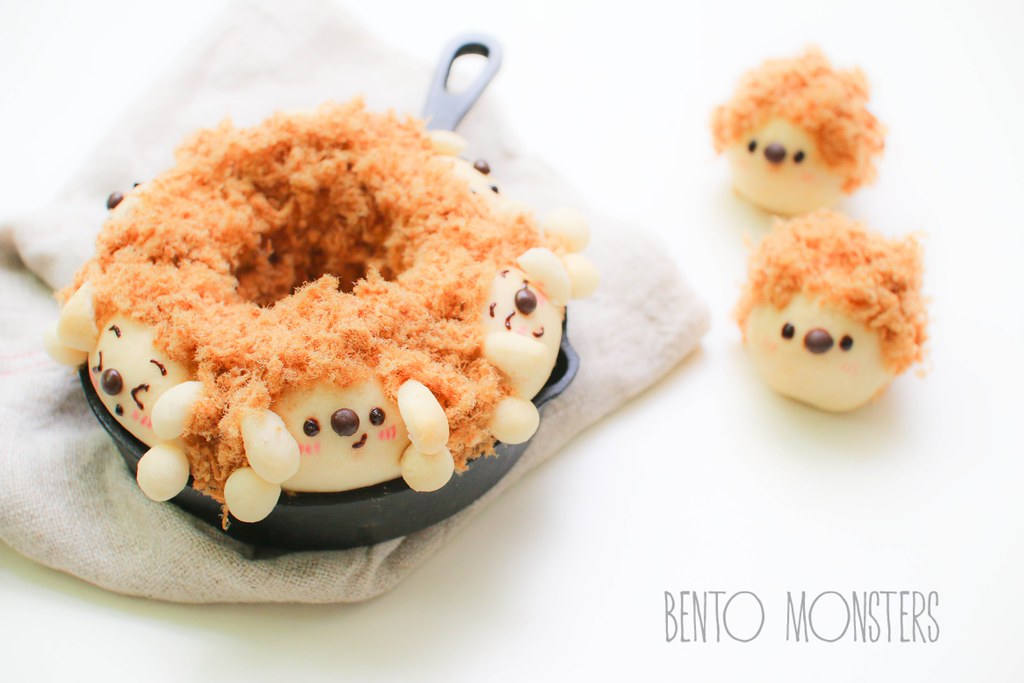 Enough updates for now, it's getting too lengthy. Let's go on to the recipe for these pork floss hedgehog bread buns I did a while back. I made two designs, pull-apart ones and bread rolls. The recipe is for the pull-apart ones, but you can also use them for the bread rolls, the design for bread rolls are easier, as I skipped the limbs.
These were my second batch, as I did not bothered to take step-by-step photos for my first batch. I liked how the first batch turned out, so I decided to make them again, so I can take those photos.
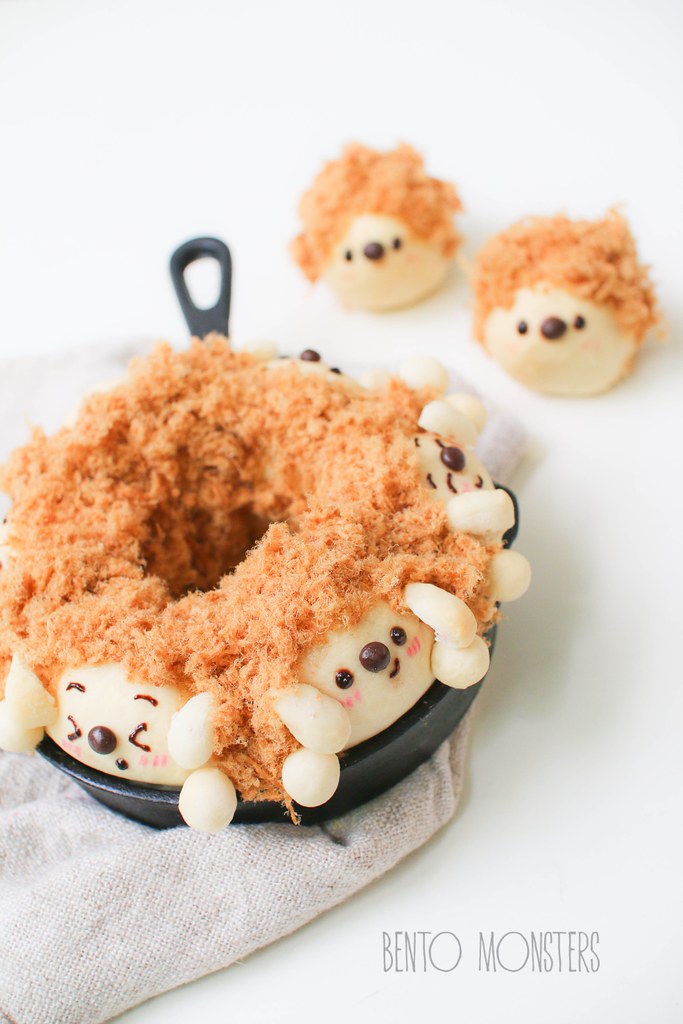
I've been using this modified version of a pull-apart bun recipe I found on Cookpad. I quite like it so it has been my to-go recipe for pull-apart bread buns, it works quite well when you need to have different coloured bread rolls for your pull-apart bread bun's designs too. You just need to portion your dough and colour them prior to proofing.
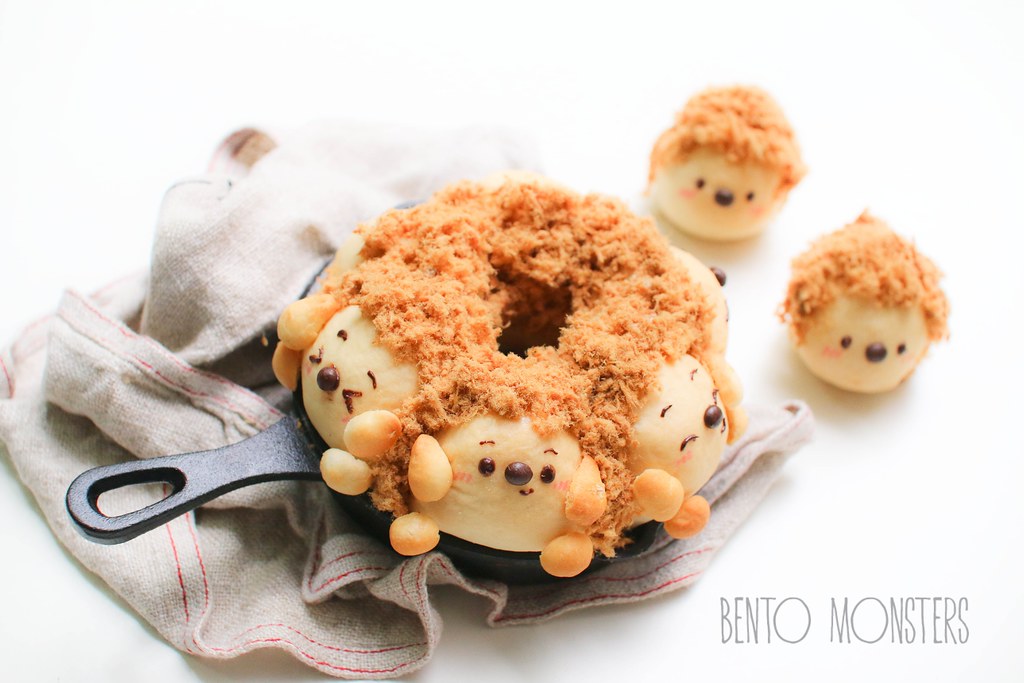
This one was from my first batch. The bread buns are a little brown here. I experimented with having the bread buns white in my second attempt. I can't decide which version I prefer. The recipe below is for the white version, if you prefer them a little brown, just up the temperature by 10 degrees celcius and don't bother covering with aluminium foil.
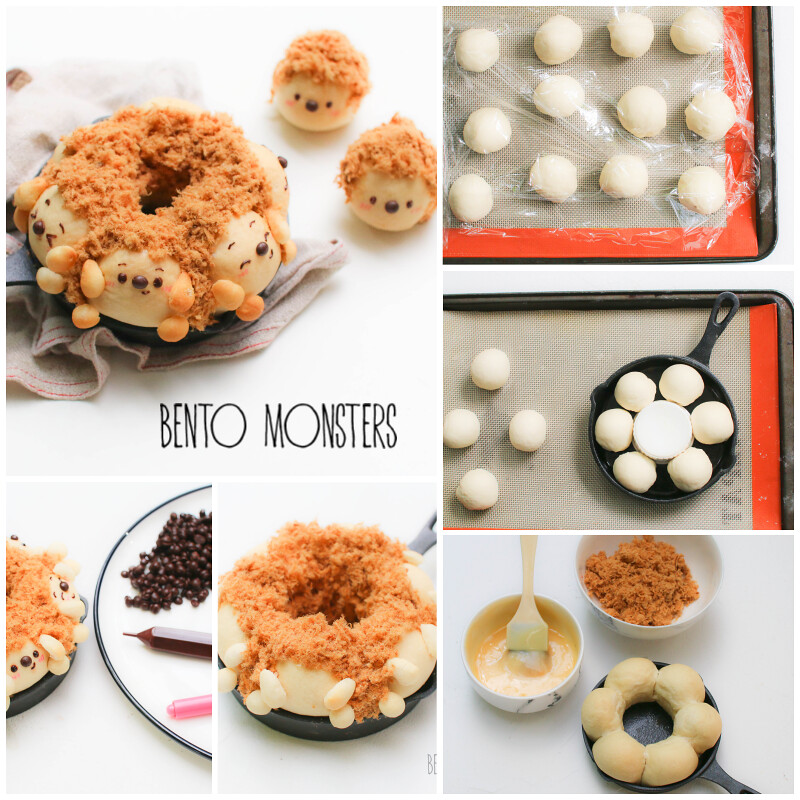
Pork floss can be replaced by chicken or fish floss is you don't take pork. :) And if you are from Singapore, chocolate pens can now be found at Daiso. Yay, I don't have to stock them up whenever I go Japan anymore. :)
HEDGEHOG PORK FLOSS PULL-APART BREAD BUN RECIPE
Ingredients:
200g bread flour
1 tbsp sugar
1 tsp salt
5g corn syrup
10g unsalted butter, at room temperature
5g instant yeast
140g milk
Pork Floss
Baked/fried pasta sticks
Chocolate chips
Chocolate pen(optional)
Pink food marker(optional)
Mayonnaise coating:
- 3 tbsp condensed milk
- 9 tbsp japanese mayonnaise
- 1 tbsp corn syrup
Method:
Just some updates that I've been meaning to jot down on the blog at the beginning of the year, they are more for myself, I guess. The last week of 2016 actually ended very badly for me. :( Something I dreaded/hate had to come true, it's something I won't be able to forget for the rest of my life, the many doubts I have won't ever be cleared up. I'm not going into any more details, but I am trying to move on, much as I want to, I know I won't be able to forget the hurt and pain, but I will move on, and I have to move on.
2016 also marks the end of a chapter in making bentos for IT, he has moved on to secondary school this year, and I finally stopped packing bentos for him. He was the reason I started on making charabens, it has been a good 6 years of packing bentos for him. I never expected to last that long, since bringing bentos is not common here, I'm really grateful he has never asked to stop and rejected bringing them all these years. He has been doing well in secondary school so far, it's not the school he thought he would be going initially, but I guess it turns out to be a blessing in disguise. He is happy at the school, and since hours are so much longer now, he is thankful for the close proximity. He even gets to come home for lunch on some days before going for CCA.
 Enough updates for now, it's getting too lengthy. Let's go on to the recipe for these pork floss hedgehog bread buns I did a while back. I made two designs, pull-apart ones and bread rolls. The recipe is for the pull-apart ones, but you can also use them for the bread rolls, the design for bread rolls are easier, as I skipped the limbs.
These were my second batch, as I did not bothered to take step-by-step photos for my first batch. I liked how the first batch turned out, so I decided to make them again, so I can take those photos.

I've been using this modified version of a pull-apart bun recipe I found on Cookpad. I quite like it so it has been my to-go recipe for pull-apart bread buns, it works quite well when you need to have different coloured bread rolls for your pull-apart bread bun's designs too. You just need to portion your dough and colour them prior to proofing.

This one was from my first batch. The bread buns are a little brown here. I experimented with having the bread buns white in my second attempt. I can't decide which version I prefer. The recipe below is for the white version, if you prefer them a little brown, just up the temperature by 10 degrees celcius and don't bother covering with aluminium foil.

Pork floss can be replaced by chicken or fish floss is you don't take pork. :) And if you are from Singapore, chocolate pens can now be found at Daiso. Yay, I don't have to stock them up whenever I go Japan anymore. :)
HEDGEHOG PORK FLOSS PULL-APART BREAD BUN RECIPE
Ingredients:
200g bread flour
1 tbsp sugar
1 tsp salt
5g corn syrup
10g unsalted butter, at room temperature
5g instant yeast
140g milk
Pork Floss
Baked/fried pasta sticks
Chocolate chips
Chocolate pen(optional)
Pink food marker(optional)
Mayonnaise coating:
- 3 tbsp condensed milk
- 9 tbsp japanese mayonnaise
- 1 tbsp corn syrup
Method:
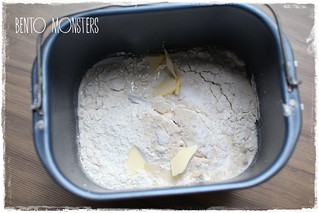
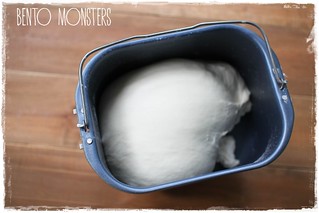
- Mix all the ingredients, except butter, in a large bowl to get a dough. Add in butter and knead until dough is springy and soft, this takes around 10 minutes. If you have a bread maker, you can just use the dough function for this step, as well as step 2.
- Cover the dough with cling wrap and keep in a warm place for it to rise. This takes around an hour and the dough should double in size. Do a finger test to check if it's ready.
- Take dough out and punch out the air from the dough with your fist.
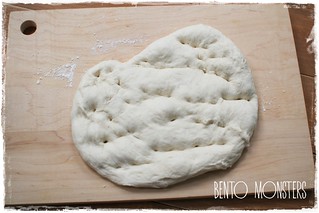
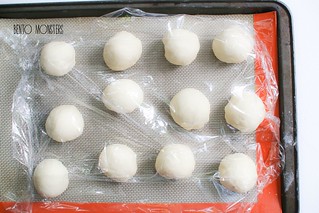
- Using the plain dough, roll out 13 portions of dough around 25g each, one at a time and form them into balls. Cover with a damp cloth or cling wrap and set aside for 5 minutes.
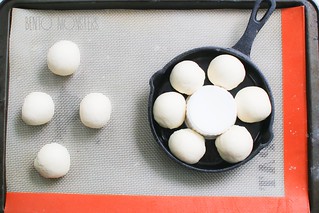
- Roll out the 12 portions (the remaining 1 portion is for the limbs) of dough again, one at a time and form them into balls. Grease two 4in round pan, place an overturned ramekin in the centre of each. (I only used 1 pan in the picture, I used the rest for other designs) Arrange 6 dough in each pan. At this point, there will still be space, as the dough will expand in size. Cover with cling wrap or damp cloth and let the dough proof for 40 minutes.
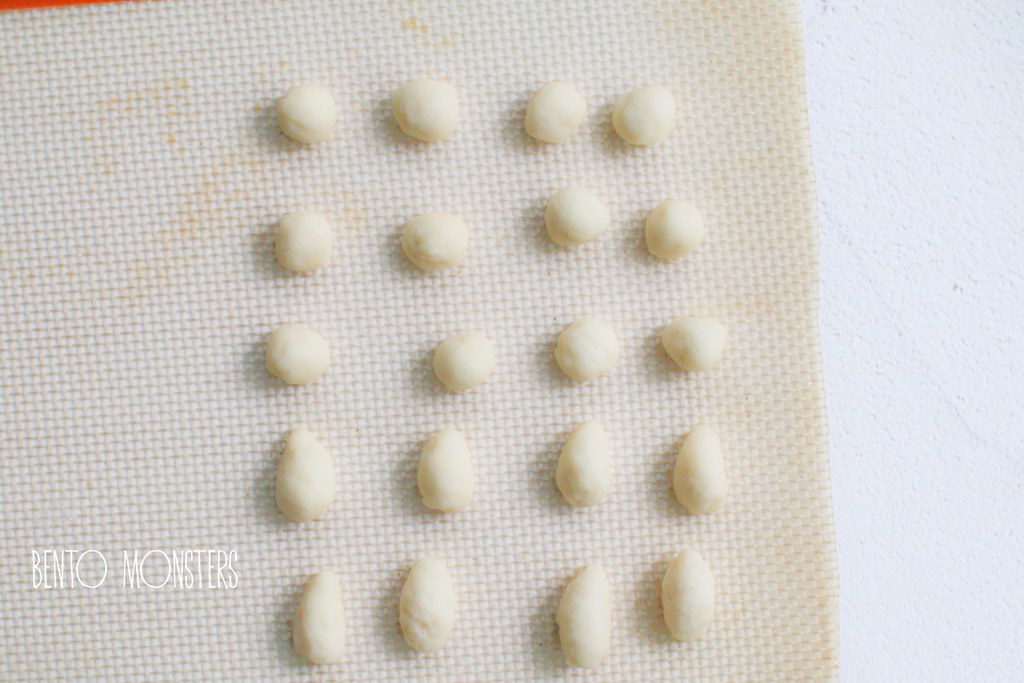
- Using the last dough, shape into hedgehog's limbs. Cover with cling wrap or damp cloth and let the dough proof for 40 minutes. Preheat oven to 180 degrees celcius, for the bread rolls, bake for 5 minutes. Turn down to 140 degrees celcius and bake for 20 minutes, cover with aluminium foil in the last 10 minutes. For the hedgehog limbs, just bake at 140 degrees celcius for 10 minutes.
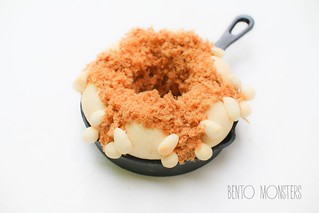
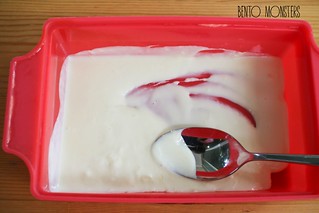
- While the bread is cooling down, prepare mayonnaise mixture by whisking all ingredients together. Spread on mixture generously on the parts you want the pork floss to be on. Top on the pork floss.
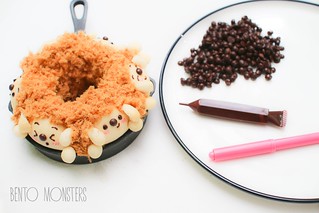
- Use baked pasta sticks to poke in hedgehog's limbs. Use chocolate pen to draw on the features, I used a chocolate chip for the nose. If you do not have a chocolate pen, melt the chocolate chips and use a toothpick to dip in to draw. Use a pink food maker to draw on the blush.
