Showing posts with label Rilakkuma. Show all posts

Friday, 2 September 2016

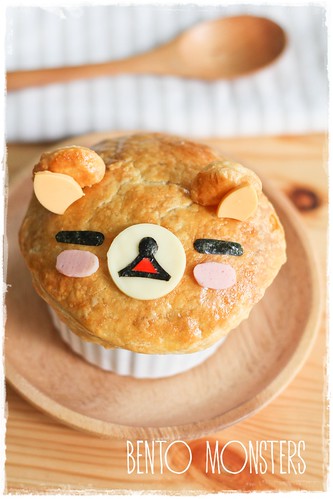
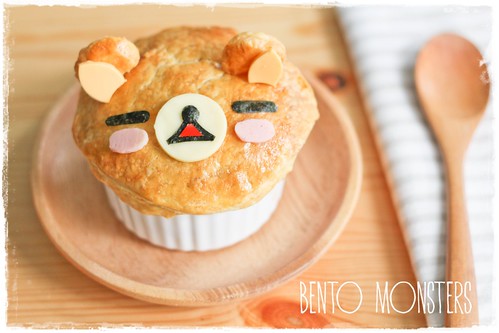
Rilakkuma Pie & ASUS Zenbook Flip

I'm sure most of you know that I'm a stay-at-home mum. Even though I do enjoy staying home with my boys, the never ending chores and mundane tasks are not what I enjoy, but I've long came to accept them as part and parcel of my job. Over the years, I've also learnt to find joy in simple things, something we often take for granted. And finding time to indulge in making some cute food is one of the simple thing that flips my day.
IMG_5077

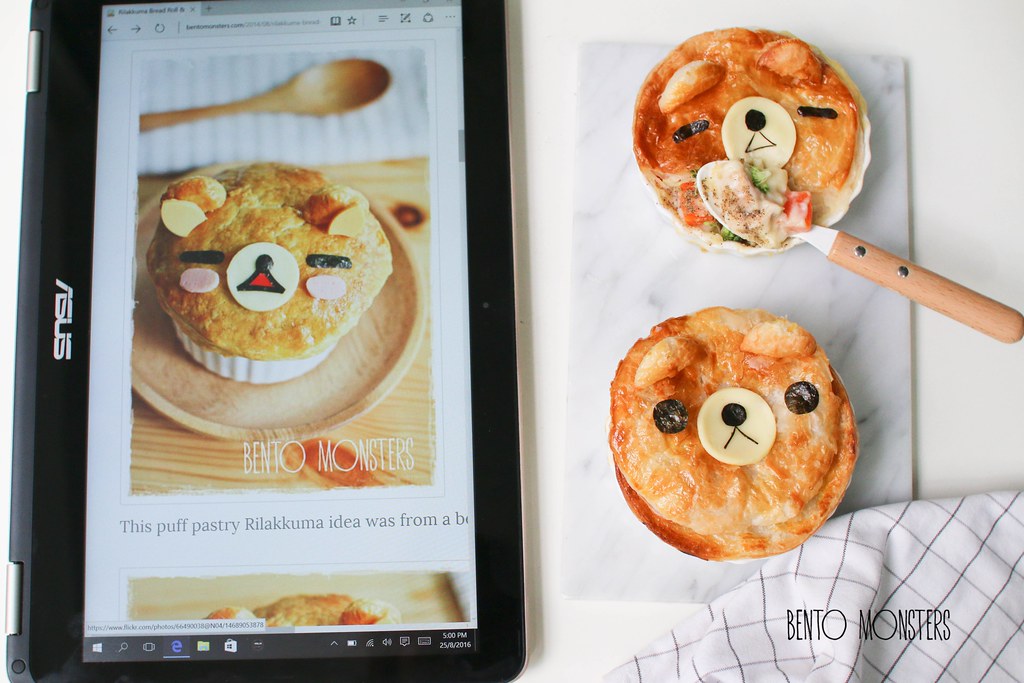
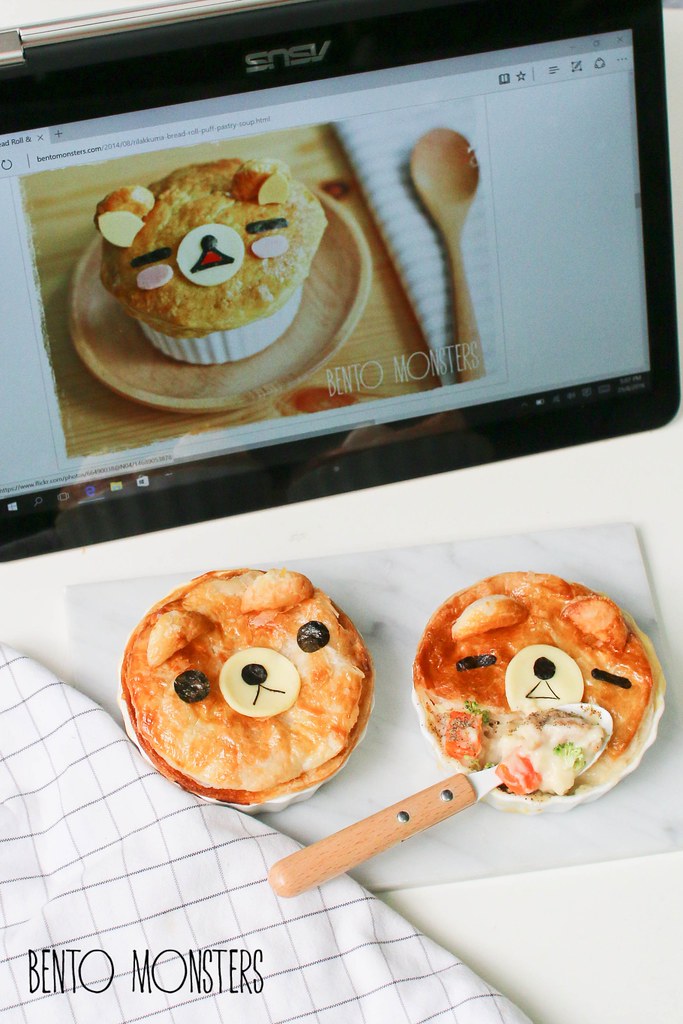
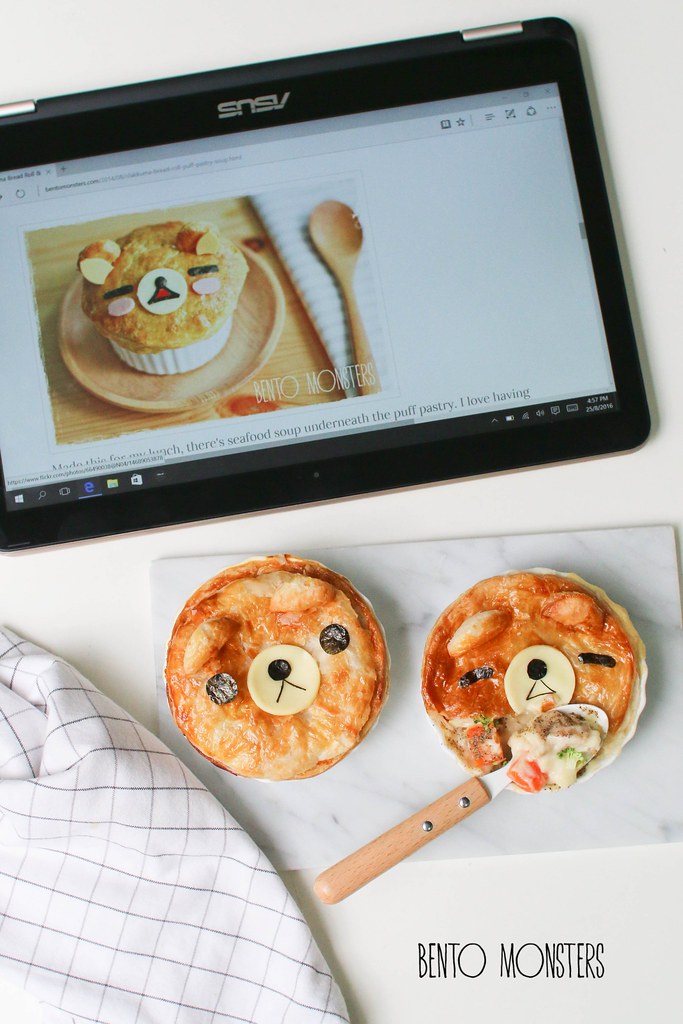
Over the past week, I had the chance of trying out the The ASUS Zenbook Flip, their latest laptop launched. Yes, you read it right, it's a laptop, though it looks like a tablet in my picture above. This is because, the laptop not only comes with a touch screen, it can also be flipped 360 degrees, allowing you to adjust the screen into four convenient viewing mode. The one I'm using above is the tablet mode.

I found it especially useful when I need to search for recipes to refer to when preparing food. In the picture above, I was searching for the Rilakkuma puff pastry soup on my blog, as I wanted to do a remake of it. This time, I used the same idea but made it into a pie instead.
IMG_5112
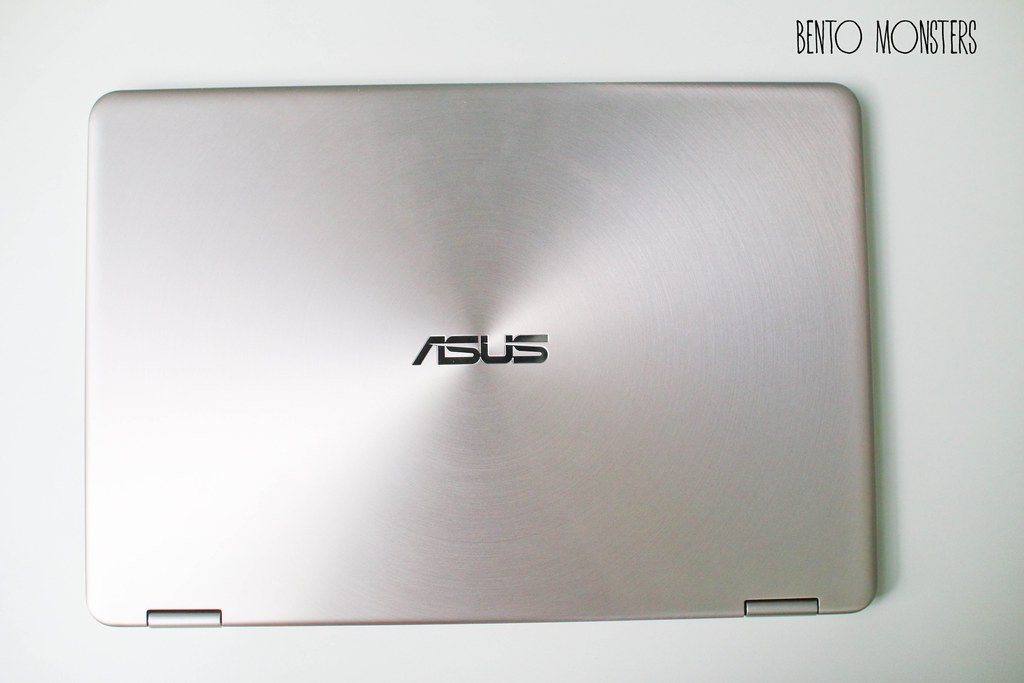
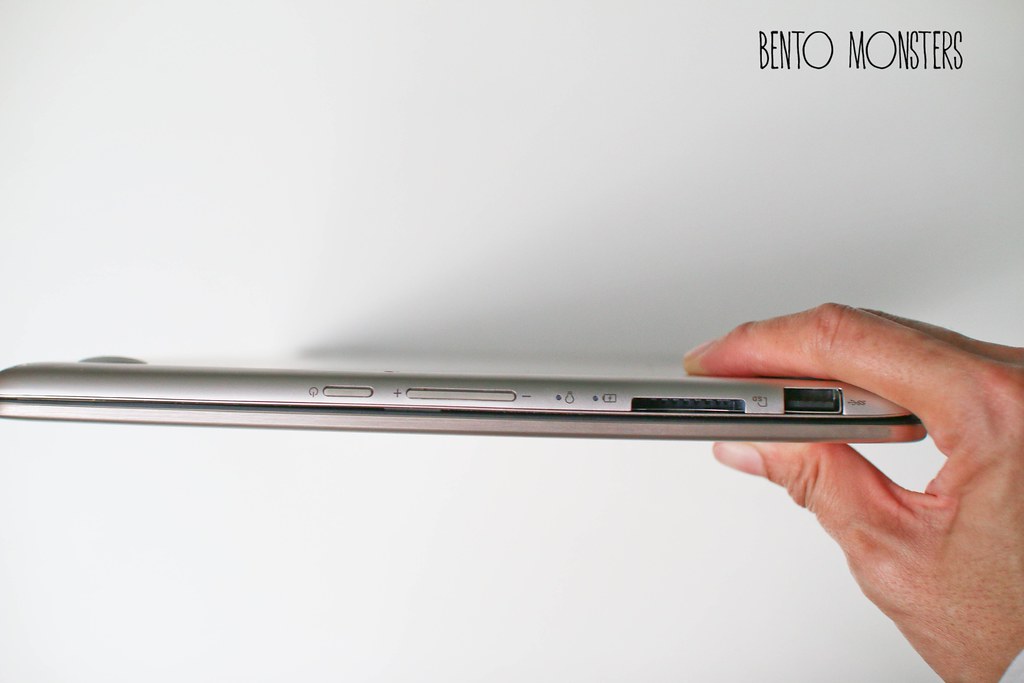
Here's how the Zenbook Flip looks when it's closed. I love the sleek and stylish design.
IMG_5115
As you can see in the picture, it is ultra slim, ultra light and compact. The best part is that it also comes at an attractive price, the Zenbook Flip is only retailing at $1298.
IMG_5098
Other than the tablet view, my other favourite view is the tent view, where it can be open up like a tent on the table. This view, together with the large screen, is perfect for me to watch my favourite variety shows and K-dramas, while I'm eating. You can find out more about the Zenbook Flip at this link.
IMG_5072
Now here's your chance to own a ASUS ZenBook Flip. To win a ASUS ZenBook Flip worth $1,298, simply follow the steps below:
  1. Like the ASUS Singapore Instagram page. 
  2. Share a photo on Instagram on an event OR item that will change your day around (“Flip your day”), tell us why and how is it so in the caption,
  3. Use the #flipmyday hashtag and tag ASUS Singapore (@ASUSSG) in your post to enter! Don’t forget to set your account to public so that your entry is visible!
Contest ends at 11.59 pm on 30th September 2016!  Good luck! 

Wednesday, 20 April 2016

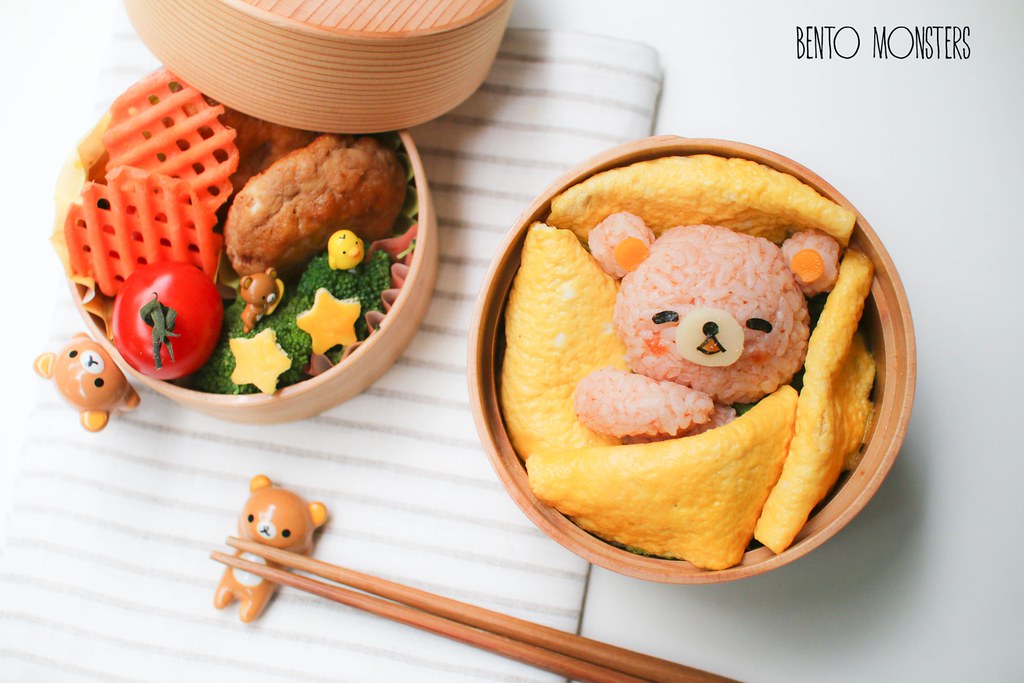
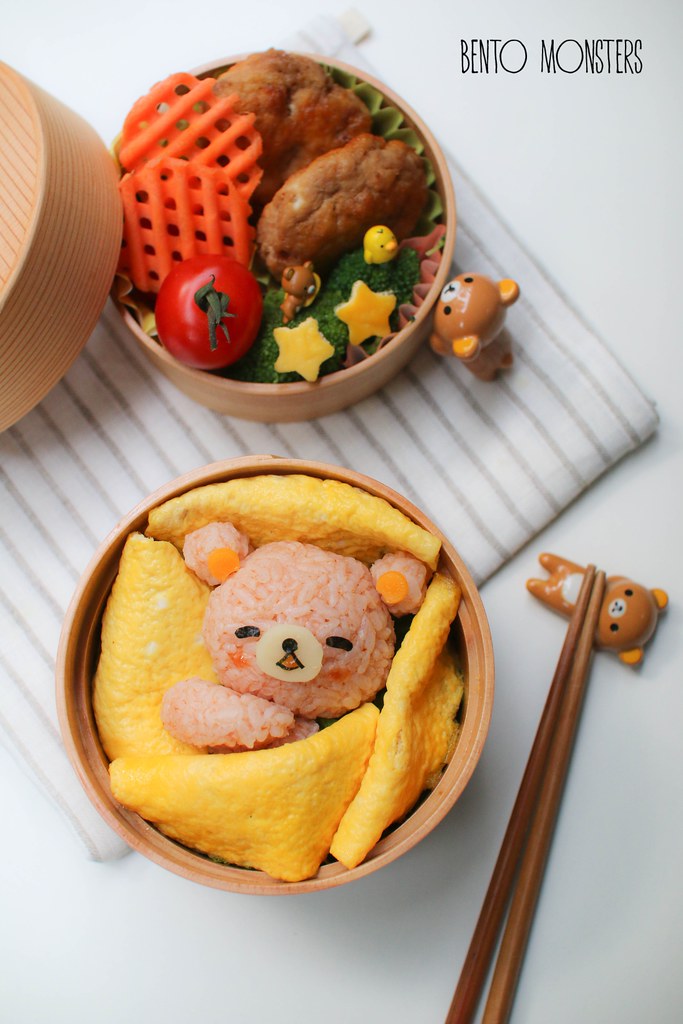
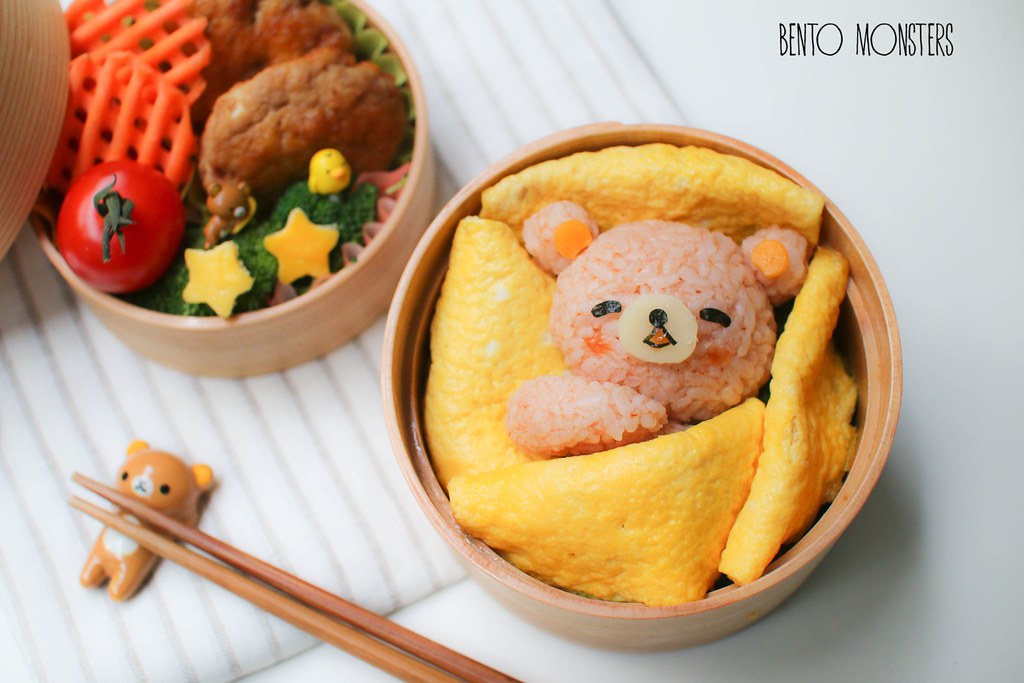
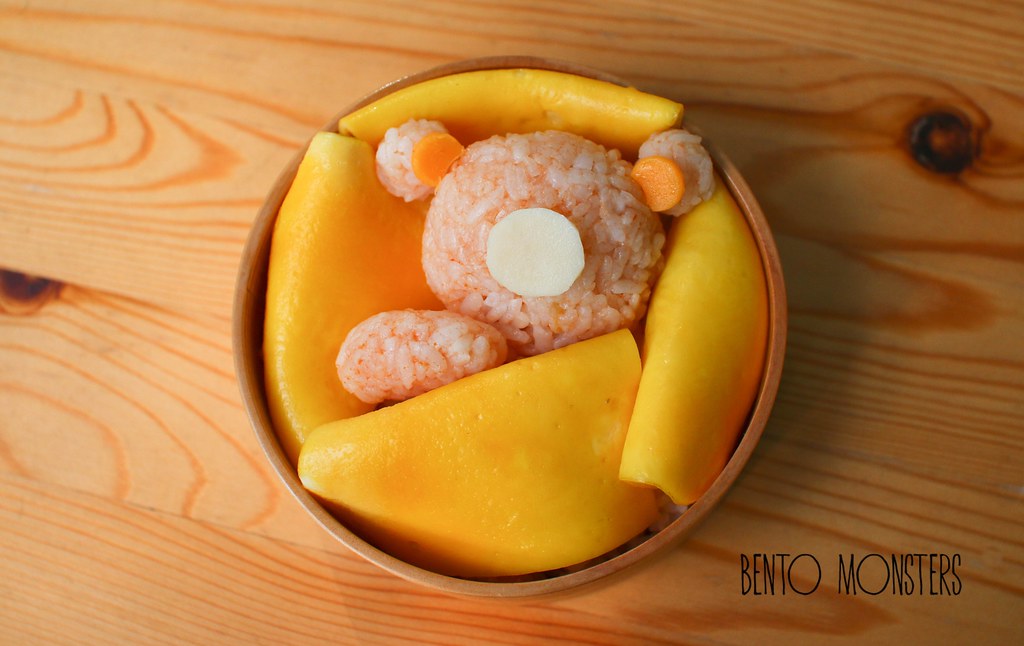
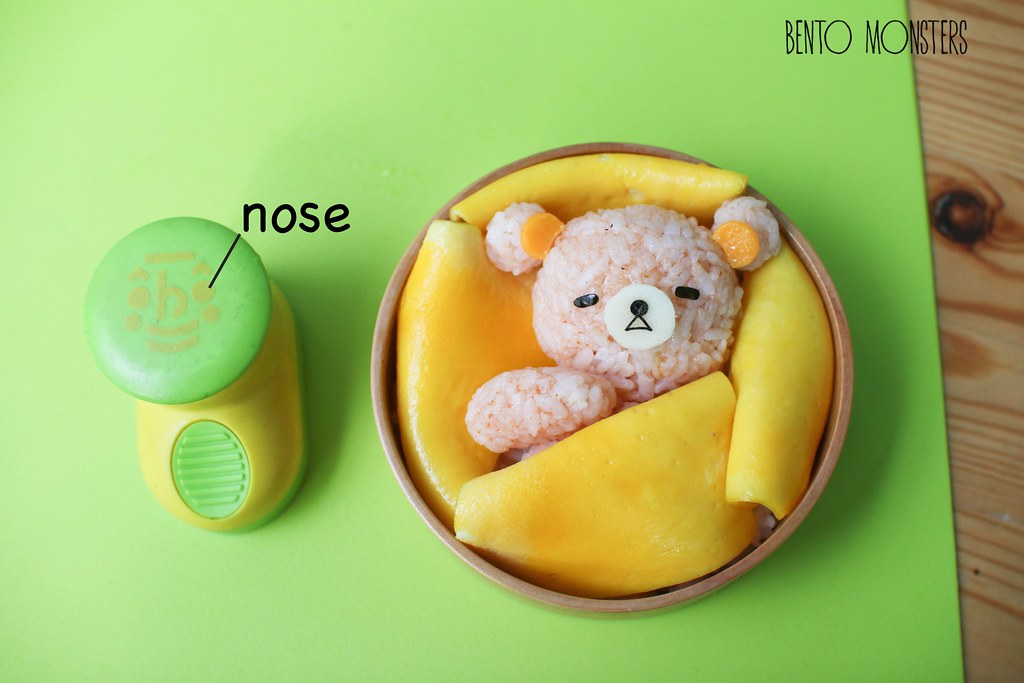
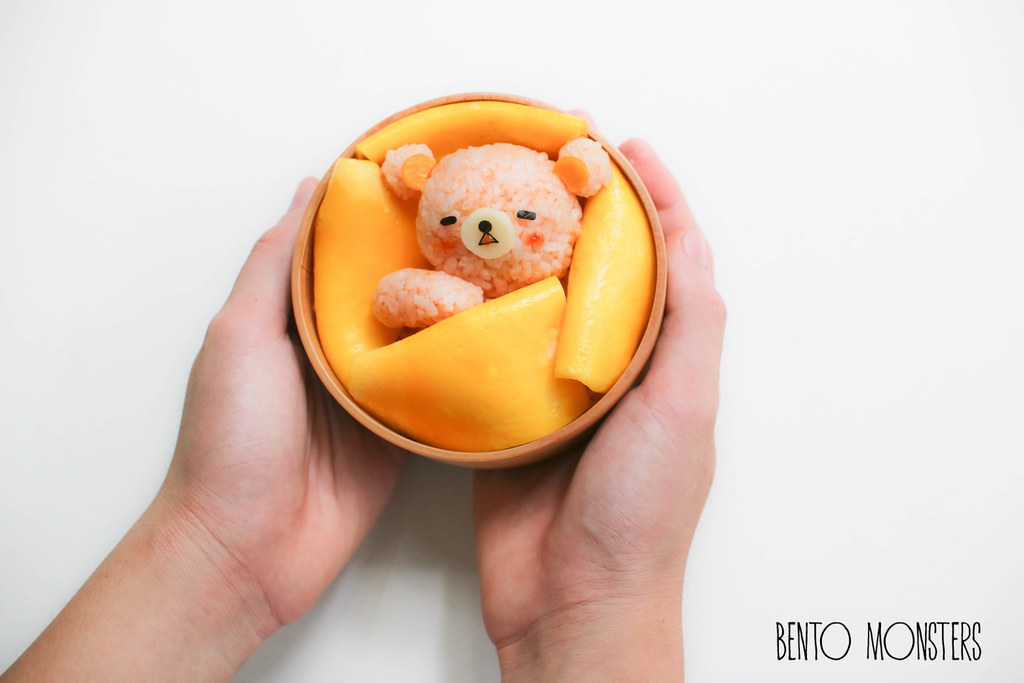
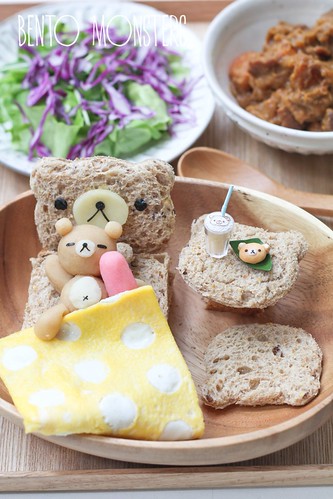
Sleeping Rilakkuma Bento

Exams are coming soon again, time seems to pass so fast, we are almost halfway through the term, seems like yesterday the new school year just started. I dislike getting my boys to do revisions, they dislike it much more, but it's something we can't avoid and have to go through.

IMG_6840
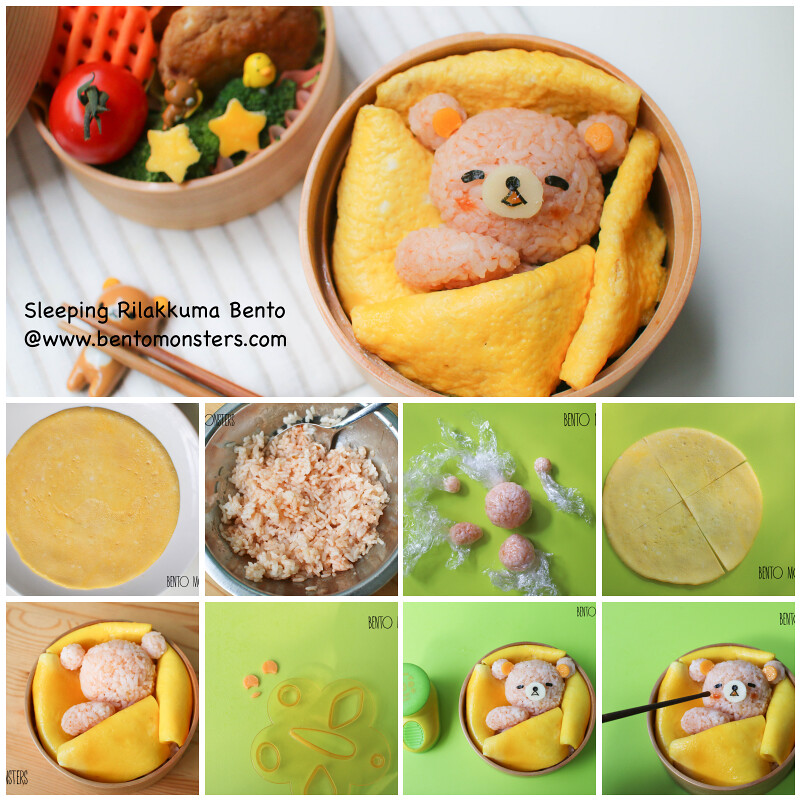
I was looking through some of my archive to see what  I've yet to blog, and decided on this sleeping Rilakkuma bento, which I took step-by-step photos of.

IMG_6831
I feel like snuggling in bed with my blankets too, lol. Maybe I should go and do so after finishing up this post and leave the chores aside for a while. :P

IMG_6828
I used ketchup to colour the rice here, if you prefer Rilakkuma to look brown, you can also use dark soy sauce/teriyaki sauce to colour the rice instead.

rilakkuma
As with all my tutorials, I'm not claiming this is the correct or best way to make this bento, but I'm simply just sharing how I made it.

IMG_1230
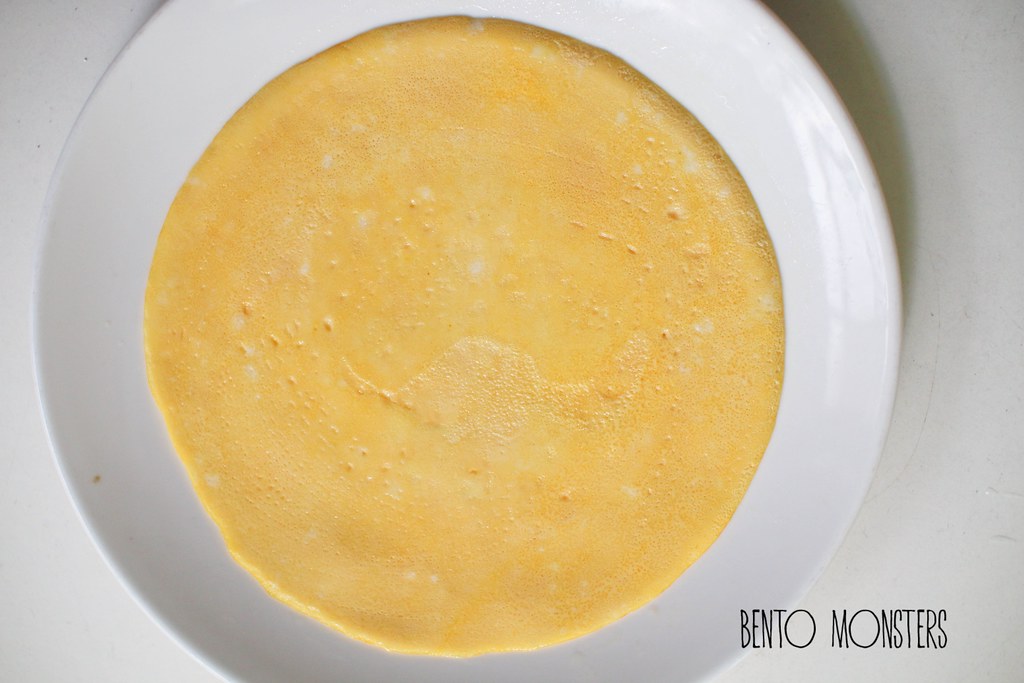
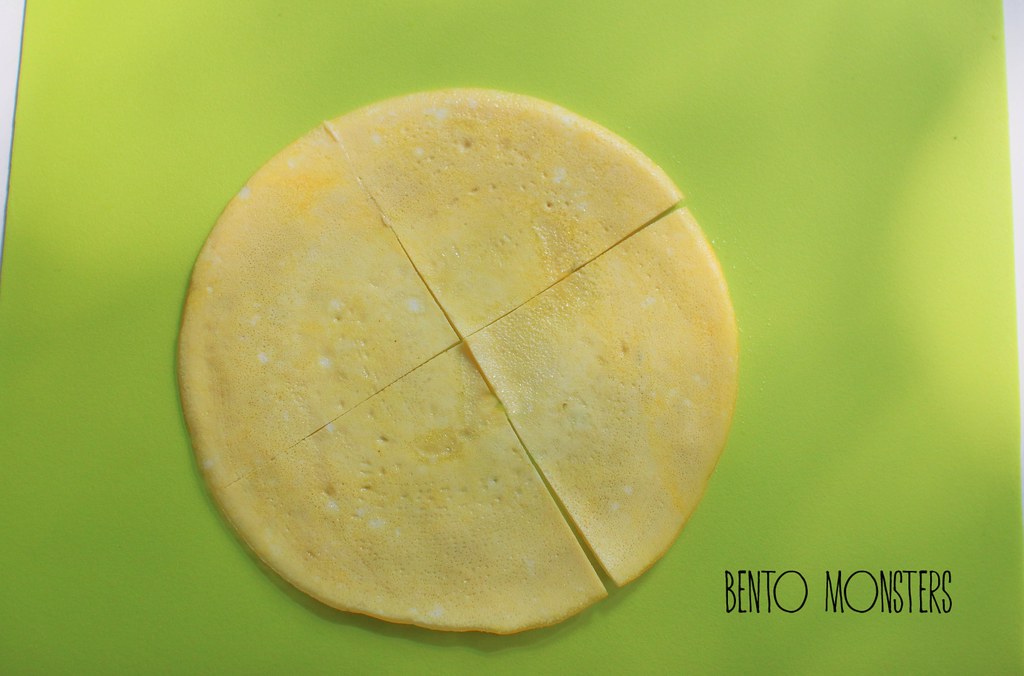
You will need a thin omelette, you can season it with a pinch of salt, and cook it over a low fire.

IMG_1232
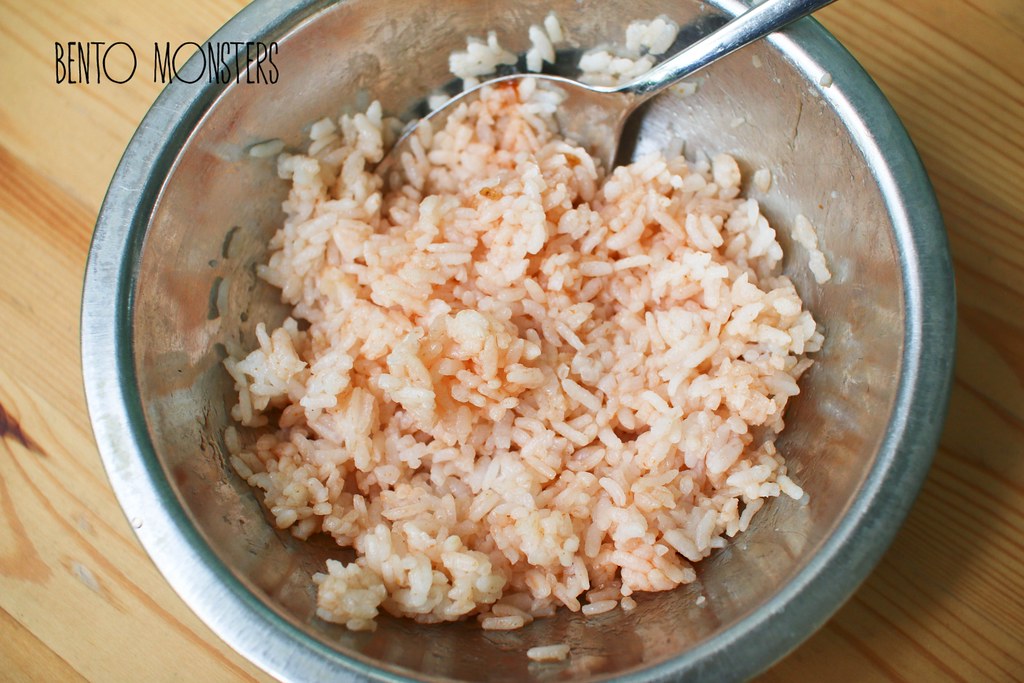
Add ketchup to rice and mix well.

IMG_1233
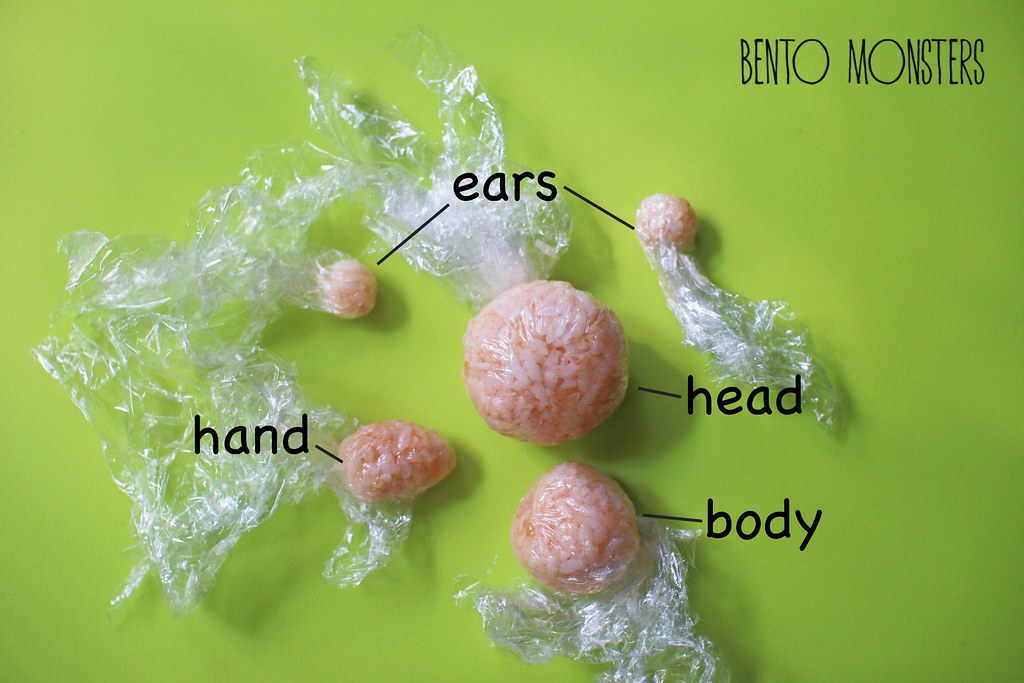
Scoop rice onto cling wrap and mould out the head, ears, hand and body as shown in the picture.

IMG_1235
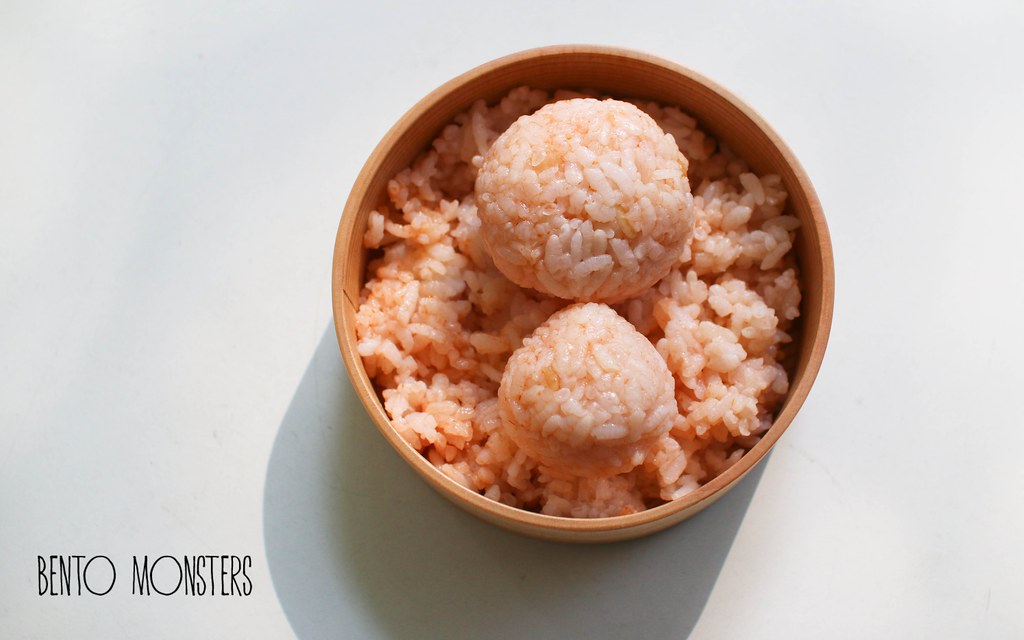
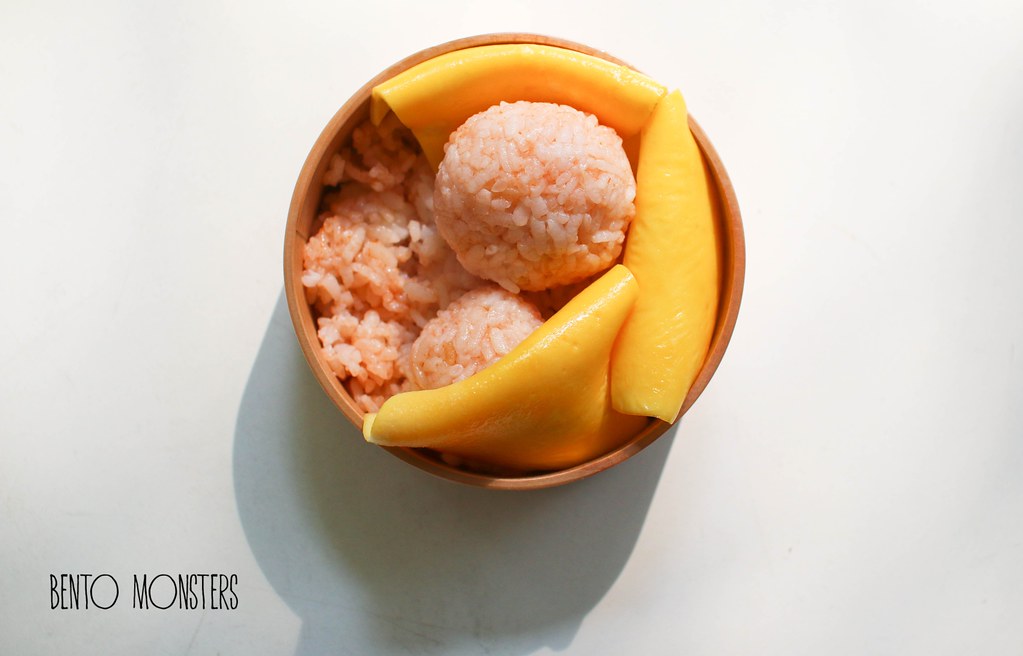
Fill the base of your bento box with a layer of rice loosely, before placing the head and body onigiri on top. You can also arrange lettuce or your side dishes at the base instead of using rice.

IMG_1234
Slice omelette into quarters.

IMG_1236
Fold each omelette quarter and arrange around the rice.

IMG_1238
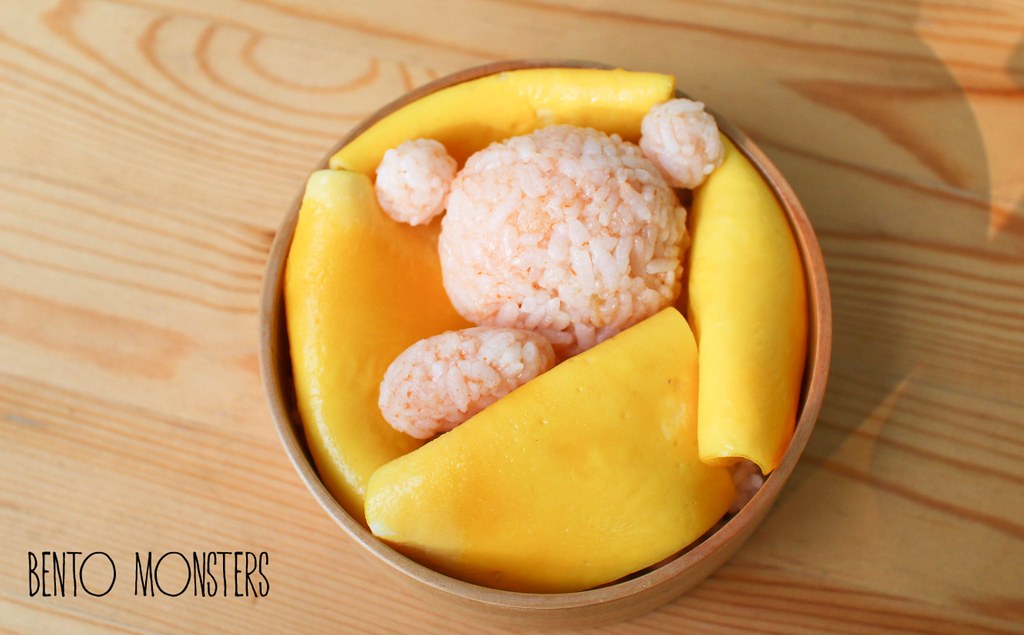
Add in the hand and ears, you can use pasta stick to sercure the parts.

IMG_1239
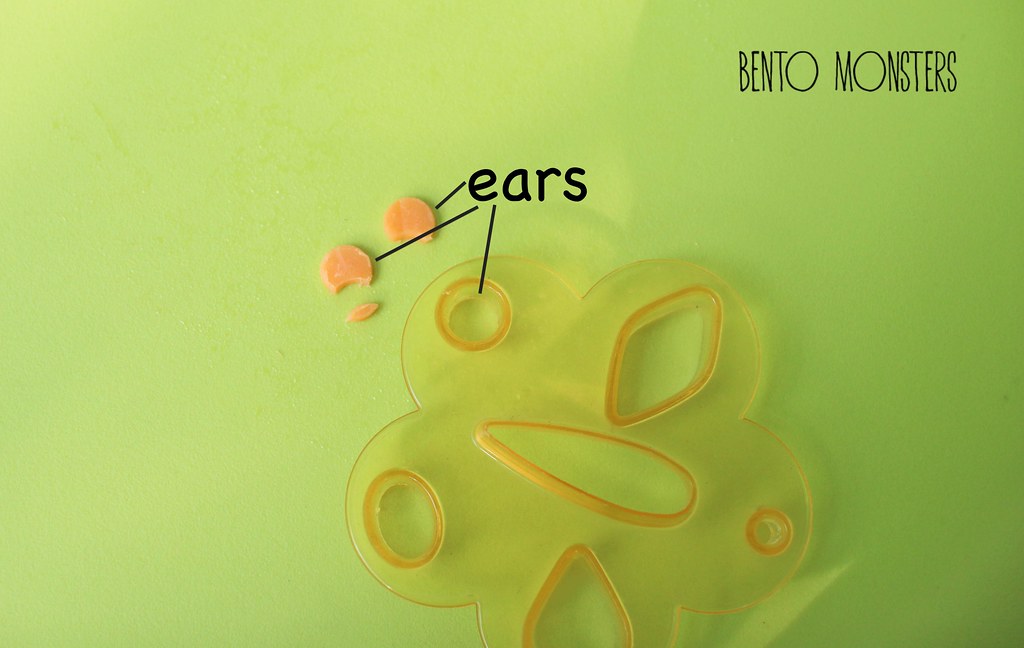
Using a round cutter or a pair of scissors, cut out the ears from cheese.

IMG_1240
Using a round cutter or a pair of scissors, cut out the mouth from cheese.

IMG_1244
Using a nori punch, punch out circles for Rilakkuma's nose, the other details can be cut out using a pair of scissors.

IMG_1244
Dab on some ketchup using a chopstick and ta-dah, you are done.

IMG_1251
Sorry, not too good with explaining, but hope the photos help you to visualise how I did this. :)

Wednesday, 4 November 2015

Rilakkuma Burger & Toast

I was so busy the past few days with chores, I did not have time to blog. -_- Exams are finally over, can't wait for the holidays, we are going to Hogsmeade for maybe half a day, lol. I'll have to start planning the rest of the itinerary soon. :)

IMG_6165
It's been quite sometime since I last shared about Rilakkuma. He used to be my favourite to craft, along with Totoro, but these days, Gudetama seems to be taking over his position.

IMG_6170
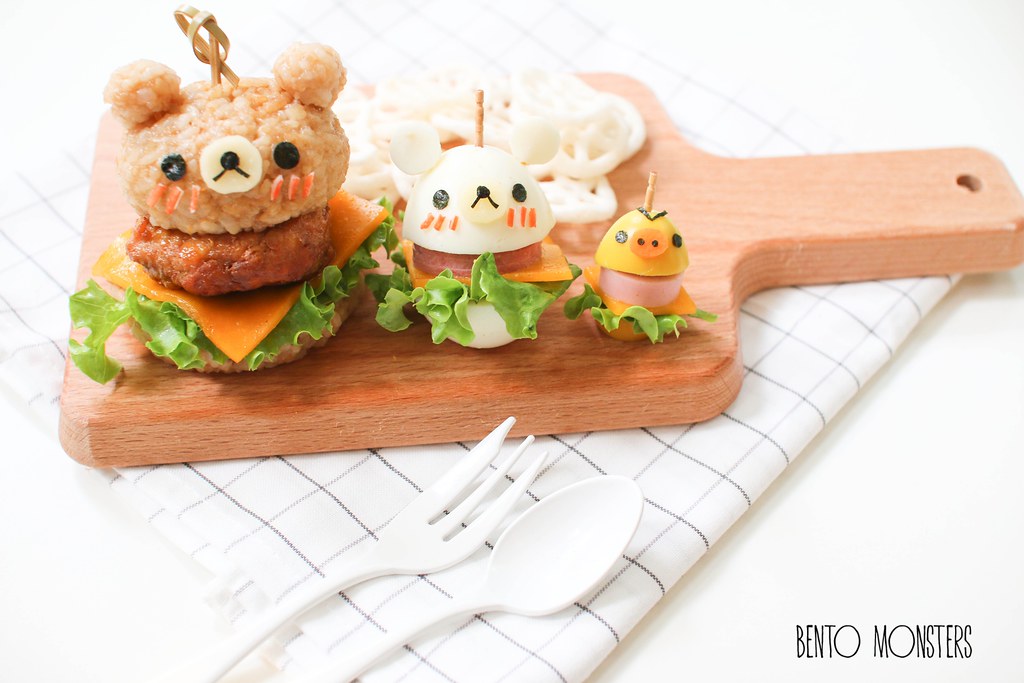
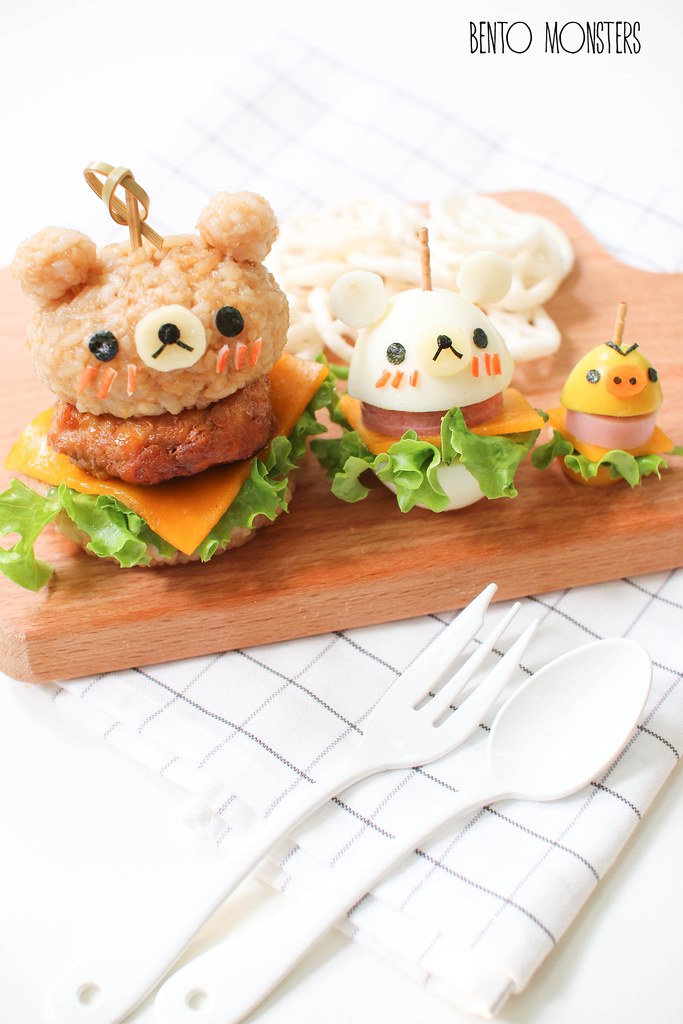
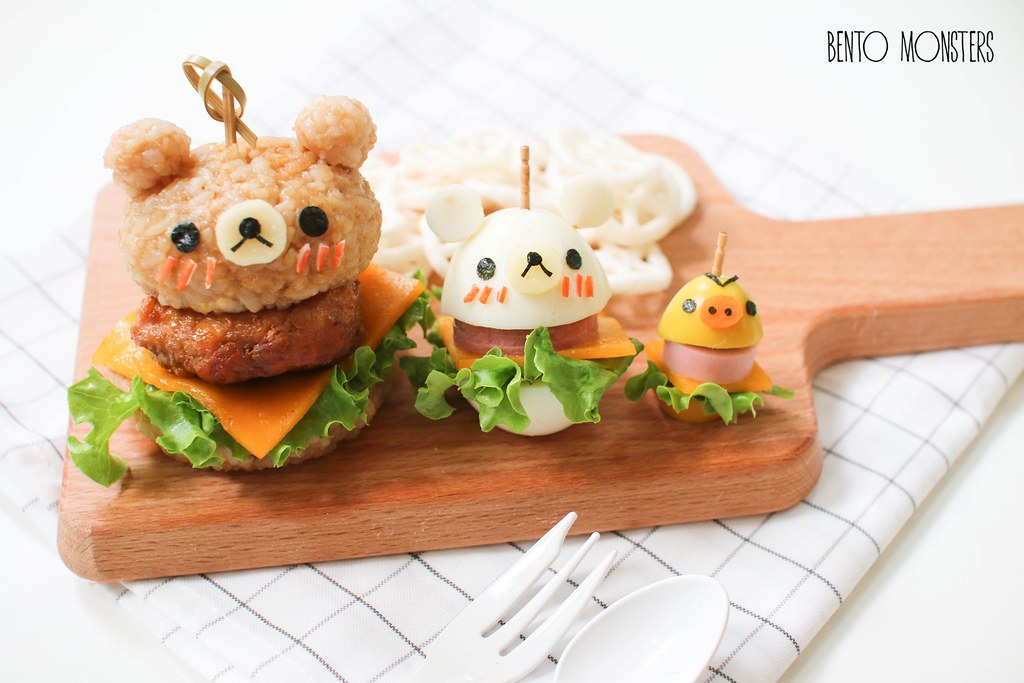
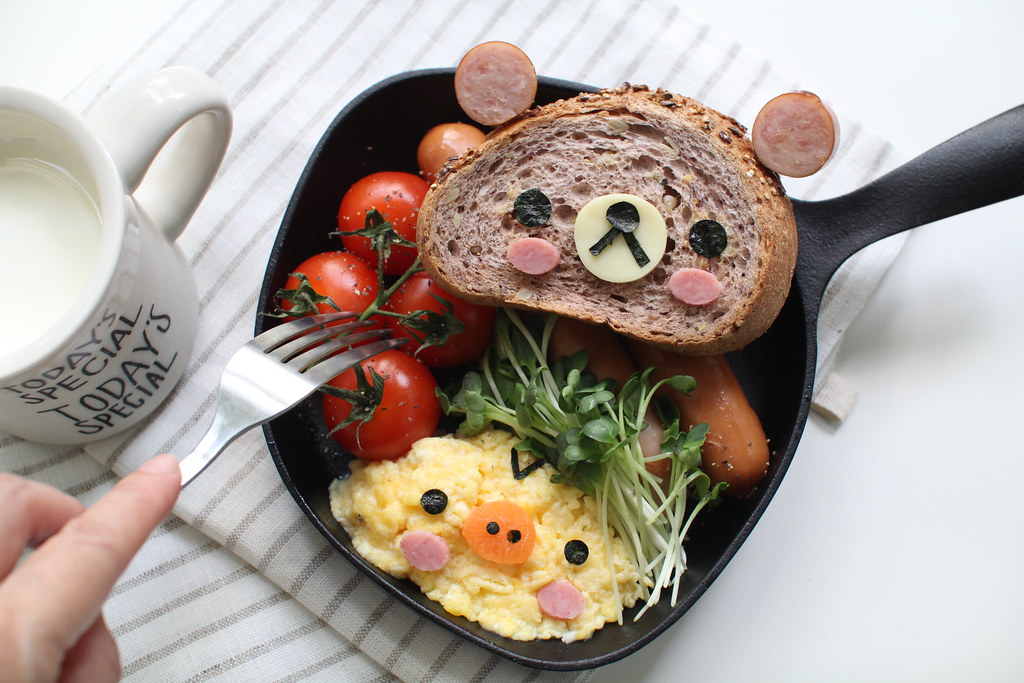
Rilakkuma, Korilakuma and Kiiroitori burger set but none of them were made out of burger buns. Rilakkuma was made out of rice, Korilakkuma was made out of chicken egg and Kiiroitori was made out of quail egg.

IMG_6169
I was actually rushing to get this done before fetching LT from school that day, could not make it in time, so I left out the blush on Kiiroitori. I ended up being late by just a minute that day and LT was a little upset and told me not to do it again, lol. I've to manage my time better so this will not happen again.

IMG_5150
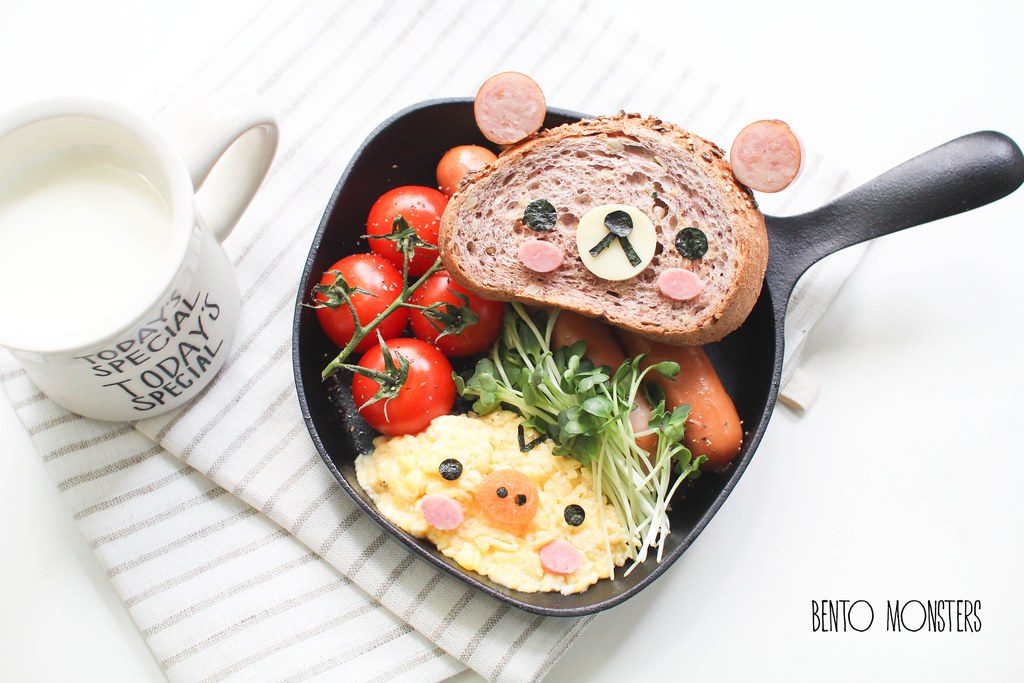
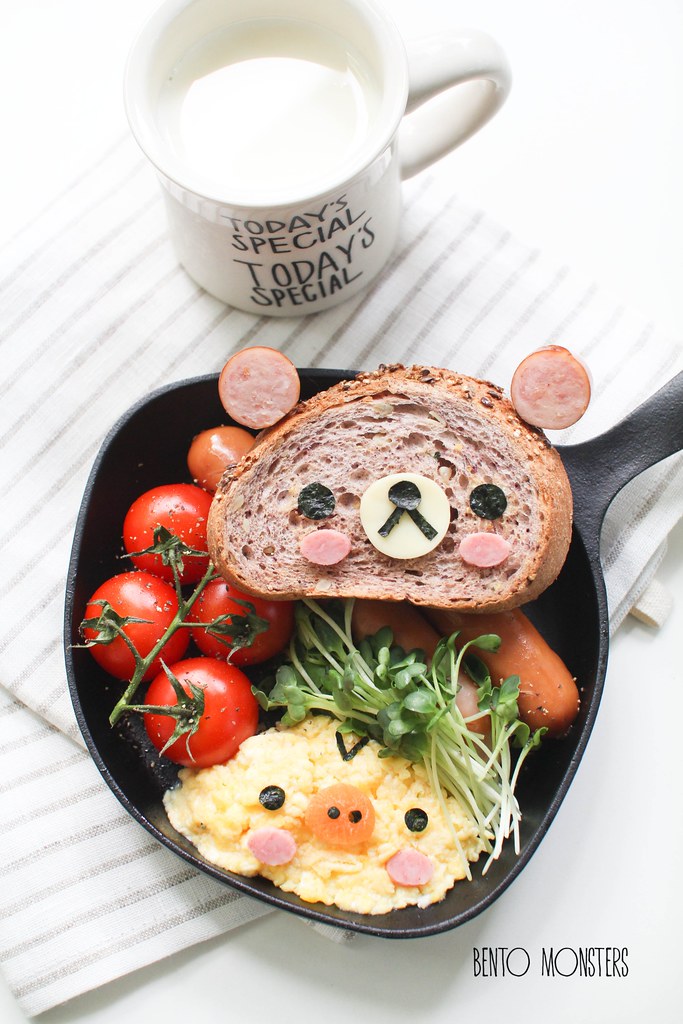
This was my brunch, I have this bad habit of skipping breakfast on weekdays. I know I should not but I'm always busy doing chores and cooking lunch in the morning, I always end up eating only at lunch.

IMG_5149
Rilakkuma was made out of bread, cheese, nori and ham. Kiiroitori was made from scrambled eggs, carrot, nori and ham.

IMG_5153
I ate this with sausages, tomatoes and wasabi sprouts. I'm in love with wasabi sprouts lately, it has this light spicy taste and it is now a regular item in my grocery bag every week.

Tuesday, 8 September 2015

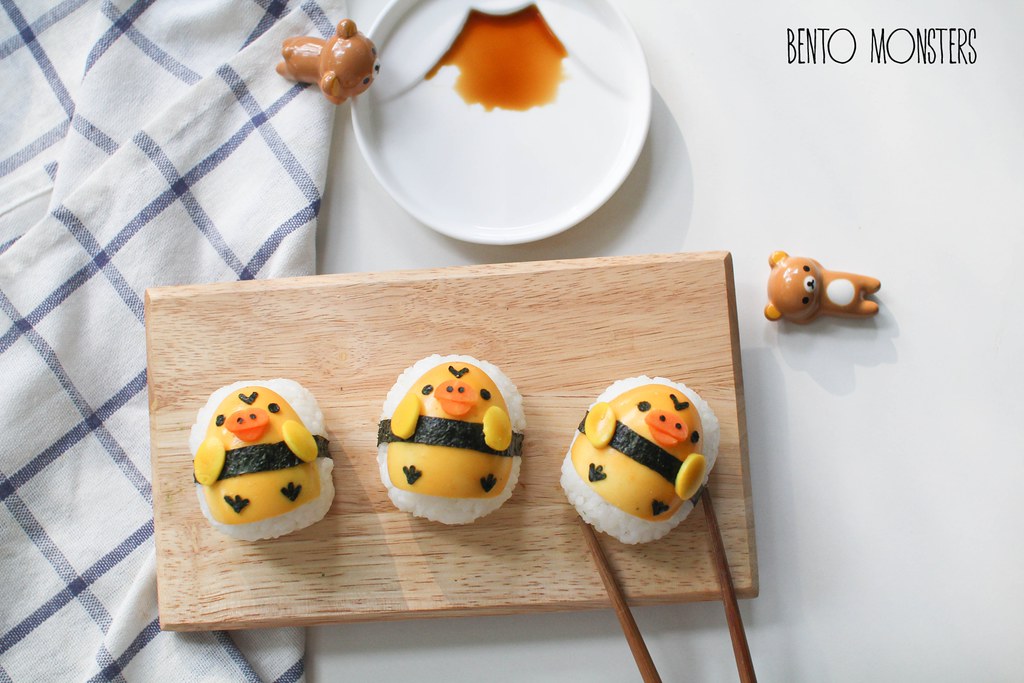
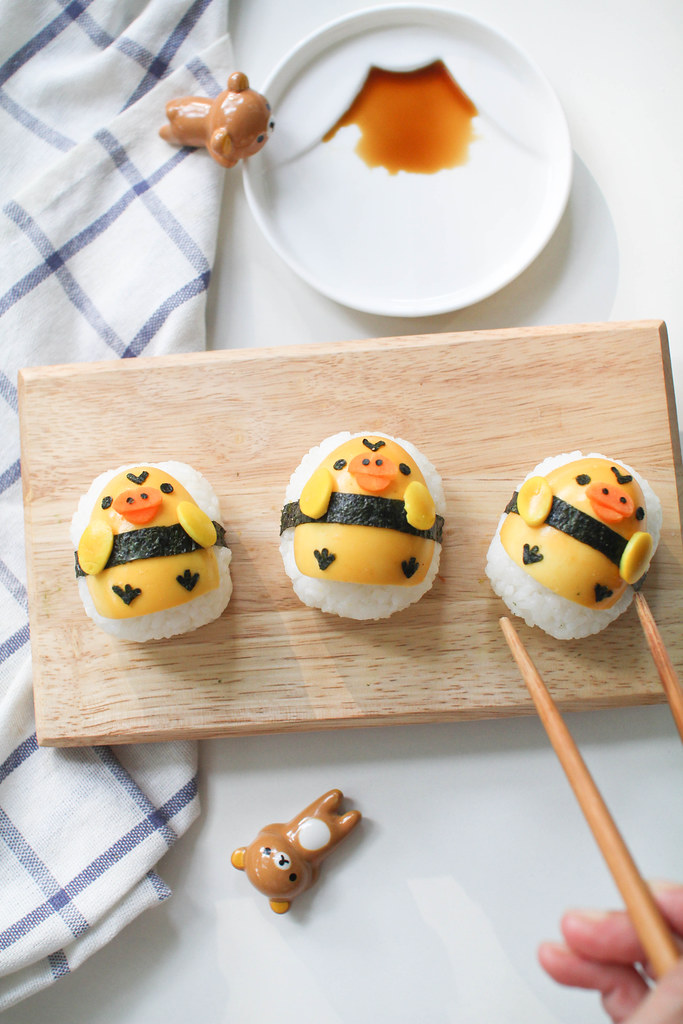
Rilakkuma & Kiiroitori Sushi

I love making sushi lately, if you have been following me on Instagram, you would have seen the many different ones I've made. It's great for days when I'm feeling lazy (which is almost all the time. -_-). I usually just serve them on a sushi board, as it saves me the trouble of arranging the side dishes in a bento, but they are perfect for packing in bentos as well.

IMG_4661
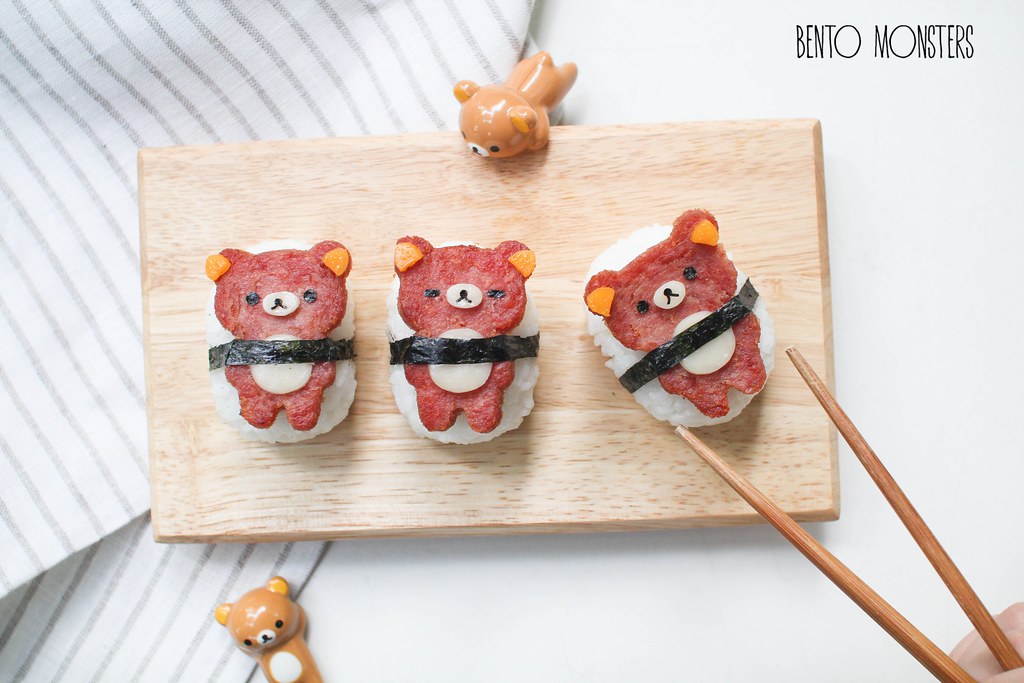
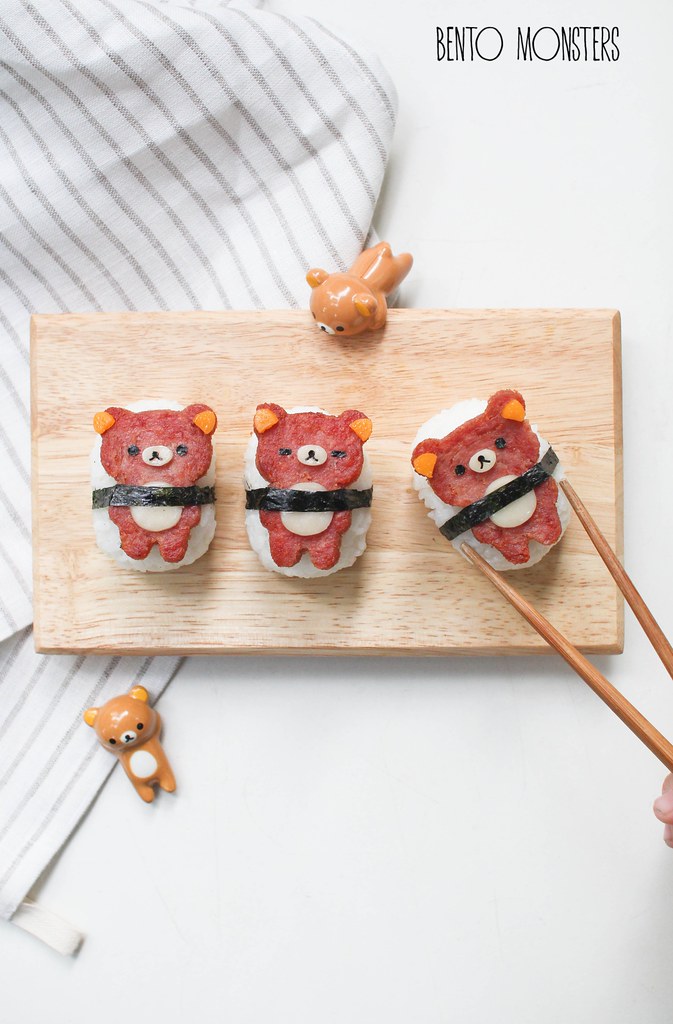
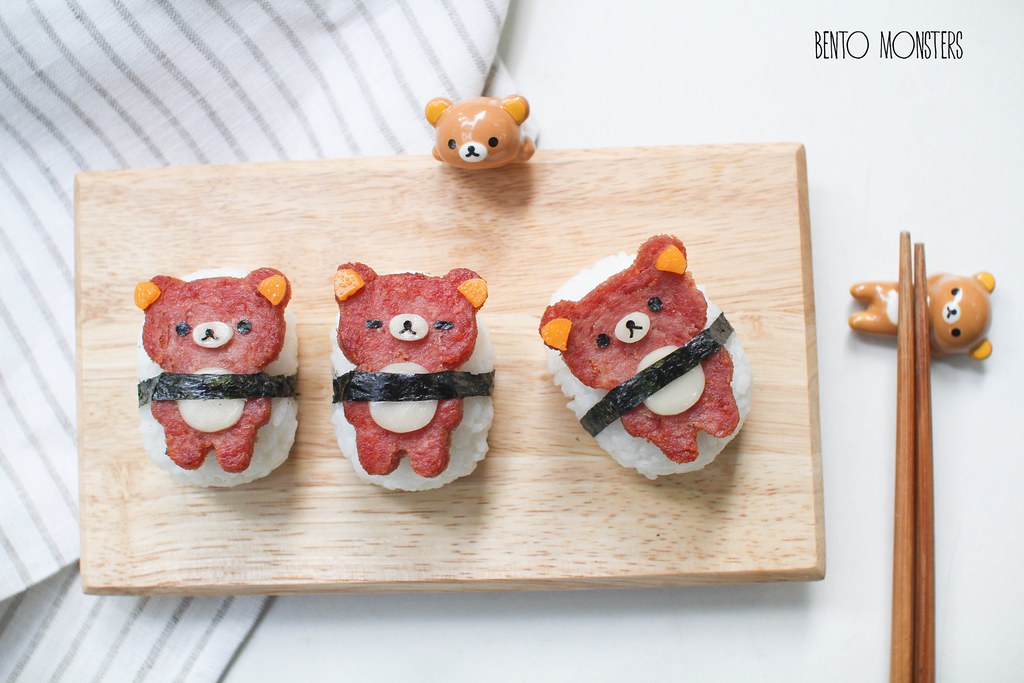
Spam musubi, a popuar Hawaiian food, which composed of a piece of grilled Spam on top of rice. So sinful but anything with Spam just tastes so good.

IMG_4660
I used a Rilakkuma cutter to cut out Spam first, before pan-frying them till brown.

IMG_4664
The details were done using two different coloured cheese and nori.

IMG_4679
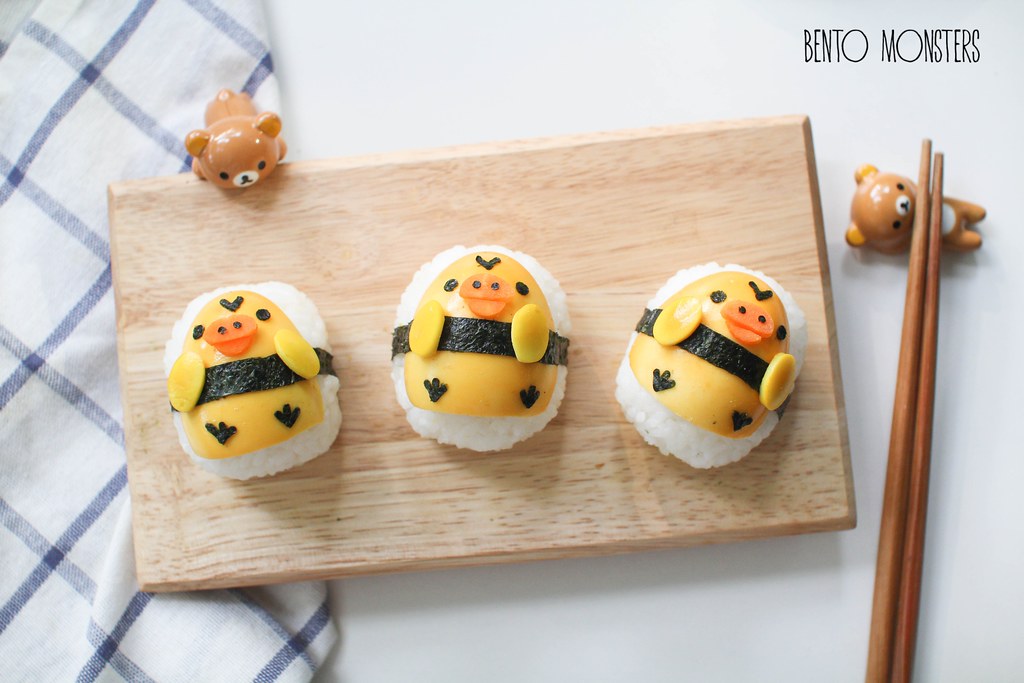
I've seen Kiiroitiori sushi made using tamagoyaki before, but I decided to use hard boiled egg for mine instead. I soaked the hard boiled egg in turmeric water to get the yellow colour.

IMG_4682
I sliced the hard boiled egg in half so it sits better on the rice. Can you spot the Mount Fuji saucer? Love the design, but it's a little tricky to pour the soy sauce in nicely. Maybe it's because I've butter fingers, lol. Sometimes I find it difficult to reprimand the boys for being clumsy, like knocking over the glass of water on the table, because I accidentally do it too at times, oops.

IMG_4686
Ingredients used for the details here were just carrots and nori. I attached on his wings, which was cut out from quail egg, using pasta sticks. Similarly, the carrots were attached on the same way, I'm using cooked carrots here so they are soft. If you are using raw carrots, you can spread on a little mayonnaise, so they will "stick" onto the egg.

Sunday, 22 March 2015

Totoro & Rilakkuma Natto

I've received two emails to enquire about my steamed buns recipe a few days ago. However, I think I accidentally deleted the mails as I could not find them anymore when I wanted to reply. So sorry, if  you have emailed me about the steamed buns, but have yet to hear from me, please email me again.

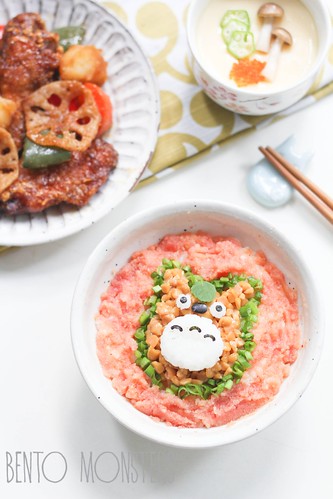
Back to today's post. Have you tried natto and mentaiko before? For today's post, I'm sharing two food art made using natto and mentaiko, made them for myself last year. I chose to craft two of my favourite characters, Totoro and Rilakkuma. :)

IMG_4689

Monday, 5 January 2015

Rilakkuma Bedroom & Car

My boys are back to school again. IT went back last Friday and IT just went back to school today. IT already brought back homework since the first day of school. His extra trainings for CCA is starting in week 2 even though the tournament date is not out yet. Looks like it's going to be a busy term.

IMG_5086

Tuesday, 12 August 2014

Rilakkuma Bread Roll & Puff Pastry Soup

IT has recovered and he went to school yesterday. He still needs more rest though, he was so tired, he went straight for a nap once he was home yesterday. He still does not have much of an appetite as well. Thank goodness we will have the rest of the week off after today, it's a short school week. :)

IMG_9975
An easy Rilakkuma sandwich roll bento box. This is the second time I'm making Rilakkuma sandwich roll, I made a slightly different version way back in 2011. You can click HERE if you would like to take a look.

IMG_9972
The sandwich rolls were filled with tuna mayo, also packed some fruits in the box.

IMG_9969
The way to make the sandwich rolls is similar to the Hello Kitty sandwich rolls tutorial HERE, which I shared previously. This time, I flattened the bread before rolling.

IMG_1909
This puff pastry Rilakkuma idea was from a bento book.

IMG_1906
Made this for my lunch, there's seafood soup underneath the puff pastry. I love having puff pastry with my soup, quite the perfect match. :)
Bunting---Dots-and-Stripes---Rainbow---11
Where to get same or similar items used in today's post:

Friday, 27 June 2014

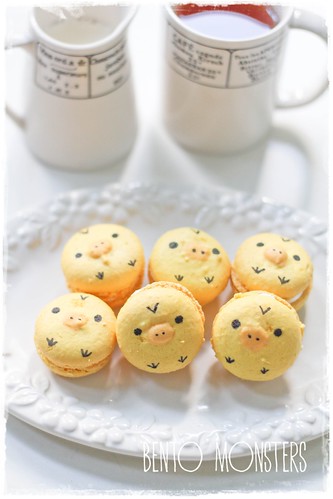
Kiiroitori Chick Macaron

It's almost the end of our school holidays, school is reopening again next week. The four weeks flew past so fast, I've to get used to waking up early again, we've been sleeping and waking up late the past month.

IMG_9481
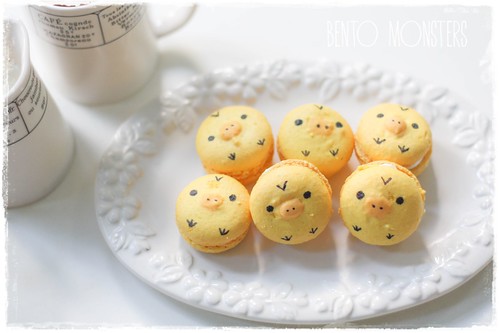
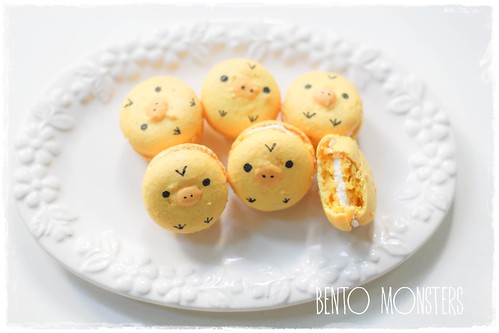
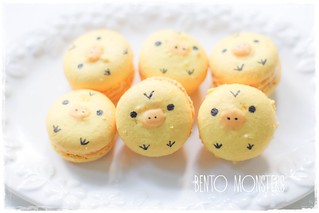
Sharing another macaron creation I came up with, decorated them as Kiiroitori, Rilakkuma's chick friend.

IMG_9484
This time, instead of using icing to pipe on the details, I experimented with using macaron batter. I prefer this method much better, and have subsequently made a few more character macarons using this method, will update them on the blog next time.

IMG_9490
I filled the macarons with lemon buttercream, love the tangy lemon buttercream, helps to balance out the sweetness of the macarons.

KIIROITORI CHICK MACARON RECIPE
Ingredients:
80g ground almond
160g icing sugar
60g egg white, separated for 24 hours in advance
a little Wilton yellow gel colouring
a little Wilton orange gel colouring

Buttercream:
60g egg white
110g butter, room temperature
110g fine castor sugar
2 tbsp lemon juice
1 tbsp lemon zest

Method:
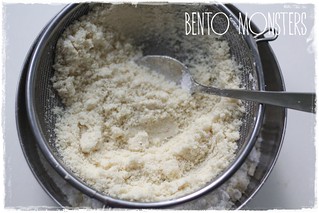
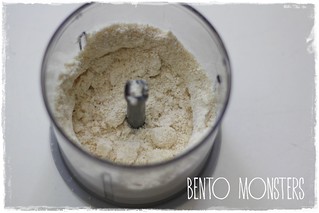
  1. Sieve 80g icing sugar together with ground almond twice. Alternatively, you can also use a food processor to pulse them till fine before sieving them once. Set aside.
  2. IMG_4208
    IMG_4374
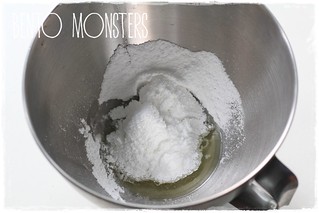
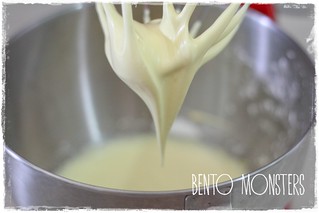
  3. Beat egg white on low/medium speed until foamy, sieve 80g icing sugar in 3 batches, change to high speed and beat till soft peak form. You can turn up the speed and continue to beat till stiff peak, if you prefer a thicker macaron. Add in a little yellow gel colouring using a toothpick, mix to combine.
  4. IMG_4206IMG_9464
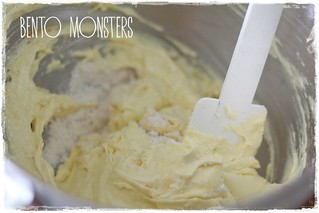
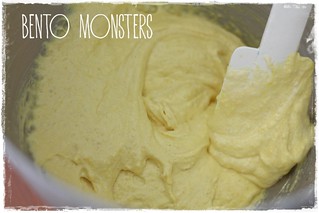
  5. Add step 2 icing sugar/almond mixture into egg white in 2 batches, folding well to combine.
  6. IMG_9466IMG_9467
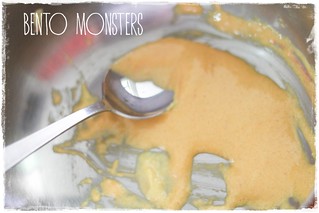
  7. Scoop out 3 tbsp of batter and colour them with a little orange colouring using a toothpick. Fill batter in a piping bag.
  8. IMG_9468
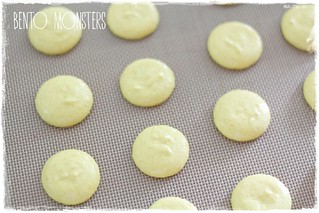
  9. Scoop yellow batter into pipping bag with nozzle tip #1A attached. Pipe small circles on a non-stick baking sheet. Use a toothpick to prick the air bubbles. 
  10. IMG_9470
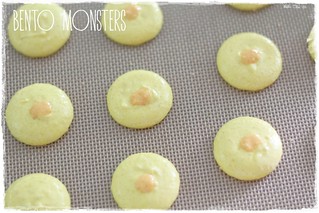
  11. Pipe out mouth using orange batter. Dry the macarons shells for 30 minutes under room temperature.
  12. IMG_9471
  13. Preheat oven to 150 degrees celcius. Bake macarons at middle rack for around 12-15 minutes. Once the feet appears (they should do so before 5 minutes) , place an oven rack above the tray of macarons and continue baking till 12-15 minutes is up. (this is to prevent the top of the macarons from browning) When baking is complete, do not remove the macarons from the tray, allow them to cool for a while before removing. 
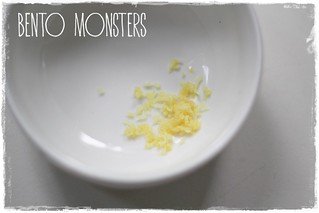
  14. To make the buttercream filling, first, grate yellow part of lemon to get lemon zest. Set aside.
  15. IMG_4390
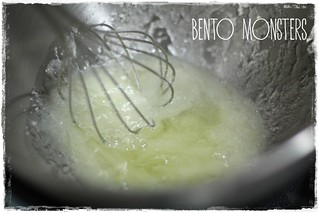
  16. Combine egg whites and sugar in a mixing bowl. Whisk over a gentle simmering hot water bath, till all the sugar have melted. Remove from heat.
  17. IMG_4385
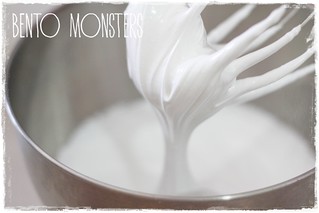
  18. Place on mixer and whisk on high till stiff peaks are formed.
  19. IMG_4429
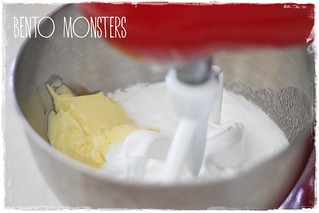
  20. Turn down the speed and add in the butter gradually, mix well.
  21. IMG_4433
  22. Mix in lemon zest and lemon juice. Fill in pipping bag, refrigerate around 15 minutes before pipping onto your macarons. 
  23. Draw Kiiroitori's details using black food markers. 
  24. IMG_9476  
     Note:
    • The measurements for the ingredients is crucial. It is also important to whisk the egg whites and fold in the sugar/almond mixture correctly.
    • The need to use aged egg whites is debatable, but you should at least use egg whites at room temperature. I usually separate them the night before, leave in a bowl covered with cling wrap at room temperature.
    • Please ensure equipments are dry when beating egg whites, else you will have problem beating them till stiff peak.
    • It is necessary to leave the batter to rest for at least half an hour before baking, this is for the macarons to form a shell on top.
    • It's important to use a non-stick baking sheet, I usually bake mine on silpat mats.
    • Macarons taste better the following day, so if you can wait, keep in fridge and eat them the next day.
    Bunting---Dots-and-Stripes---Rainbow---11
    Where to get same item used in today's post: