
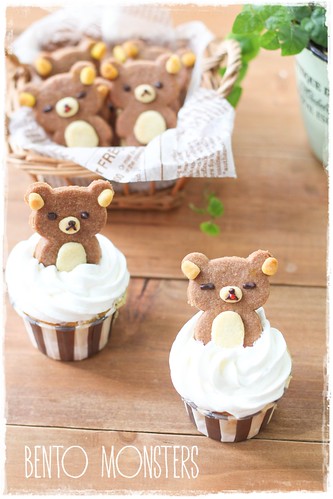
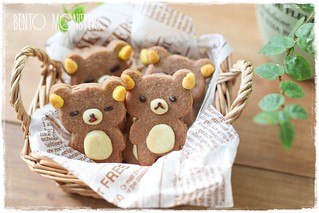
I decorated some of my cupcakes with Rilakkuma cookies.
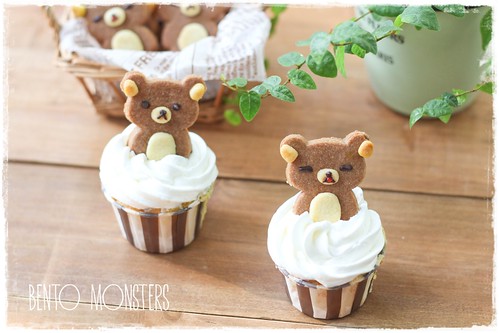
I feel that the cookie colour is a little too dark for Rilakkuma, you might want to reduce the cocoa powder further in the recipe I'm sharing below.
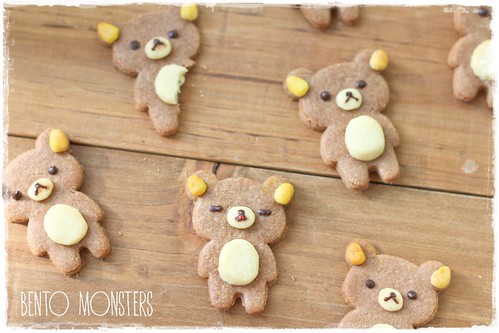
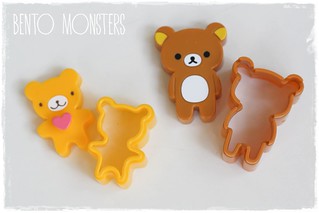
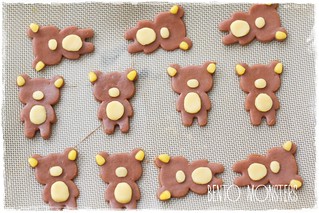
I used a Rilakkuma cutter to cut out the cookies this time. I will share how to make similar cookies without a cutter next time.
RILAKKUMA COOKIES RECIPE
Ingredients:
235g plain flour/cake flour
5g cocoa powder
100g unsalted butter, softened at room temperature
100g fine castor sugar
pinch of salt
2 egg yolks
Wilton yellow colouring gel
Method:
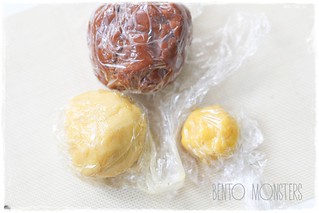
- Cream butter and sugar till it turns pale and fluffy, adding in the sugar in 3 additions.
- Add in egg yolk and mix well. Weigh and divide the mixture into 3 portions of 150g, 60g and 30g.
- Divide plain flour in portions of 145g, 60g and 30g.
- Sift in 145g of plain flour, 5g of cocoa powder to 150g of the mixture in step 2, mix well till a dough is formed. This will be the chocolate coloured dough. Sift in 60g of plain flour to 60g of the mixture in step 2, mix well till a dough is formed. Sift in 30g of plain flour to 30g of the mixture in step 2, add in some Wilton yellow colouring gel using a toothpick. Mix well till a dough is formed. Wrap the dough using cling wrap and refrigerate for half and hour.
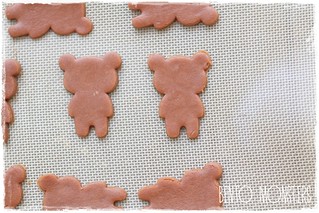
- Remove dough from fridge, roll out the chocolate dough between 2 pieces of parchment paper. Keep rolling till the dough becomes softer. Cut out cookies using a Rilakkuma or bear cutter.
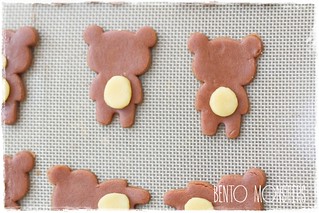
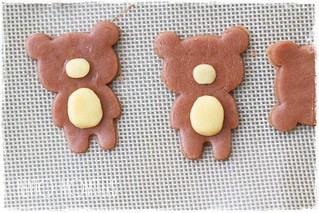
- Roll out the plain coloured dough and cut out oval for the tummy. If you do not have a cutter, you can use knife to cut out and shape the dough with your hands.
- Cut out oval for the mouth.
- Roll out the yellow coloured dough, cut out the ears. I simply cut out a little of the dough and used my hands to mould for this step. Line tray with baking paper and bake at 170 degrees celcius for around 15 minutes.
- After the cookies have cooled down, you can add in the details using chocolate and decor gel.

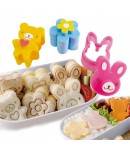
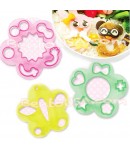
Where to get same or similar items in today's post:


太可爱了!有机会我也想动动手。
ReplyDelete谢谢分享食谱。
Ha ! I bought these molds to make even cookies! You were faster than me lol They are beautiful!
ReplyDeleteTk u, Lau Lotte. :)
DeleteBeautifully done!
ReplyDeleteAwww! I love cookies! and these are so cute! <3
ReplyDeleteTk u, Maja. :)
Deletethis is too cute!!
ReplyDeleteSuper adorable and thanks for sharing the tutorial Ming!:)
ReplyDeleteToday I discover this site and I become in love. I love it! Thx
ReplyDelete