Thursday, 27 February 2014

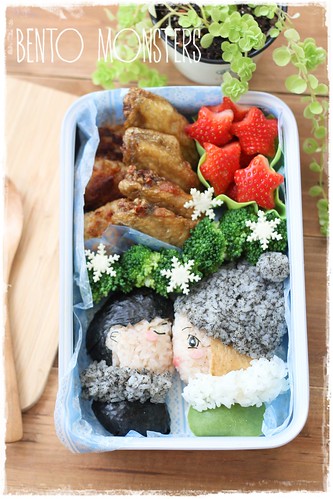
You Who Came From the Stars Bento

If you are not familiar with Korean dramas, you will probably be clueless about what my title means. "You Who Came From the Stars" is a television series that is currently airing in Korea and will end tonight. It is apparently very popular in the region. It's been quite a long time since I last love a drama this much, there were a few pretty good ones along the way, but none as good as this one.
IMG_3090
The story is about a 400 year old alien who landed on earth in the Joseon Dynasty, who then falls in love with a top actress in the modern era. Lol, I know it sounds absurd, but the show is really comical and heartwarming. The writer did an amazing job at carrying out the plot of this drama. The leads Kim Soo Hyun and Jun Ji Hyun played the role to perfection and have so much chemistry together.
IMG_3101
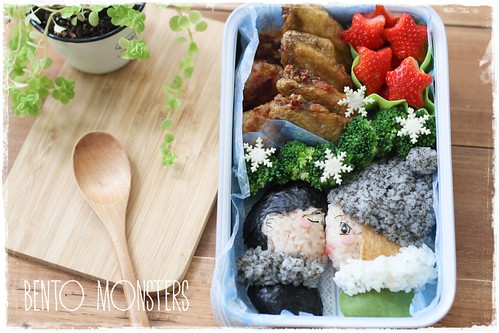
I included fried chicken in the bento because Chun Song Yi (Jun Ji Hyun) loves eating fried chicken with beer in the drama, lol. This scene I made in the bento is one of my favourite. For those who have watched the drama, can you guess which one is it?
IMG_3091
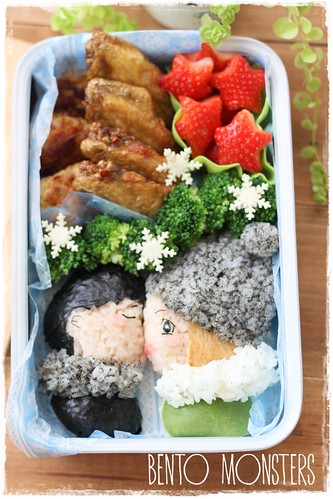
The characters were made using rice coloured with ketchup and grinded black sesame, nori, egg sheet and aburaage.
you who came from the stars
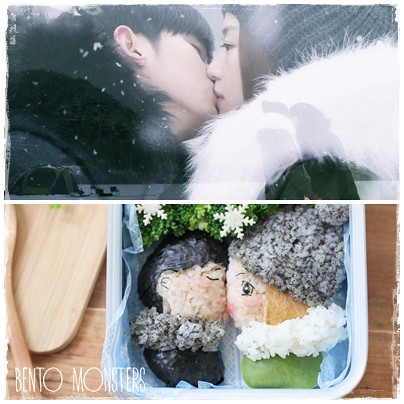
Did you get it right? This was the scene I tried to recreate. Do Min Joon (Kim Soo Hyun) froze the time, and kissed Chun Song Yi (Jun Ji Hyun) after he rejected her. I hope it's a happy ending tonight. :)
Bunting---Dots-and-Stripes---Rainbow---13
Where to get same or similar items used in today's post:

Tuesday, 25 February 2014

Rilakkuma Onsen

I'm sure you have seen plenty of Rilakkuma onsen foodart online before. It's probably the second most popular Rilakkuma foodart. The most popular, in my opinion, is the sleeping Rilakkuma one. I made that before a long time back, click HERE to check it out. I do have plans to recreate that again. :)

IMG_2466
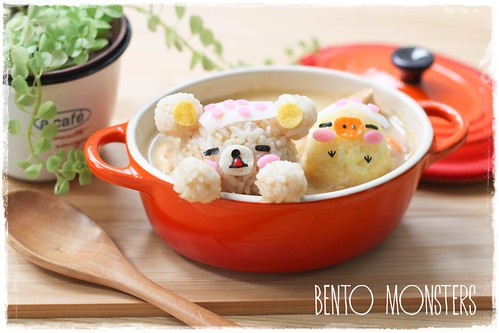
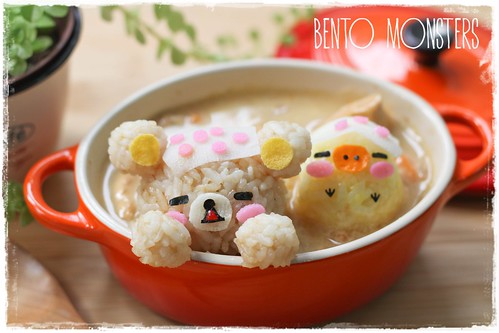
My version of Rilakkuma onsen. Rilakkuma and Kiiroitori relaxing in a bowl of chicken cream soup. :)

IMG_2465
Ingredients used to make Rilakkuma and Kiiroitori were rice (brown rice coloured with dark soya sauce, yellow rice coloured with deco furi ), nori, Kamaboko and carrot.
Bunting---Dots-and-Stripes---Rainbow---11

Where to get same or similar items used in today's post:
Monday, 24 February 2014

Alpaca Bento

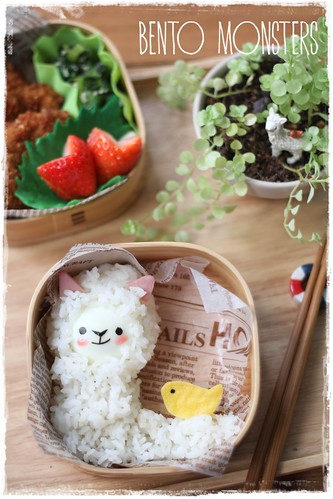
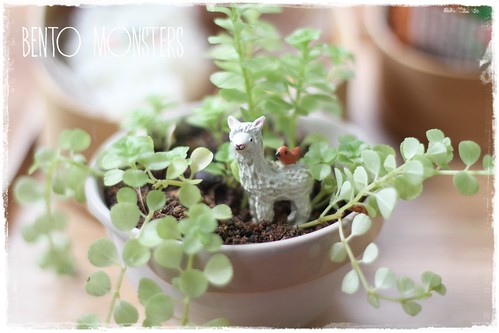
Have you seen an alpaca before? We saw two before at Ueno zoo in Tokyo. Japanese think alpacas are cute. I've always wanted to make an aplaca bento but somehow did not have the motivation to make one till a couple of weeks ago. I happened to buy a potted plant with an alpaca figurine and got inspired to make a matching alpaca bento.

IMG_2455
Alpaca was made using rice, hard boiled egg, ham and nori. Bird was made using egg sheet and nori.

IMG_2458
I have to make a full body alpaca next time. Can you spot the alpaca figurine in the pot on the right?

IMG_2451
Here's a closer look at the figurine. Isn't it cute? I've seen really cute alpaca soft toys before as well.
Bunting---Dots-and-Stripes---Rainbow---11
Where to get same or similar items used in today's post:

Friday, 21 February 2014

Panda Bread Bun

I've another panda bread bun recipe to share. I used a different bread recipe this time. Post is a little overdue, made them during the school holidays, but did not get to sort out the photos and recipe till now.

IMG_2045
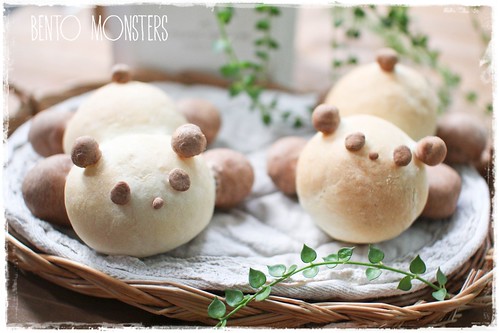
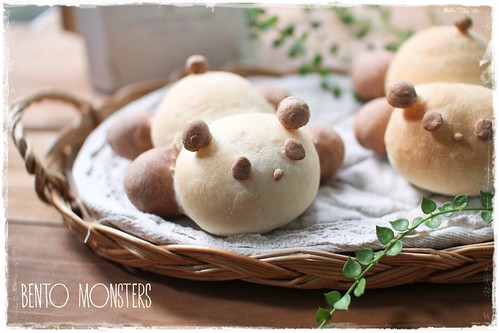
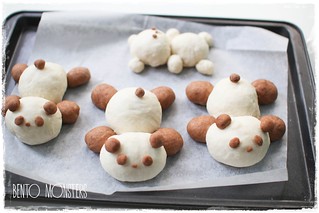
Pandas lazing around. Have you been to the River Safari to see the pandas before? There's a pair of pandas at the Singapore zoo and they are called Kai Kai and Jia Jia. We've seen them a couple of times, Kai Kai is always sleeping and Jia Jia is always hidding in her room. I only managed to see both of them walking and eating once, lol.

IMG_2049
This bread recipe is different from the Japanese milk buns, it taste good too. You can also use my previous Japanese milk bun panda recipe to make these if you like.


IMG_2050
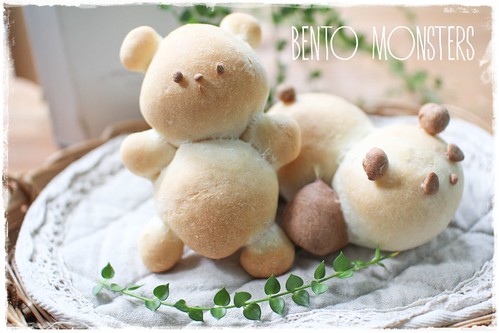
I made a little bear too. :) I missed baking bread, but a little hard to bake any on school days as I'm in and out of the house throughout the day, chauffeuring my boys around.


PANDA BREAD BUN RECIPE

Ingredients:

Bread Flour 250g
Instant Yeast 3g
Water 150ml
Sugar 8g
Butter 5g
Salt 3g
Cocoa Powder 1 tbsp

Method:
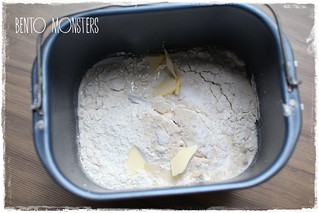
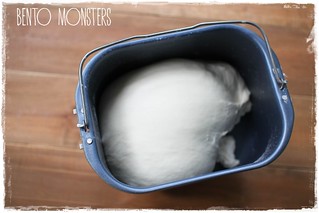
  1. Mix all the ingredients, except butter, in a large bowl to get a dough. Add in butter and knead until dough is springy and soft, this takes around 10 minutes. If you have a bread maker, you can just use the dough function for this step, as well as step 2.
  2. IMG_1925
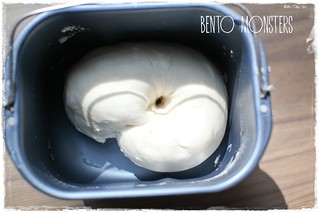
  3. Cover the dough with cling wrap and keep in a warm place for it to rise. This takes around an hour and the dough should double in size. Do the finger test to ensure dough is ready.
  4. IMG_1792IMG_2037
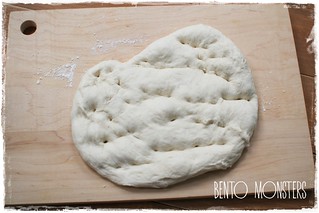
  5. Dust your work table with some flour, place dough on it. Punch out the air from the dough with your fist. Divide the dough into 5 portions.
  6. IMG_1794
  7. Take one portion and mix in 1 tbsp of cocoa powder, knead till it's evenly mixed. You can add in more if the colour is not dark enough. 
  8. IMG_2040
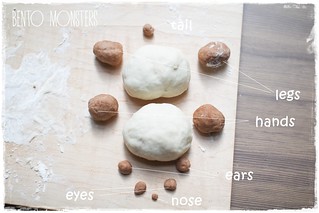
  9. If you are shaping a full size panda, divide each portion of white dough into half. Roll small balls for ears, hands, eyes, nose and legs from the cocoa dough. Cover with cling wrap and let the dough rest for 15 minutes.
  10. IMG_2041
  11. Roll out bread dough and shape them again, place them on a baking tray lined with parchment paper, 
  12. IMG_2043
  13. Cover with cling wrap and let dough rise for 30 minutes.
  14. Bake at 170 degrees celcius for around 10 to 12 minutes.
  15. IMG_2046

Wednesday, 19 February 2014

Sleeping Totoro Pasta Bento

One thing I hate about school days is having to wake up at unearthly hours. I always make a resolution to sleep early at night, as I drag myself out of bed every morning. But I always end up surfing the net, shopping online or watching a bit more of my korean drama (my current favourite is ' You Who Came From the Stars', so in love with the drama, alas, it's ending soon) when it's bedtime and end up sleeping late again. It's a vicious cycle, lol.

IMG_2436
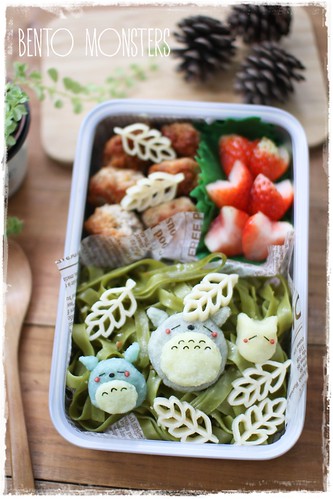
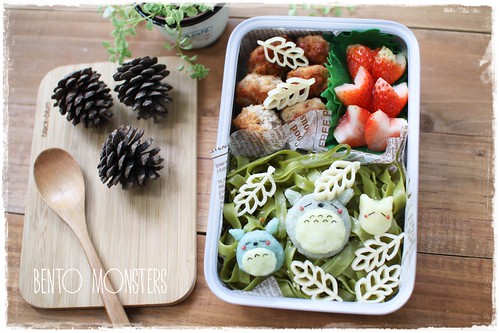
Made this bento a while back. I wish I can be like these sleeping Totoros every morning. :P

IMG_2432
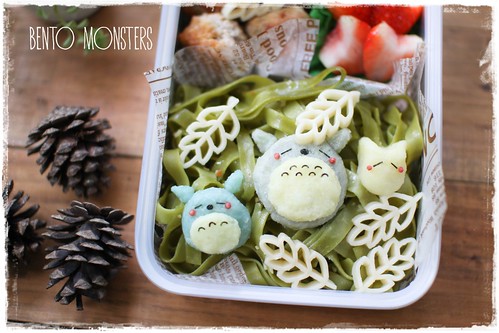
I packed aglio olio fettuccine and chicken patties for this bento

IMG_2437
Totoros are made from mashed potatoes, nori and bubu arare (rice puffs for their cheeks).
Bunting---Dots-and-Stripes---Rainbow---11
Where to get same or similar items used in today's post:

Tuesday, 18 February 2014

Hello Kitty Sandwich

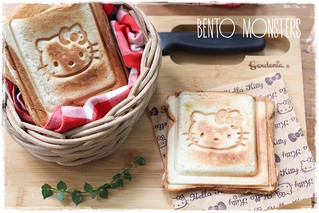
I'm sharing another sandwich recipe that you can use on your Cornell Hello Kitty Sandwich Maker. You can check out my previous recipe HERE.

IMG_2852
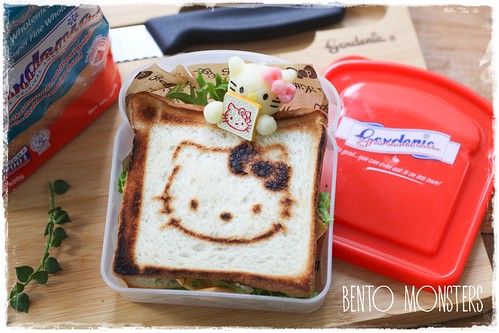
I made these chicken mayonnaise toasts for for our lunch today.

IMG_2859
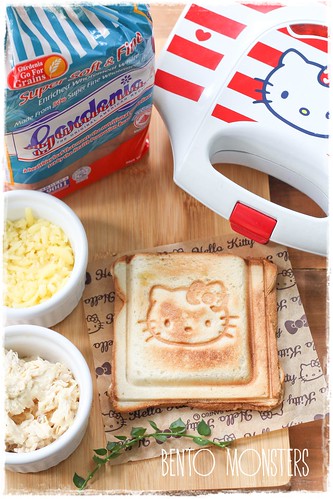
I prepared the ingredients needed in the morning, and toasted the bread just before lunch. :)

IMG_2864
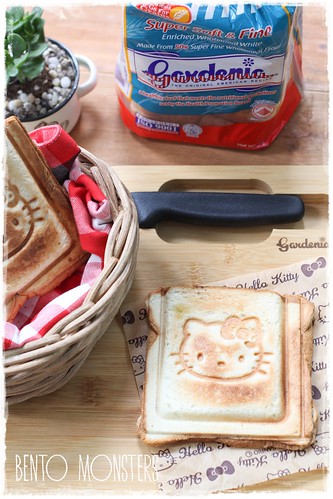
This recipe is specially created for Gardenia. I tried out their Enriched Wholemeal White Bread, which combines the goodness of whole-grains with the softness of white bread. The bread is made from 50% super fine wholemeal flour. It also contains no cholesterol and Trans Fat. This makes it a healthier option for those who prefer eating white bread.

IMG_2883
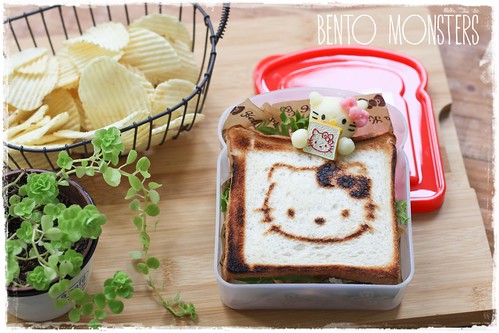
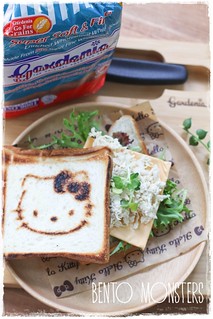
The chicken mayonnaise recipe is suitable for the pop up toaster too.

IMG_2876
I could not resist adding on a mashed potato Hello Kitty eating a Kitty toast. :)

IMG_2884
If you are staying in Singapore, you will be happy to know that Gardenia is now holding a giveaway. From now till 20th of March, simply snap a 'selfie' of your favourite Gardenia loaf, and you can stand a chance to win either a set of Hello Kitty Toaster or Sandwich Maker. Please click HERE to visit their facebook page and join the contest. They will select one lucky winner weekly.

CHICKEN MAYONNAISE TOAST

Ingredients:
2 slices bread
1 chicken breast
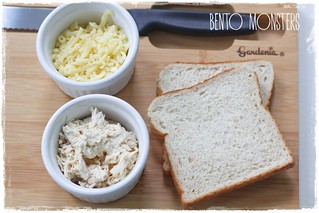
2 tbsp shredded Mozzarella
1/2 tsp salt
1 tsp mirin
1/2 tsp black pepper
5 tbsp mayonnaise
salt and black pepper to taste

Method:
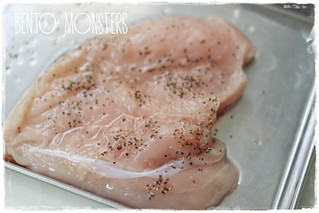
  1. Marinade chicken for half an hour using salt, mirin and black pepper. Cook chicken breast in boiling water. Remove and set aside chicken, reserve around 5 tbsp of the water used to cook the chicken. 
  2. IMG_2802
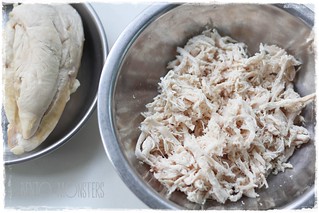
  3. Shred chicken into pieces.
  4. IMG_2841
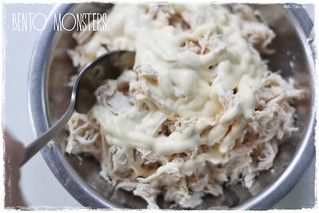
  5. Mix well with mayonnaise and the water you reserved in step 2. Taste and season with salt and black pepper if needed. 
  6. IMG_2842
  7. Prepare bread, shredded Mozzarella and chicken mayonnaise, as you heat up the Hello Kitty Sandwich Maker. 
  8. IMG_2845
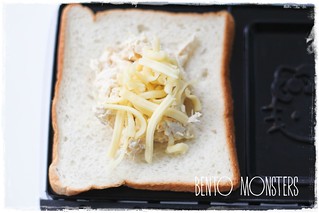
  9. Once Sandwich Maker is heated up, place a slice of bread, followed by some chicken mayonnaise and Mozzarella, before covering with another slice of bread. 
  10. IMG_2843
  11. Toast for around 3 minutes.
  12. IMG_2856
Note:
  • If you are using the pop up toaster, you can replace the shredded mozarella with sliced cheese and add in some salad greens.
  • IMG_2867