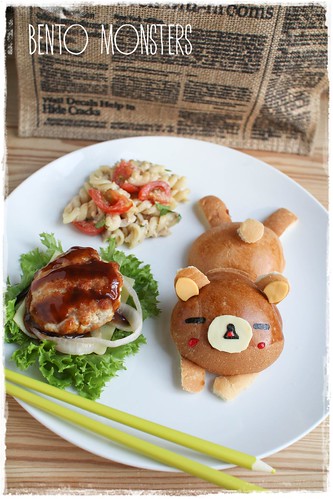
I used the buns to make Rilakkuma, and the burger fillings are placed on the side instead. The burger patty is a mix of minced chicken, minced pork and tofu. I layered the patty with lettuce, cheese and onions. I also made some tuna pasta as well.
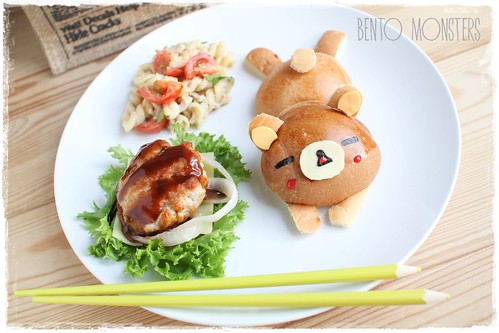
I'm sharing how to make the Rilakkuma burger below. It's easy and you will be happy to know that minimal tools are needed to make one.
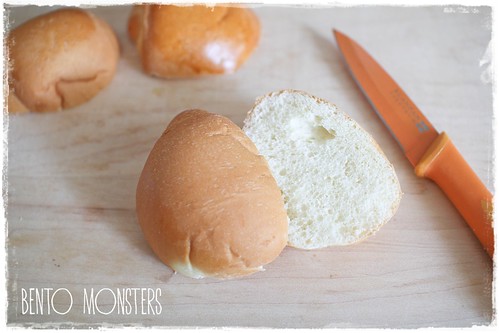
First, slice 3 buns in half. I'm using the top portion to make Rilakkuma as the top half of the buns are a darker shade of brown as compared to the bottom half and looks nicer. I simply kept the bottom half of the bun, and we ate it with the rest of our dinner. :)
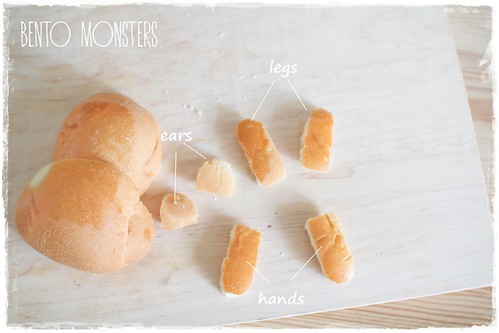
One bun is used as Rilakkuma's head, the second one is his body. Cut out the hands, legs, ears from the third bun using scissors. I missed out Rilakkuma's tail. -_- You can either use scissors to trim or use a round cutter to cut it out.
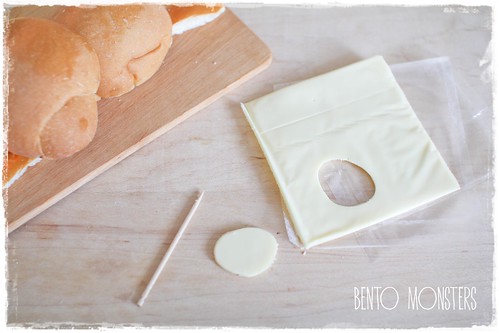
Using a toothpick, cut out Rilakkuma's mouth from cheese.
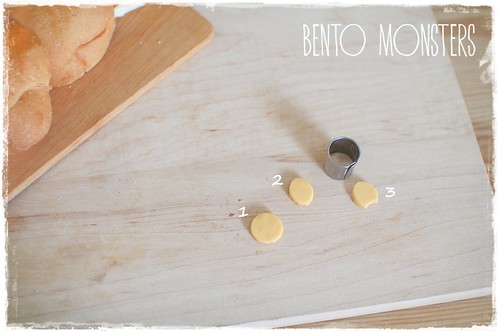
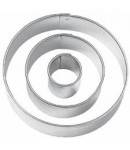
I'm using a darker cheese for Rilakkuma's ears. You can either use a toothpick to cut out the shape or a round cutter. If using a round cutter, follow step 1 to 3 in the picture to cut out.
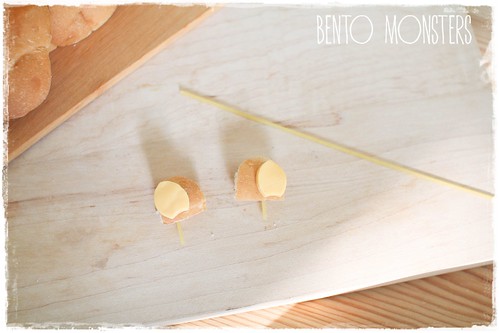
Place the cheese on the bread and attach to the bun using pasta.
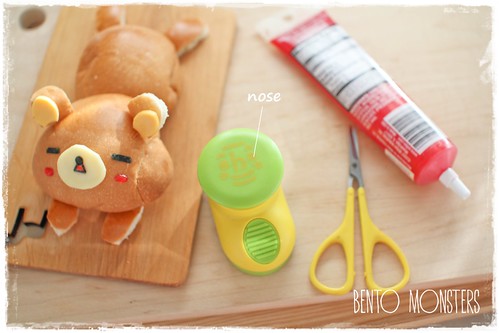
Assemble all the parts on a plate or lunchbox. I'm using the puncher in the picture above for the nose, the other parts are cut out using scissors. Add a dab of mayo for sticking nori onto the buns. Add red decor gel or ketchup for the cheeks and mouth.
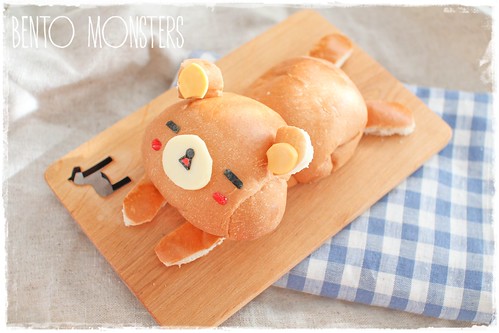
I missed out the tail in the step-by-step picture. You can add it in by attaching it onto the bun with pasta.
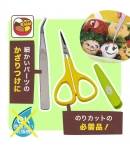
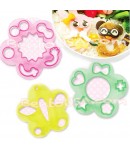
Where to get same or similar items as used in today's post:





So adorable! I wouldn't want to eat my burger hehe
ReplyDeleteAwwww he really looks relaxed! So cute!
ReplyDeleteRilakkuma sooooo cute!!
ReplyDeleteSuper cute relaxing Rilakkuma and thanks for the tutorial:)
ReplyDeleteaiyo! how did I missed this post earlier! TOO CUTE! TOO CUTE! Love this
ReplyDeleteAwesome!!!! See the actual burger will mad ^^
ReplyDeleteTk u for leaving a comment, Theresa. :)
Delete