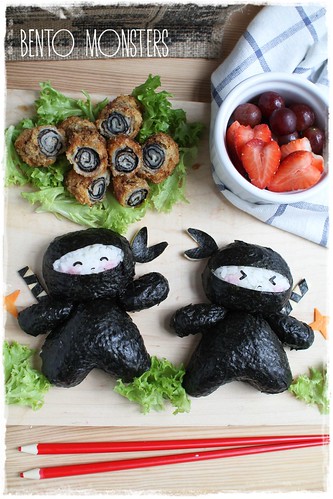
Ninja bento made using nori, rice and cheese, they are quite easy to do, scroll down for the step-by-step photos to see for yourself. :)
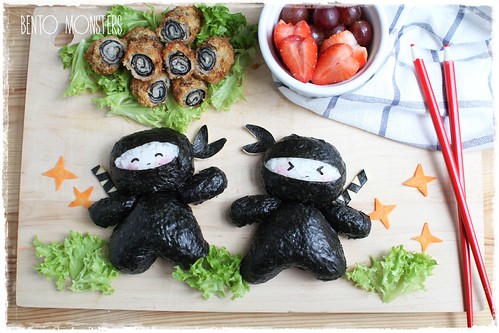
The side dishes are seaweed pork rolls, grapes and strawberries. The shurikens are cut out from carrots.
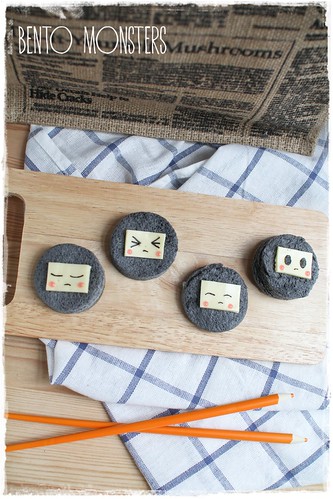
I also made these very easy Ninja sandwiches for my boys using charcoal bread, cheese and nori.
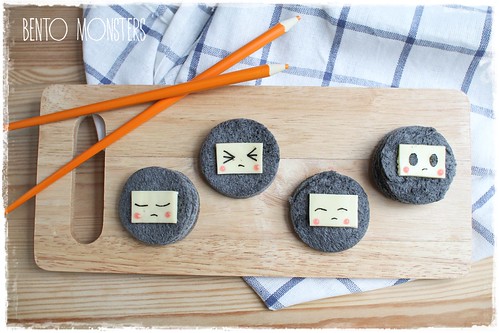
I bought these charcoal bread from across the causeway, there were only 3 precious slices in a pack, lol.
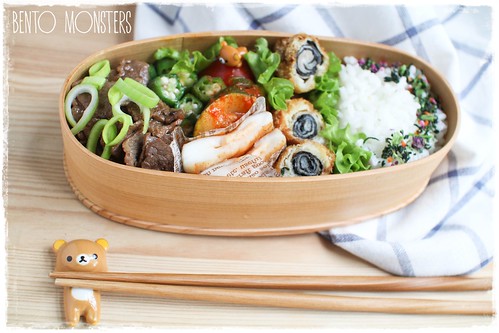
A bento I packed for myself, filled with pork/seaweed rolls, beef, zucchini, okra and mentaiko hanpen.
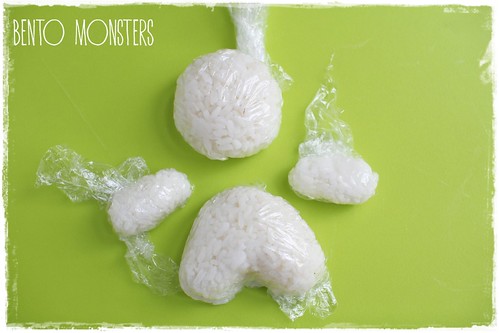
To make your Ninja, first shape rice as shown in the picture above using cling wrap. A round shape for the head, an inverted V for the body and long cylinder shape for the arms.
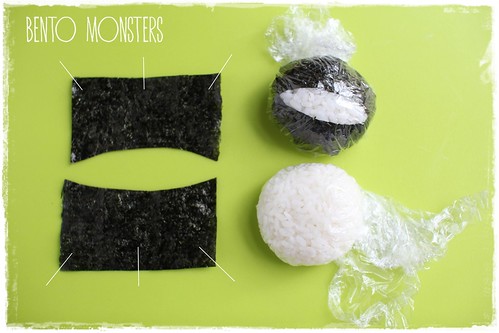
The next step is to wrap all these parts with nori ( note that I won't be wrapping the underside of the rice balls. ). Start off with the head, cut nori roughly as shown in the picture above, make some cuts at the white lines, place nori on your rice ball and use cling wrap to secure and shape.
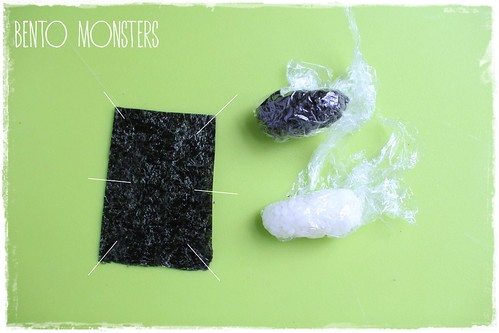
Repeat the same for the arms.

Once again, repeat the same steps to wrap the body. The cuts at the white lines makes it easier for you to wrap the nori nicely, it's just a rough guide, you do not have to cut them exactly at those places.
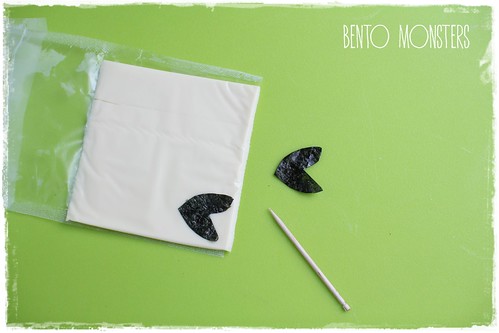
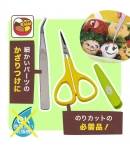
Cut out the scarf for the Ninja from nori using a pair of scissors. Place the nori on cheese and cut out using toothpick.
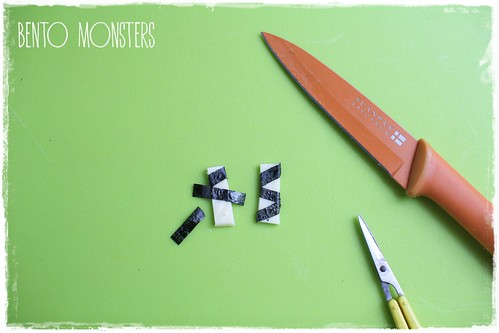
For the sword, just cut out a small rectangle from cheese, then cut out small strips of nori to wrap around it.
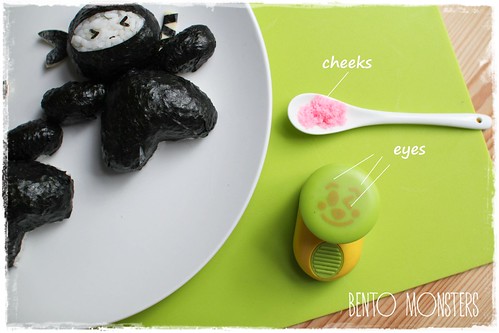 \
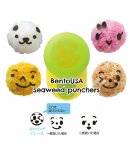
\Assemble all the parts on a plate or in a bento box. I'm using the puncher shown in the picture above for the eyes. I cut out the nose using a pair of scissors. Dab on some sakura denbu for their cheeks. Alternatively, you can also use ketchup or decor gel.
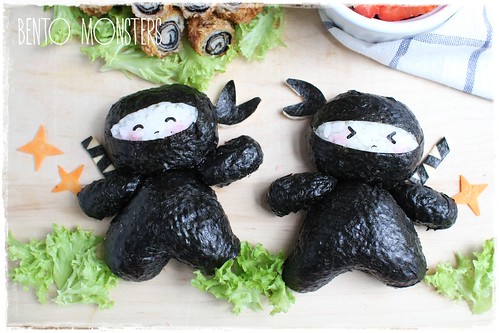
There, it's done. Sorry, as like all my other tutorials, I'm not too good at explaining, but I hope the pictures help you to visualise the steps better. It's not difficult to do, give it a try. :)
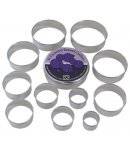
Where to get same or similar items as seen in today's post:


Thanks for sharing this. I love the sword handle sticking out! that is such a cute idea!!
ReplyDeleteCool ^^
ReplyDeleteTk u! :)
DeleteAww the ninjas are so cute! Love it!
ReplyDeleteThose Ninjas are super cute! Your nori work is really nice, I can never get my nori to turn out that well. Happy Singapore Day!:)
ReplyDeleteOh...so pro ninja!
ReplyDelete超喜欢哦!谢谢分享!:)
ReplyDelete谢谢, TM. :)
DeleteYour ninja are so cute! May I ask where you bought the pencil chopsticks from?
ReplyDeleteTk u, Jean. :) Got them from taobao.
Deleteoh gosh....kawaii ninja!!! Thanks for sharing the tutorial!
ReplyDeleteYou are amazing!!
ReplyDelete