
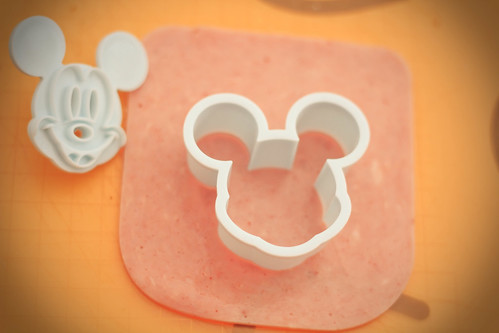
Cut out the shape from ham with a Mickey cookie cutter
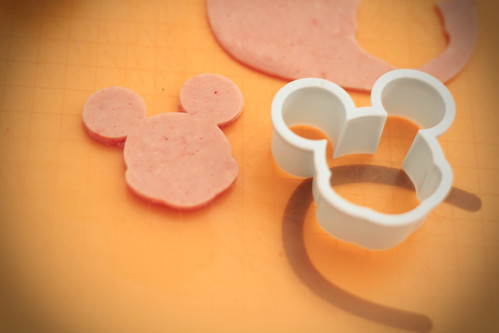
After it's done, cut out another piece and stack them together
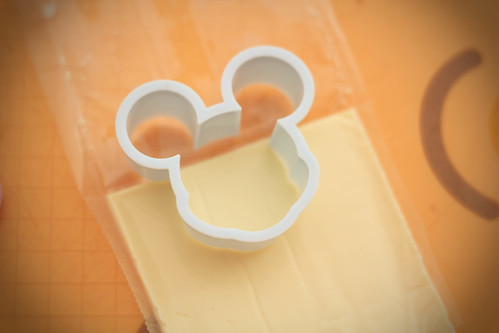
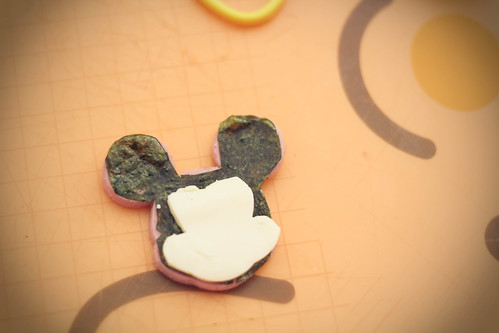
I use cheese for Mickey's face. You only have to cut out the portion below his ears. Mine's not right, I cut a little below the ears. :(
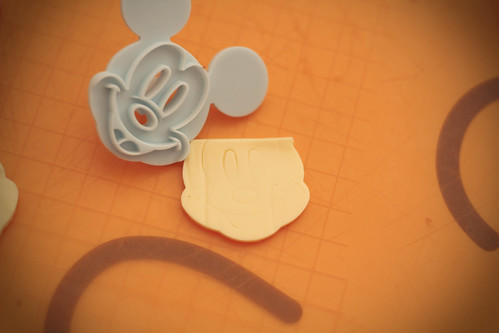
Press lightly with the stamping portion, and then cut out the outline of his face with a toothpick.
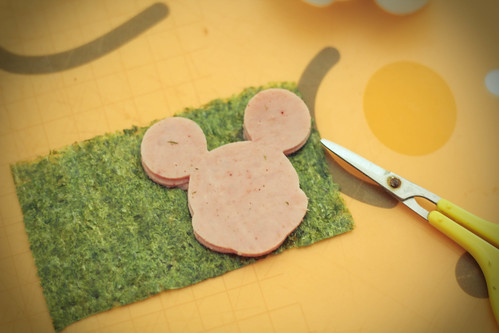
Use the ham as a guide and cut out the seaweed
Assemble them together
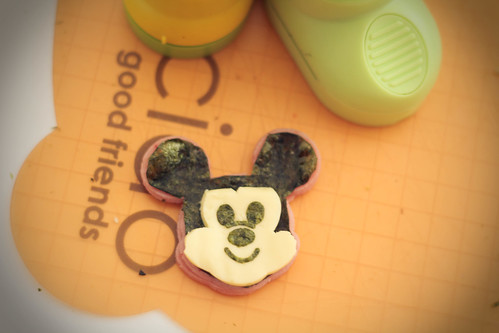
Add on the nori punch-outs for facial details and we are done! :)
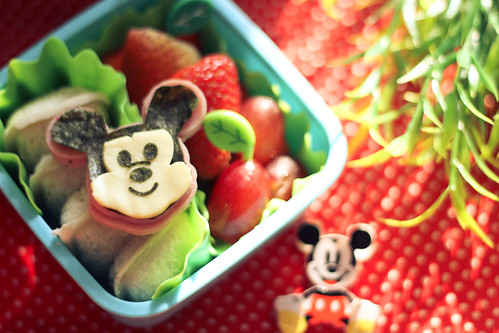
IT's Mickey snack box

LT's Mickey snack box
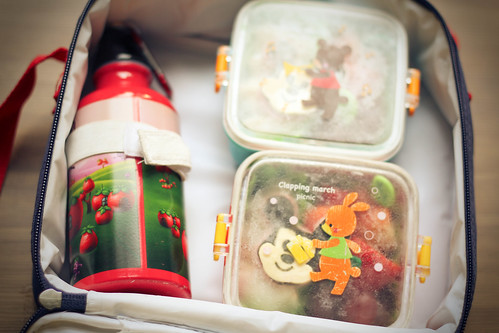
All packed to go. :)


Thanks for sharing the tutorial.. i have the same mickey cutter, i will try this sometime.
ReplyDeleteHi Diana! Hi Bobo!
ReplyDeleteU are welcome! It's school holidays for my boys, so I had time to take such photos. :)